www.snapper.com18
Maintenance
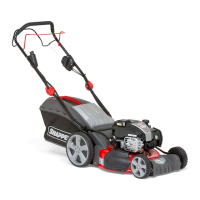
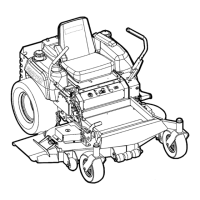
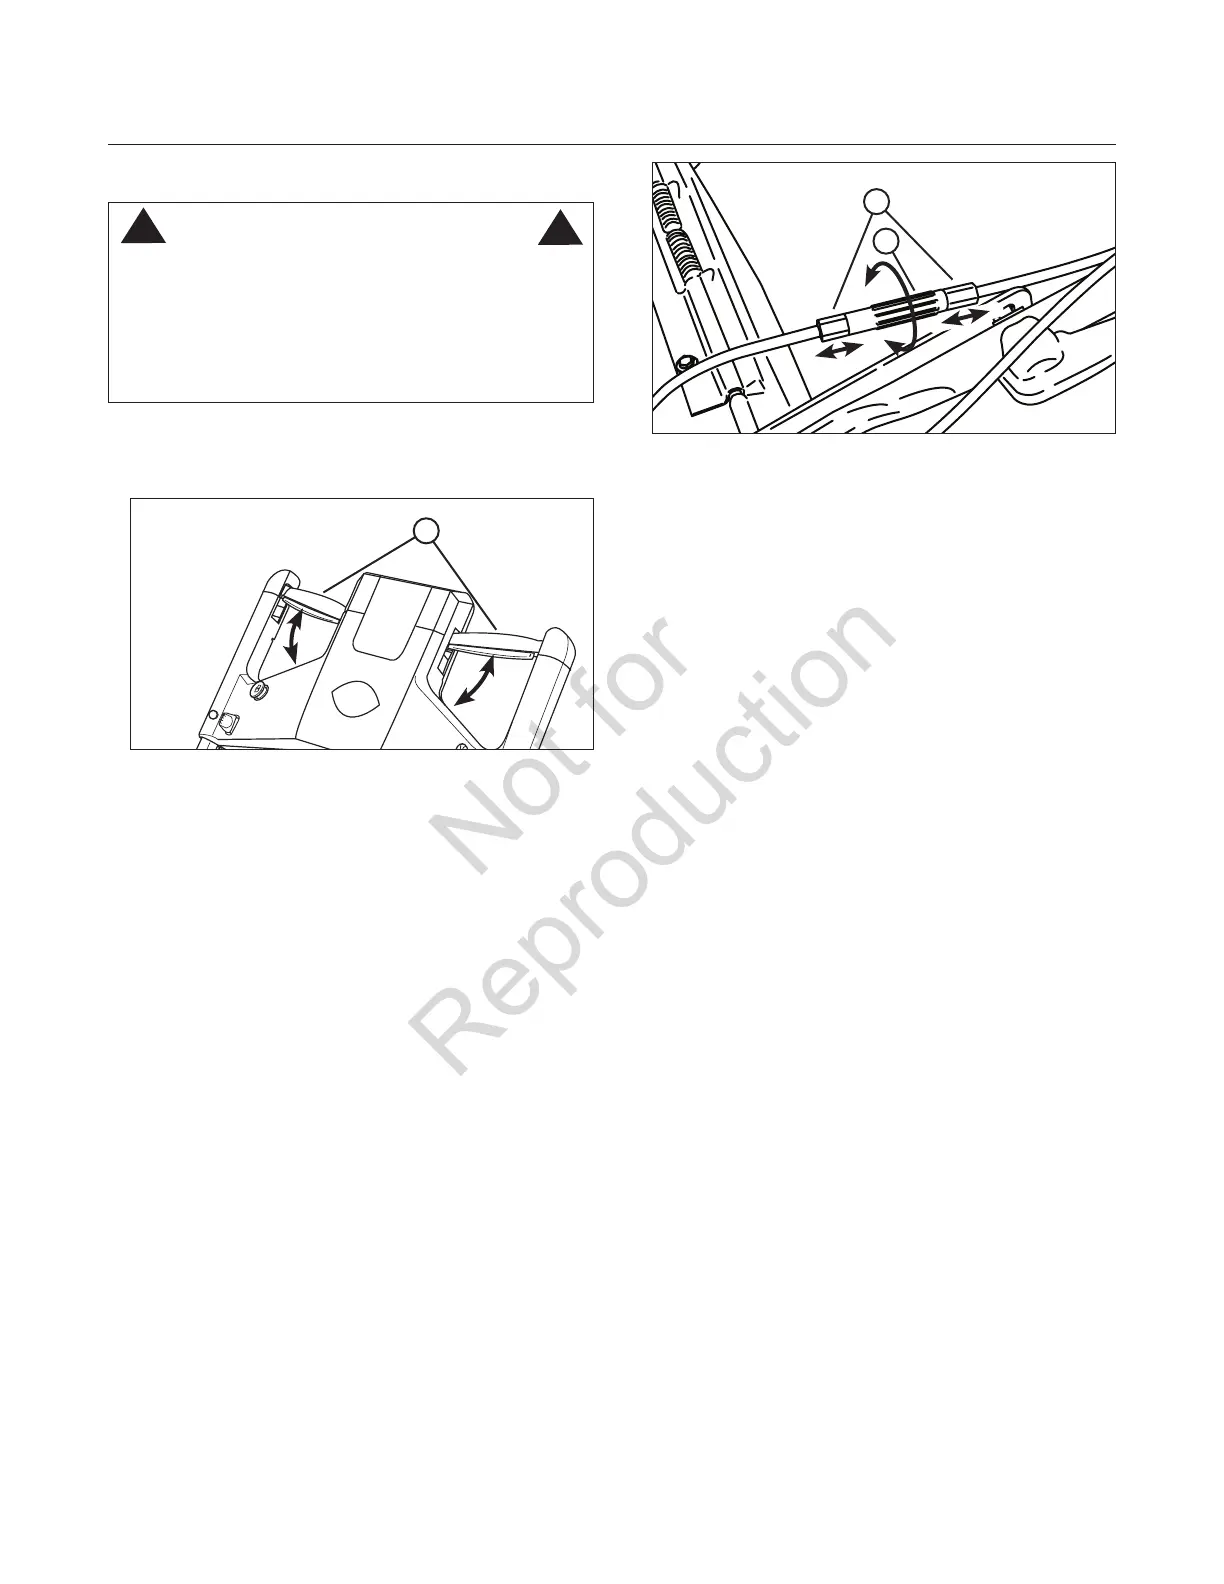
Drive Control Adjustment
The drive control (A, Figure 16) should engage the transmis-
sion when the control is pushed forward, and should disen-
gage the transmission when pulled all the way back.
If the transmission does not engage or disengage,
adjustment may be performed as follows:
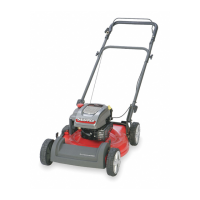
• If the transmission does not engage, increase drive
cable tension by rotating the turnbuckle (A, Figure 17)
counter-clockwise one-half turn to move the ferrules (B)
out from the turnbuckle. Check and repeat as needed.
• If the transmission does not disengage, decrease drive
cable tension* by rotating the turnbuckle one-half turn
clockwise to move the ferrules in toward the turnbuckle.
Check and repeat as needed.
*IMPORTANT: Before attempting to decrease drive cable
tension, perform the following test:
1) With the mower running, push the drive control forward
and inward to propel the mower forward.
2) Pull the drive control back to the neutral position and
immediately pull the mower backwards. You should feel
some resistance from the drive wheels. This is normal.
3) Without engaging the drive system, push the mower
forward, then pull it backwards again. This time there
should be no resistance. If that is the case, then drive
cable adjustment is not required. However, if resistance
is still felt, then adjust the drive cable.
Caution: Incorrect adjustment can cause premature wear
and/or damage to the wheel drive components.
Figure 17: Adjusting the drive cable
A
Figure 16: Drive control
A
B
WARNING
DO NOT attempt any maintenance, adjustments or service
with engine and blade running. STOP engine and blade.
Remove starter insert. Disconnect spark plug wire and
secure away from spark plug. Engine and components
are HOT. Avoid serious burns, allow sufficient time for all
components to cool.
!
!