9
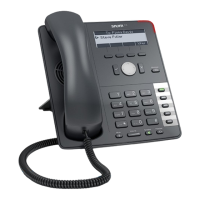
snom 710 Quick Start Guide
E
N
G
L
I
S
H
Setting up and connecting the phone
See pages 2 - 3.
Initializing and registering the phone
Please note: You will need the registration information received from your
Internet service provider or your network administrator - normally the phone or
extension number, the password, and the registrar.
After you have set up the phone and connected it to the network as shown on pages
2 - 3, the phone begins to initialize.
Normally the initialization is completely automatic, using DHCP. If your network does not
support DHCP, you must obtain the IP address, netmask, IP gateway, and DNS server
from your Internet service provider or your network administrator and enter them manually
when you are asked to do so on the display.
Watch the display and, when asked to, make selections with
/ and save with . If
you need the phone's IP address before the registration has been completed, press the
"Cancel" key for three seconds. Press again to continue the registration.
1. Language. The default is English.
2. Time zone
3. Dial tone
4. The display shows the "Welcome" screen. Press any key to log on.
5. Enter the account number. Press
to save.
6. Enter the registrar. Press to save.
7. Enter the password received from your Internet service provider or administrator.
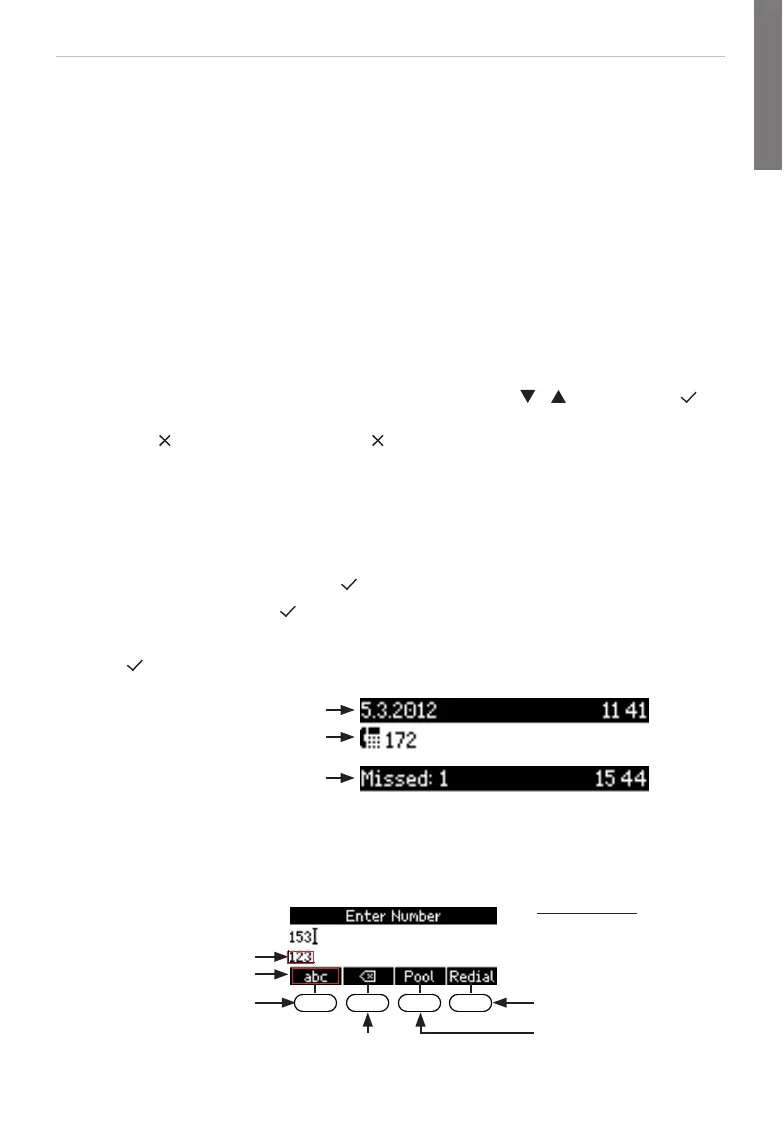
Press to save. After successful registration you will see:
Infobar with date & time
Infobar with info & time
Identity line
Entering numerals, letters, and special characters
Press any key or pick up handset.
Directories, call lists,
contact list, favorites
Input modes:
123: Numerals
abc: Small letters
ABC: Capital letters
Deleting character to
the left of the cursor
Current input mode:
Next input mode:
Redialing
Moving cursor to the left
Move cursor to the right
X:
W:
Changing input mode:
http://arttel.ru
http://arttel.ru/shop/ip-telefony/ip-telefon-snom-710
 Loading...