#57030OPERATOR’SMANUAL 10
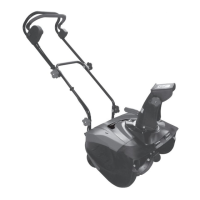
Snow Thrower Inspection
BeforeusingyourSnowThrowerforthersttime,besurethatitisproperlyassembled.Checkthatall
partsareproperlyattachedandundamaged.Ifyouareunsureabouttheassemblyorconditionofany
ofyourSnowThrowerparts,pleasecallcustomerservice.Checkthatallpartsareattachedandun-
damaged.Checkthatallfastenersaretight.
Check Tire Ination
BeforeeachuseofyourSnowThrower,checkthetirepressure.Thepressureineachtireshouldbein
therangeof20–24psiforthebestperformance.
WARNING: Over-inatingcouldcauseatiretoburstandcauseseverebodilyinjury.
Thepressurecanbecheckedusinganordinarytirepressuregauge.Fillthetiresusinga
portableaircompressororothercompressedairsource.
Note: DO NOT OVER-INFLATE THE TIRES.
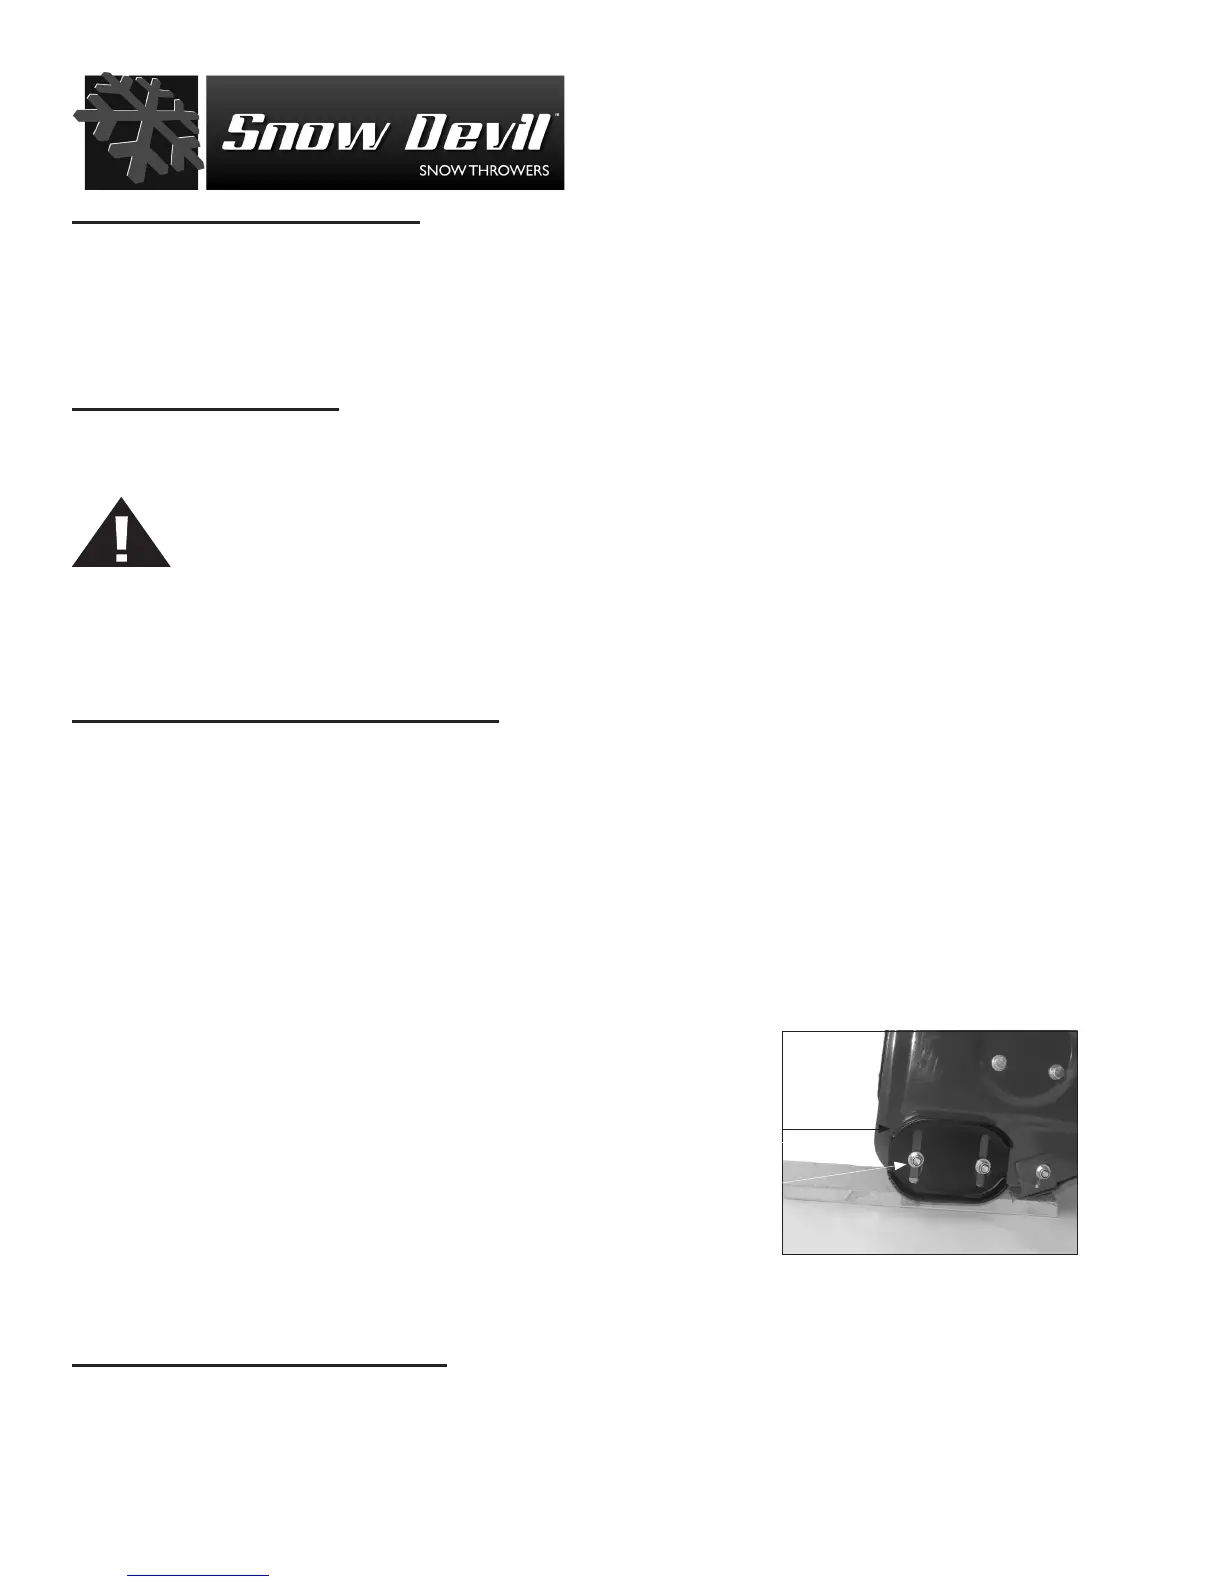
Skid Shoes Adjustment (Fig. 10)
Adjustmentoftheskidshoesgovernstheheightabovethegroundatwhichtheaugershaveplate
operates.
Forclearingsnowfromconcrete,asphalt,andothersmoothsurfaces,settheaugershaveplatesothat
thebottomoftheshieldscrapestheground.Forclearingsnowfromgravel,dirt,andotherrough
surfacestosettheaugershaveplateslightlyabovethegroundtoavoiddirtandgravelfromentering
theauger.Theoptimalheightoftheshieldwillvarydependingonthetypeofsurfacebeingcleared.
Surfaceswithlargergravelorstoneswouldrequireamoreraisedaugershieldplate.
1. MakesureyourSnowThrowerisonasolid,smooth,andlevelsurface.
2. Placeaspacerboardonthegroundunderneaththeau-
gershaveplatebetweentheskidshoes.Thethickness
oftheboardshouldbethesameastheheightabovethe
groundyouwishtoraisetheaugershaveplateto.The
skidshoesshouldnottouchtheboard(seeFig.10).
3. Usingawrench,loosenthetwo(2)nutslocatedon
eachskidshoeandallowtheskidshoestoslidetothe
ground.
4. Re-tightenthenutsontheskidshoesandwheelyourSnowThroweroffofthespacerboard.
Starting Your Snow Thrower
PLEASE REFER TO ENGINE'S MANUAL (SEPARATE DOCUMENT) TO LEARN HOW TO START
THE ENGINE.
Fig.10
Skid
Shoe
Nut