Page | 10
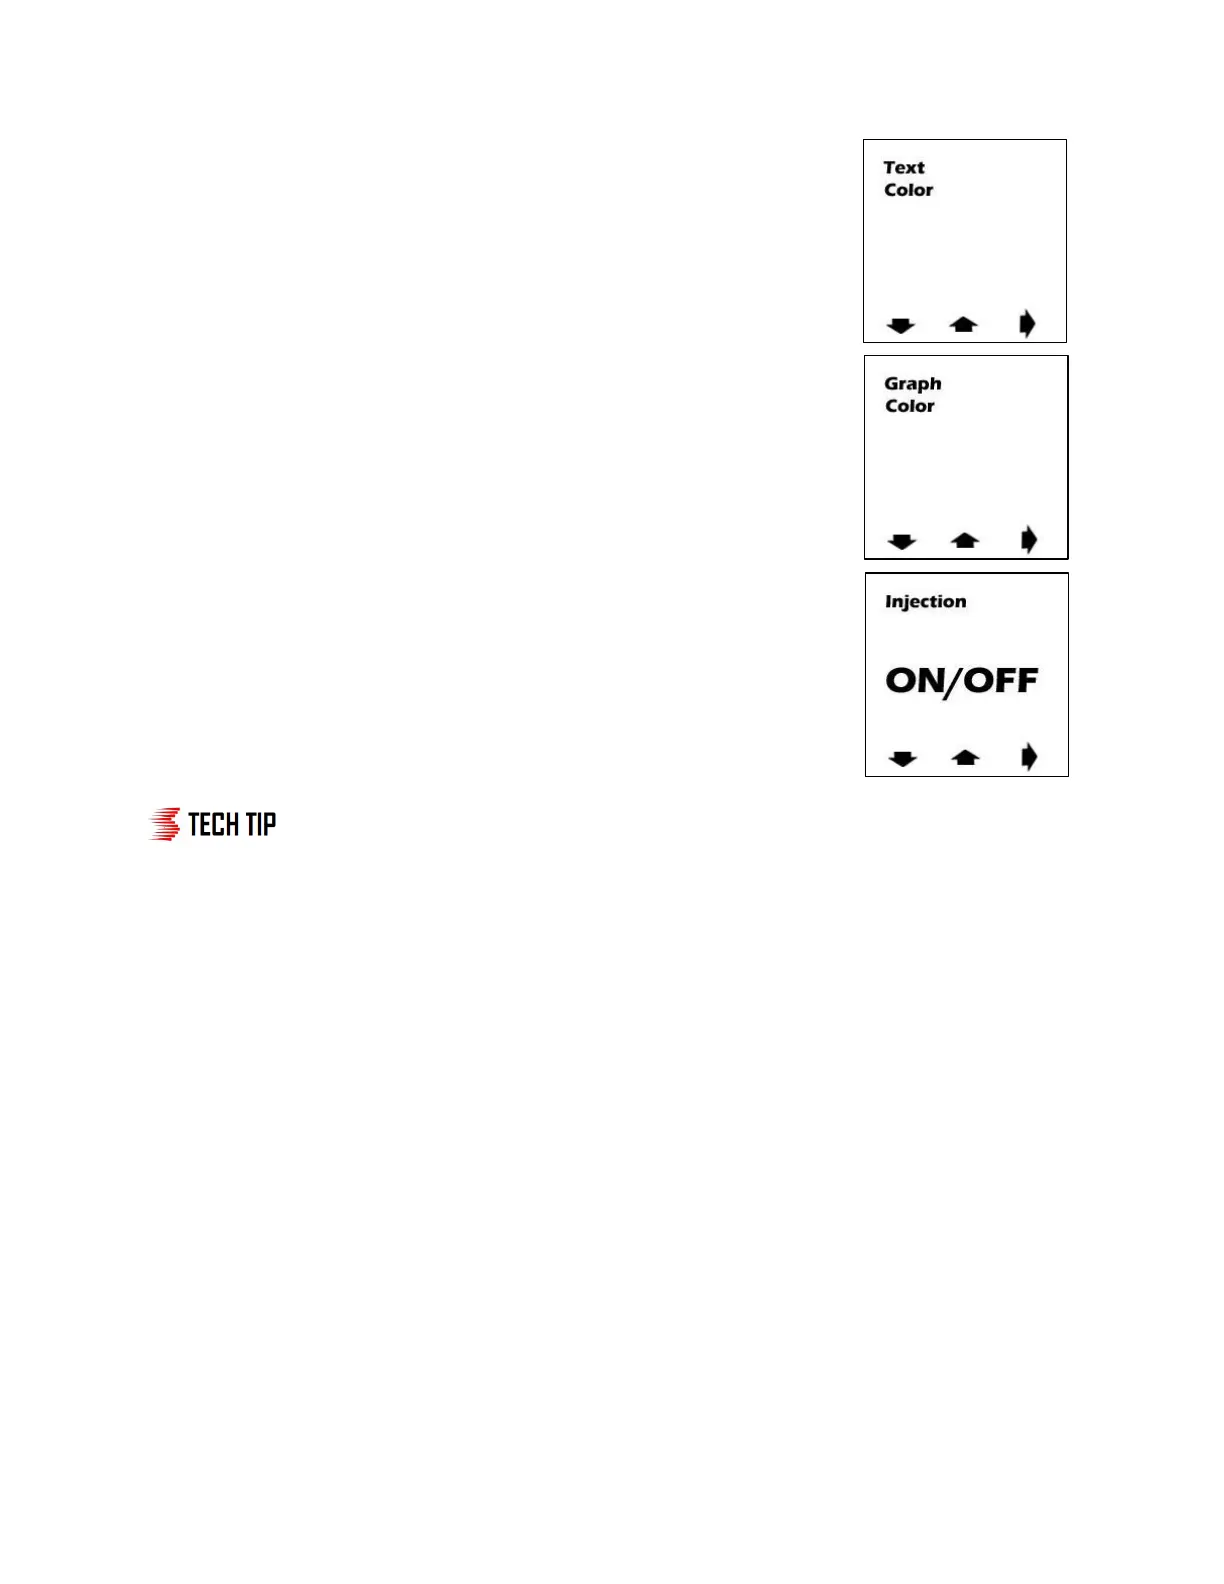
Text Color
● Setting screen 4 (see right) is used to select what text color will be
displayed on screen. Using the red buttons below the up and down
arrows adjust the color to the desired setting (Red, Blue, Green, Yellow,
Orange, Purple, White) are available. Press the red button underneath
the arrow pointing right to move to setting screen 5.
Graph Color
● Setting screen 5 (see right) is used to select what graph color will be
displayed on screen. Using the red buttons below the up and down
arrows adjust the color to the desired setting (Red, Blue, Green,
Yellow, Orange, Purple, White) are available. Press the red button
underneath the arrow pointing right to move to setting screen 6.
Injection On/Off
● Setting screen 6 (see right) is used to toggle between on/off mode. In
“ON” mode injection will take place based off the boost settings in the
unit. In “OFF” mode no injection will take place and the “OFF” icon will be
shown on the main screen. In this mode the controller will only function
as a boost gauge.
In most applications, the start setting should initially be set at ½ of full boost
pressure so that boost levels in normal driving do not trigger injection needlessly.
The full setting should be near the vehicle's max boost pressure. Start tuning by carefully trying
lower start point settings. If bogging is experienced at the onset of injection, move the start
point back up a small amount. Then try lower and lower points for the full setting. If bogging is
experienced as injection ramps up, turn the full point back up to a safe level. The engine should
run with no bogging or miss-fires. Be sure to make small changes and then test them each time
to avoid any drastic differences in injection.
Step 3 Testing the System
You are now complete with your Stage 2 Boost Cooler Install. Check the system for leaks and verify
system wiring. To test the system follow the below steps.
Step 1: Arm the system by putting the key in the ignition
Step 2: Make sure fluid is in the water-meth tank
Step 3: Remove nozzle from intake location and place in highly visible area
 Loading...