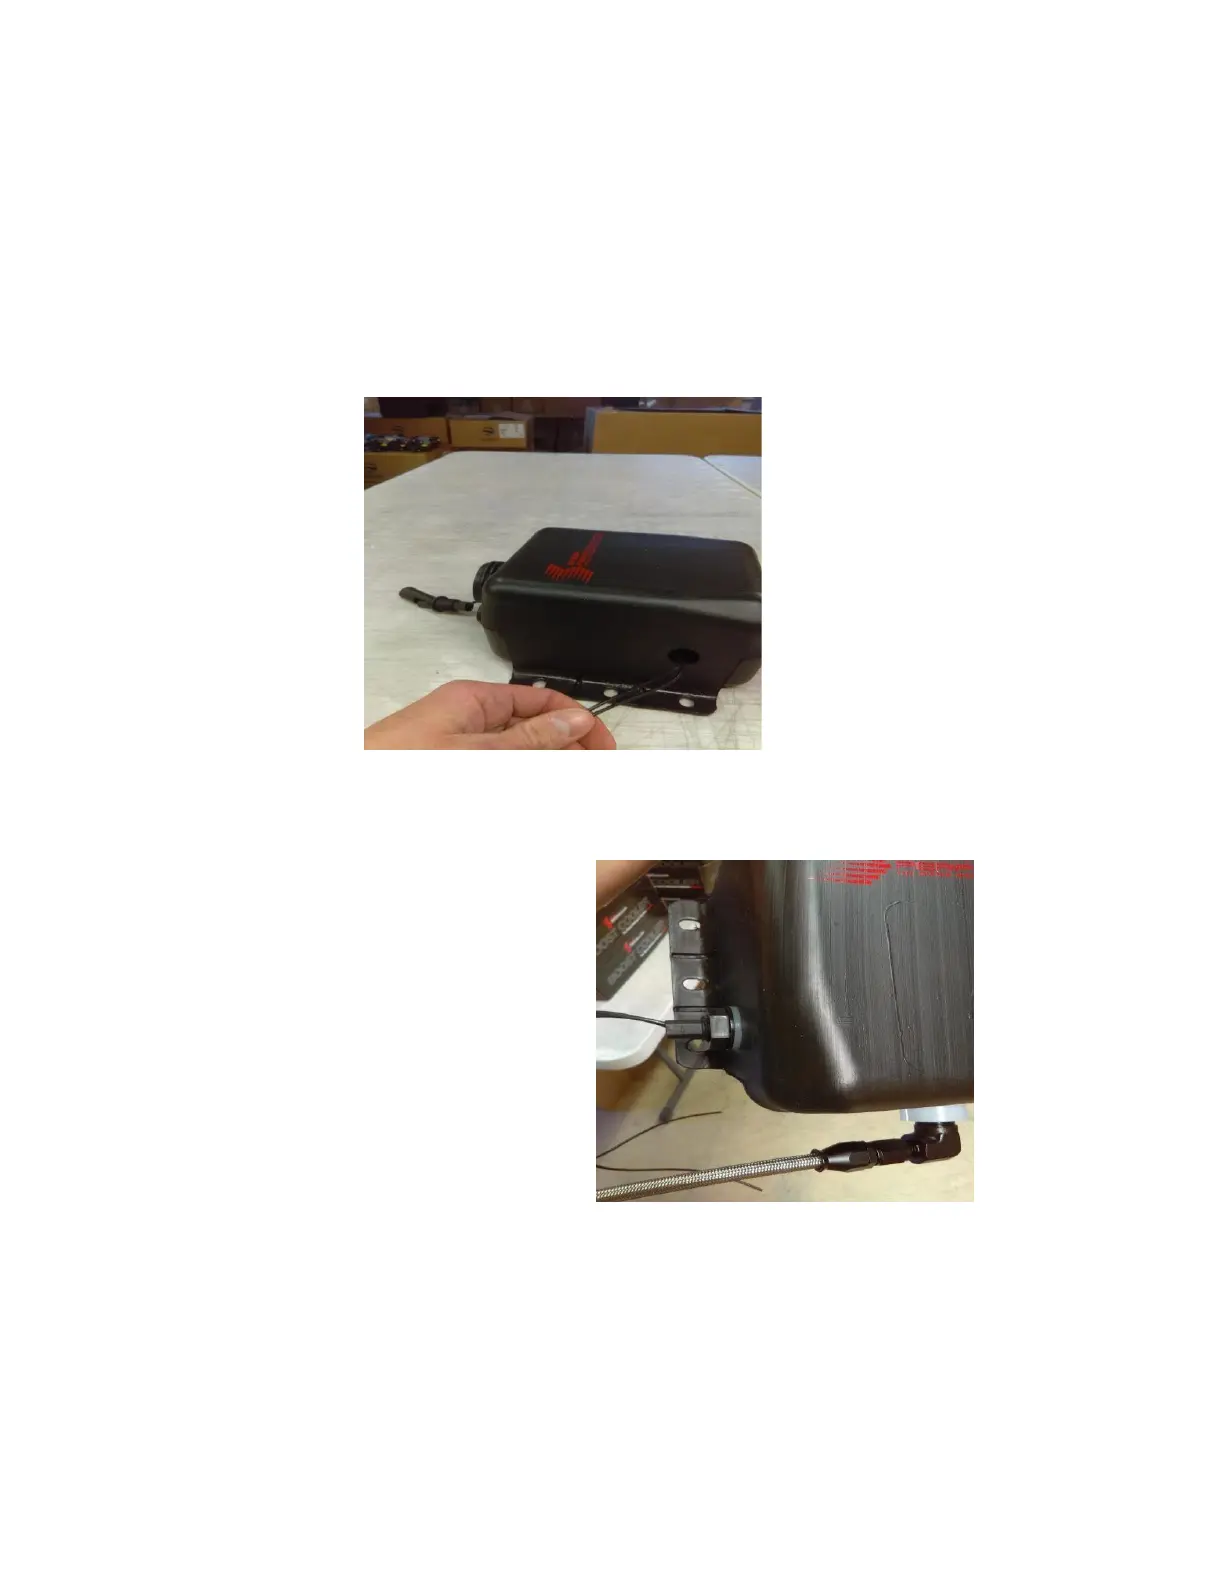
Step 1 Self Sealing Low Level Sensor Install (Optional)
Although not required for kit operation, the low level sensor and yellow led are a great way to monitor
the level of your water-meth tank. The level sensor is designed to turn on the led or alert the controller
in some kits as soon as the level inside the reservoir reaches the level of the sensor.
Step 1: Remove plastic nut, plastic ring, and clear rubber gasket from level sensor assembly.
Step 2: Using either a 7/8” drill bit or a stepped drill bit. Drill the hole for the level sensor at the location
in the tank you want to be alerted. Typical placement is 1/3
rd
of the tank height.
Step 3: Remove the cap from the tank and feed/pull wires through hole until level sensor is seated
against plastic stopper.
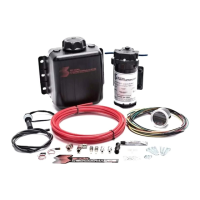
Step 4: Reinstall the clear rubber gasket,
plastic ring, and plastic nut onto the level
sensor.
Step 5: Push clear rubber in until flush with
outside of reservoir.
Step 6: Align the switch so the arrow is facing
down. If arrow faces another direction the
sensor will not operate.
Step 7: Tighten the plastic lock nut until the
rubber gasket pushes firmly on the wall of the
reservoir creating a leak free seal.