5
Charging the Scanner
Use the included AC adapter to charge the Cordless Hand Scanner. The included
NiMH batteries must be charged for at least 4 hours before initial use.
The Battery Status LED will emit a solid red light while charging, and turn off when
the batteries are fully charged (see back cover for more information about the LED).
A fully charged scanner should provide roughly 8 hours of normal operation.
WARNING: Charge only NiMH batteries in the CHS. Damage may occur if
alkaline or other types of batteries are charged. Do not store the CHS for more
than 30 days with the batteries installed.
Besides the included AC Adapter, you can charge the CHS using AC and DC
adapters of the most recent Pocket PCs from Casio, Dell, Fujitsu, HP and Toshiba.
The adapter rating is 5V, 2A, positive pole center.
The red Battery Status LED will not function properly if standard AAA alkaline
batteries are being used.
A charging cradle is available separately for the CHS 7P (not
compatible with 7E or 7M).
For more information, please visit:
www.socketmobile.com/products/accessories/cordless-hand-
scanner-charging-cradle/
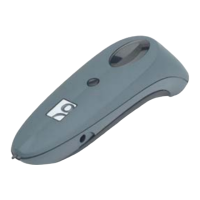
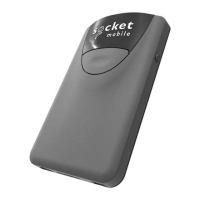
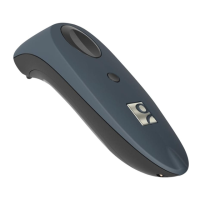
About the Touch Screen Stylus
The CHS features a stylus tip in the tail of the
scanner that you can use on Pocket PC and other
device touch screens. The stylus can be removed
with small pliers if desired. Visit the Socket
website to purchase replacement styli.
WARNING: Do not use the stylus if damaged. A
damaged stylus may scratch the display screen
of your device.
The stylus does not work with XP Tablet computers using Active Matrix displays.
6
SETUP INSTRUCTIONS
STEP 1: Install the Software
You must install SocketScan, but installing Connect!Agent is optional.
1. Delete any bar code scanning software already installed in your computer,
including previous versions of SocketScan. Make sure the software is closed.
Click Start | Control Panel | Add or Remove Programs. Use the utility to delete the
software.
2. Insert the SocketScan installation CD into the CD drive of your computer.
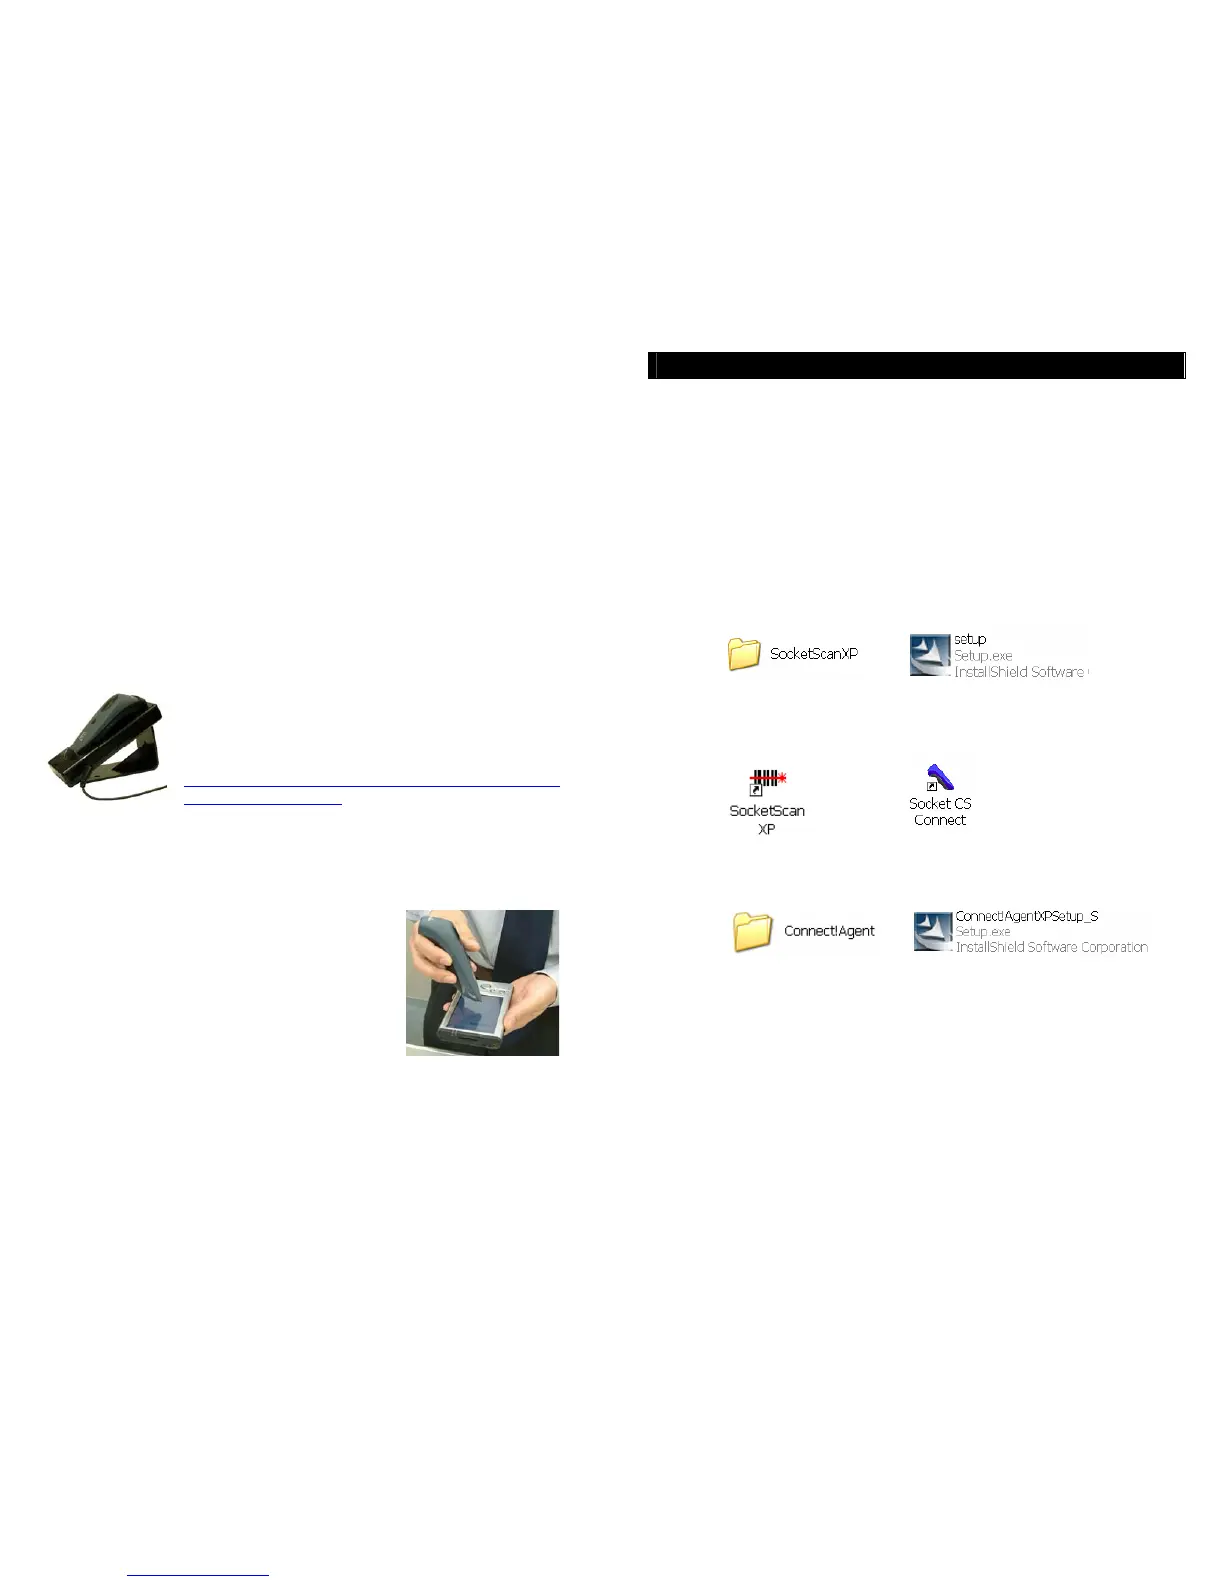
3. Use My Computer or Windows Explorer to access your CD drive. In the CD
contents, open the SocketScanXP folder and click on the Setup.exe file.
4. The installation wizard will launch. Follow the wizard to install the software.
5. After software installation, icons for SocketScanXP and Socket CS Connect will
appear on your desktop.
6. If desired, install Connect!Agent by opening the Connect!Agent folder in the CD
and launching the Connect!AgentXPSetup_S.exe file. Follow the wizard to install
the software.
Note: Connect!Agent is only compatible with the Socket (IVT) BlueSoleil,
Toshiba and Microsoft Windows XP SP2 Bluetooth stacks.