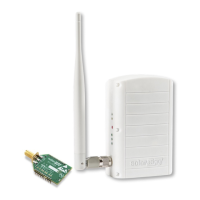
3 When using a standard automatic DHCP router, there is no
need to configure the gateway. If using a static IP instead of
automatic DHCP, configure the home gateway as described in
Appendix B of the SolarEdge Home Gateway Installation Guide.
4 Device Discovery: Press the configuration button on the home
gateway for 5-10 seconds and release it after all LEDS have
turned on. The gateway starts discovering the slave device(s).
The device discovery may take 2-3 minutes, during which all
the LEDs blink. The signal strength LEDs also light up.
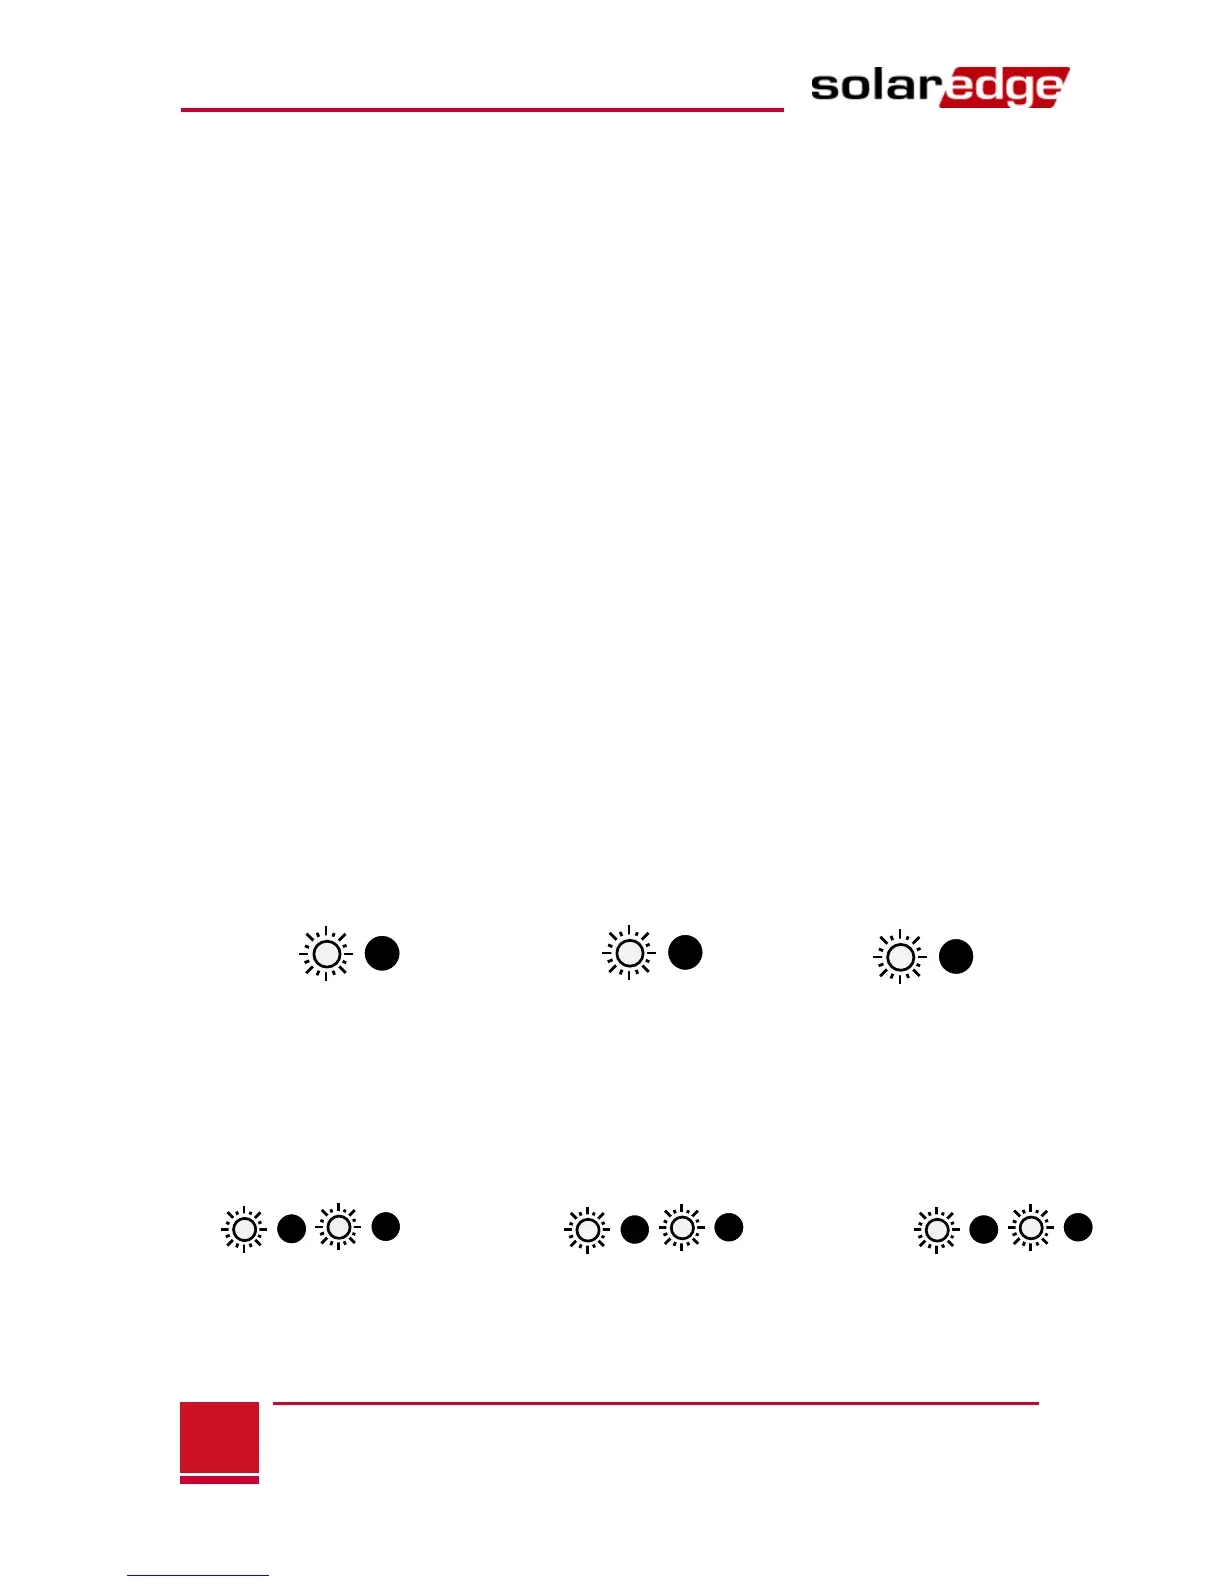
Verifying the Connection
1 Verify that the S_OK LED is ON, which indicates the
communication with the SolarEdge portal is established. This
may take up to five minutes. If the LED does not light up, refer
to Appendix A in the SolarEdge Home Gateway Installation
Guide.
2 After device discovery, verify that the yellow (Link) LED blinks
and indicates the correct amount of slaves, as described in the
following illustration. There can be more than two slaves.
 Loading...