For the most current Installaon Instrucons, please visit www.solatube.com/instrucons
Solatube Internaonal, Inc. | 2210 Oak Ridge Way | Vista, CA 92081-8341 | www.solatube.com | T: 888.SOLATUBE
© 2020 Solatube Internaonal, Inc. Part No. 951845 v1.1
3
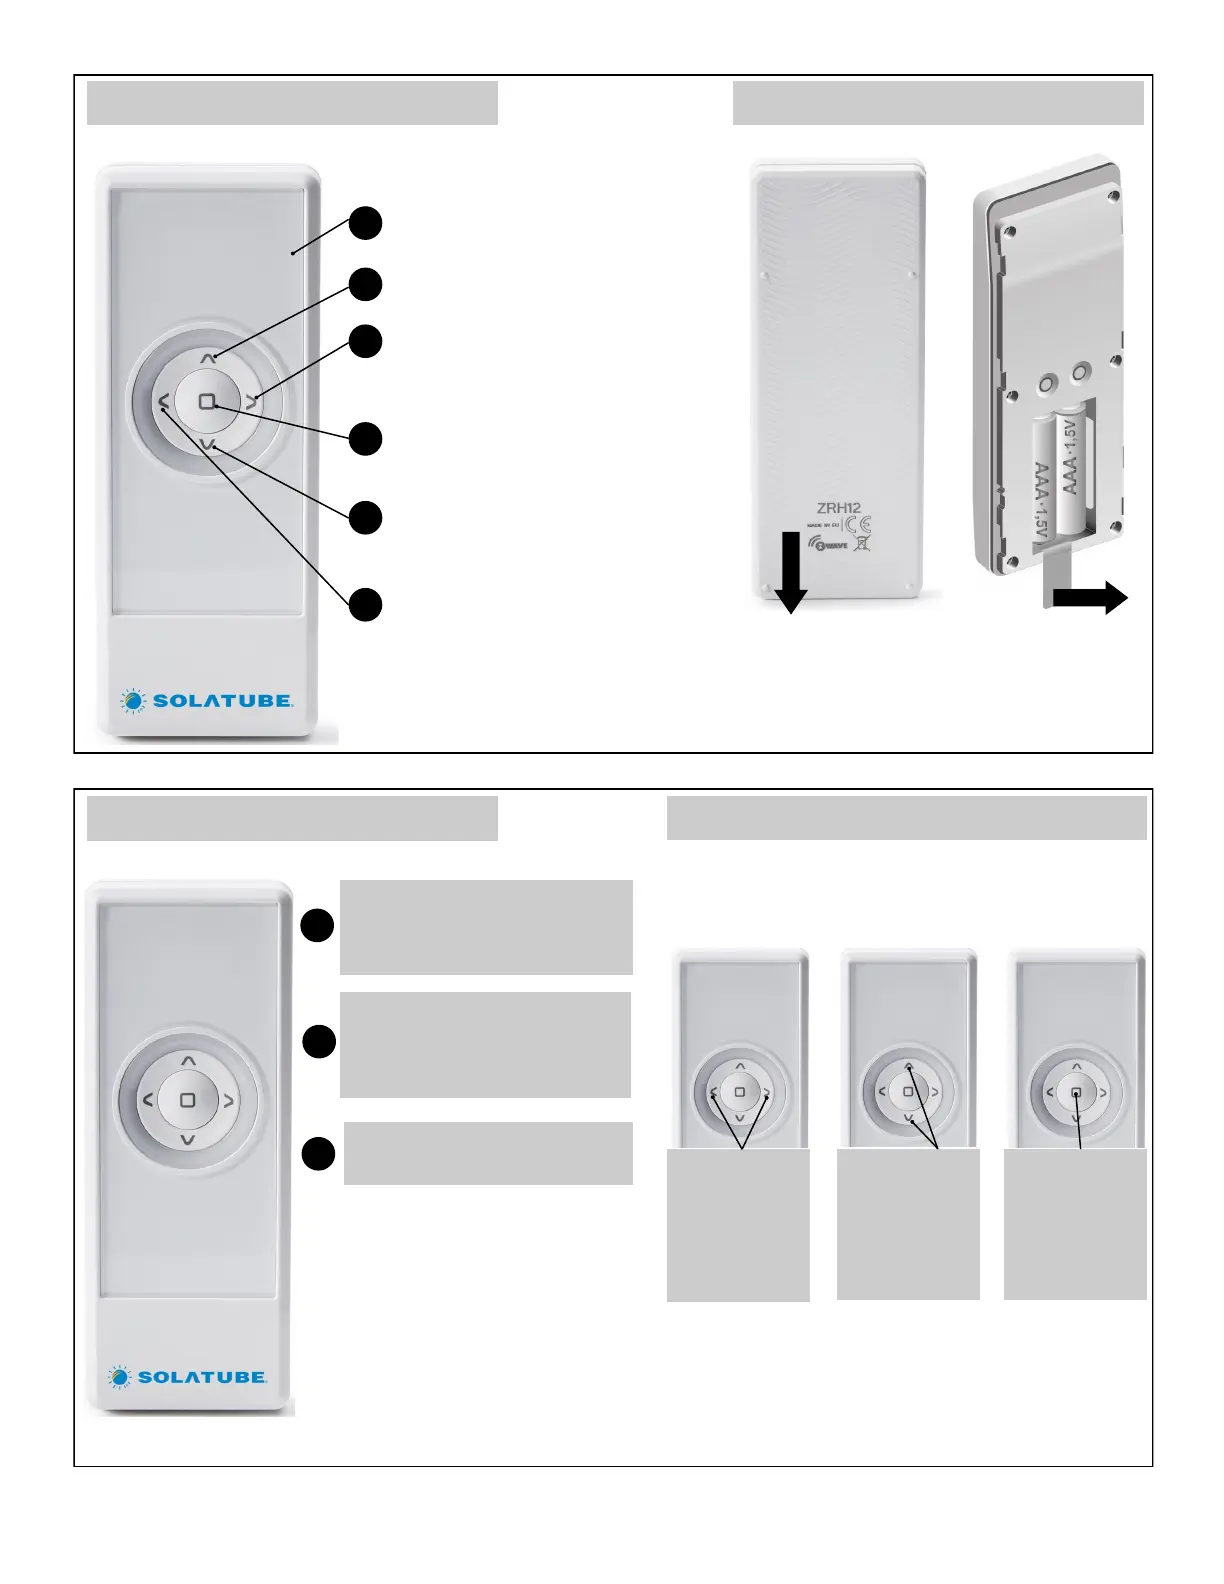
Remote Control Structure
Display
1
2
5
4
6
3
SHORT press of the control (less
than half sec.) causes the acon to
reach end posion.
1
LONG press of the control (longer
than half sec.) causes the acon
unl releasing the buon.
2
Pressing STOP buon stops the
acon
3
Navigaon, Control Buon—UP
Navigaon Buon—RIGHT
Stop, Accept Buon—STOP
Navigaon, Control Buon—DOWN
Navigaon Buon—LEFT
Remote Control Preparaon
1. Slide down back cover of remote to remove
baery cover.
2. Remove plasc baery protector
3. To replace baery cover, slide cover up and click
into place.
Control
Control Modes
Device Control
Controlling devices using the Solatube remote control
consists in controlling selected group of devices. If you
want to control devices independently, they must be
assigned to separate groups.
Using LEFT/
RIGHT buons
select the group
you want to
control (only
acve groups).
Using UP/Down
buons control
device or
devices.
Stop the acon
by using the
STOP buon.
8 8
8 8
8 8 8 8 1 1 8 8
-
-
-
-