1312
INSTALLATION
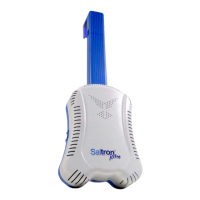
7. Affix the power supply to a wall or a post near the pool
in a shaded area (Fig.12).
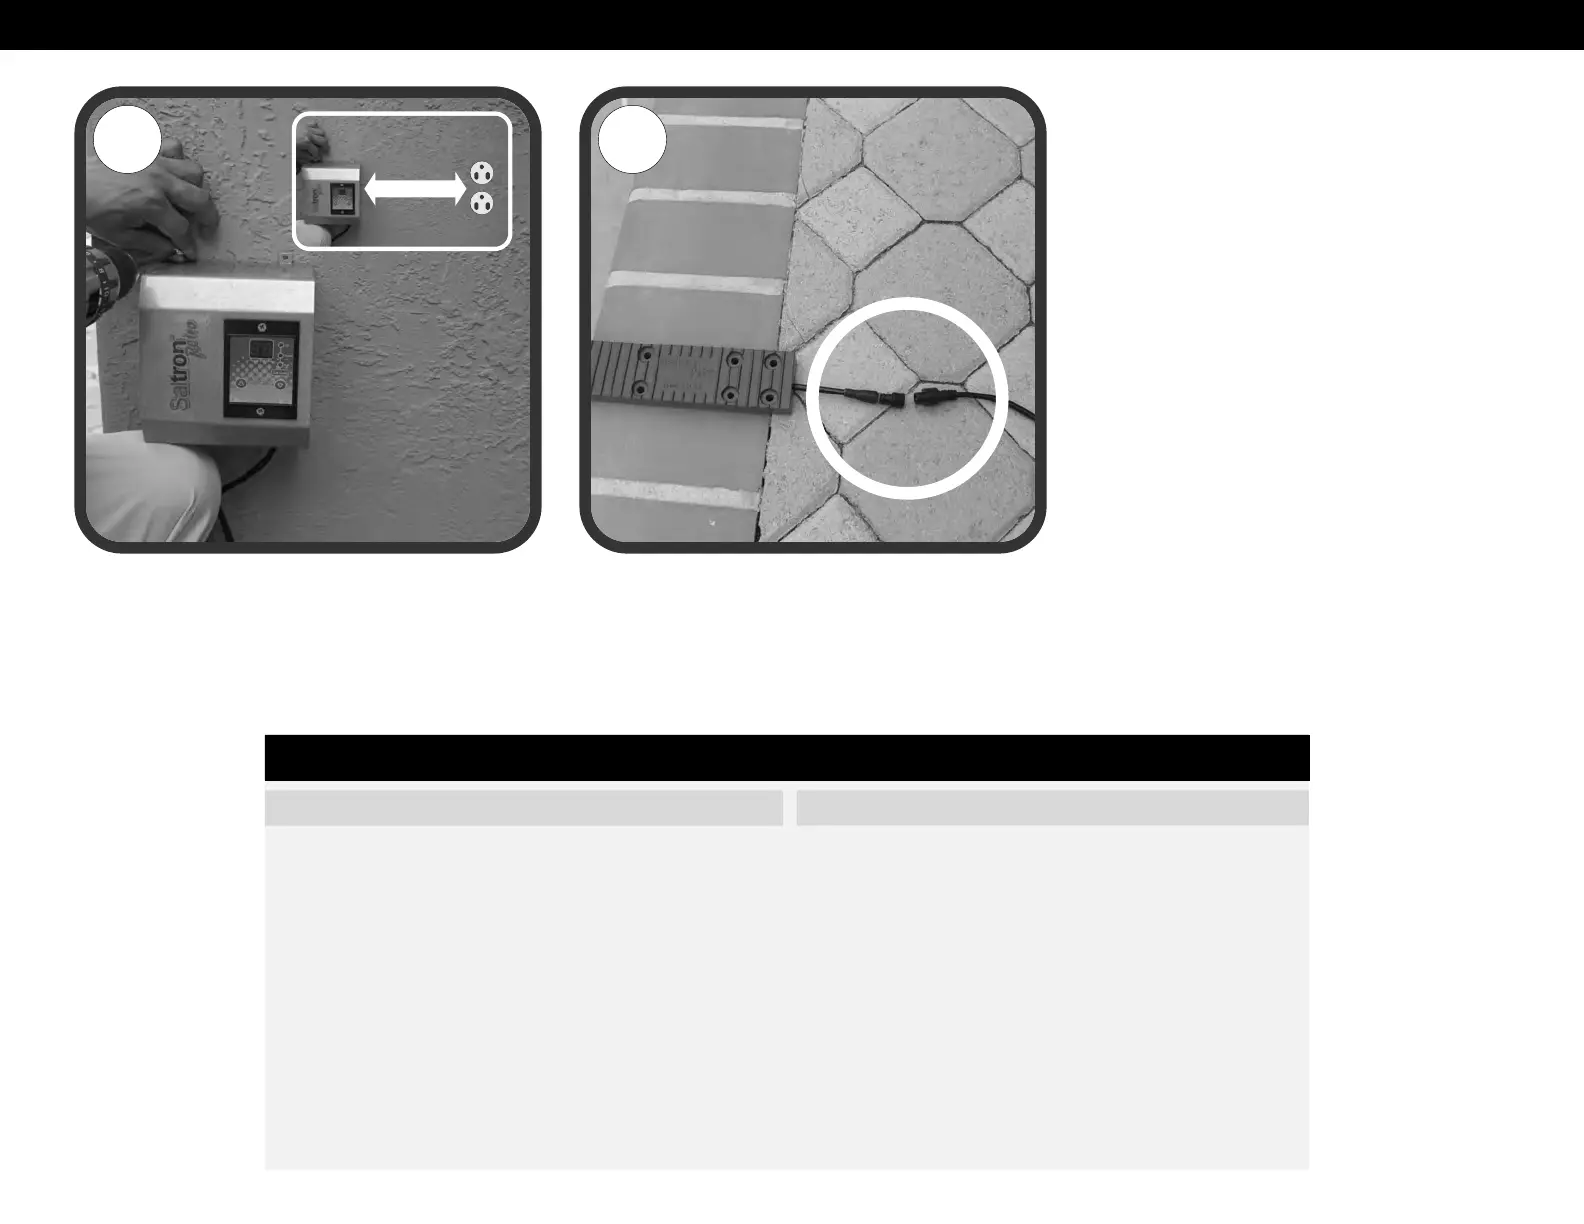
8. Connect the cell cable connector securely into the
power supply cable connector (Fig.13).
9. Plug power supply into the GFCI socket.
10.Bubbles will rise from the unit in the water and a white
milky cloud may be observed. This is absolutely normal
and no special attention is needed.
11.The unit will default to 20 hours of chlorination per
day and the green LED should be illuminated. If the
HIGH or LOW SALT LED is illuminated, please refer to
the troubleshooting section of this manual.
12.Leave the unit on its default setting for a few days
and monitor the chlorine level each day. To adjust the
chlorine setting on the Saltron, refer to the Chlorine
Adjustment section of this manual.
The Saltron system is designed to automatically generate the chlorine for your pool. It is very important to note that chlorine is just one component of your pool chemistry.
Please make sure your pool meets the optimum chemistry levels in the following Pool Chemistry Chart. Test your water weekly or take a water sample to your nearest pool
store. Maintaining these levels will maximize the life of this product. Be sure to inform the pool professional that you are using a chlorine generator.
FACTORS EFFECTING POOL CHEMISTRY
1 Salt
2 PH
3 Free Chlorine
4 Total Alkalinity
5 Cyanuric Acid
6 Saturation Index
7 Phosphates
8 Nitrates
9 Metals
10 Calcium Hardness
PREFERRED LEVELS
3000 to 4000 ppm
7.2 to 7.6
1 to 3 ppm
80 to 120 ppm based on the Saturation Index
60 - 80 ppm
0 ± 0.3
0 ppm
0 ppm
0 ppm
Depends on the pool finish
Pool Chemistry Chart
5
Compliments of www.poolsandstuff.com
 Loading...