12
Note
The compass and GPS will likely be affected by metal structures such as cars, airplanes, etc. Using these
devices inside a car, plane or other metal structure may reduce the accuracy of both the compass and
the GPS.
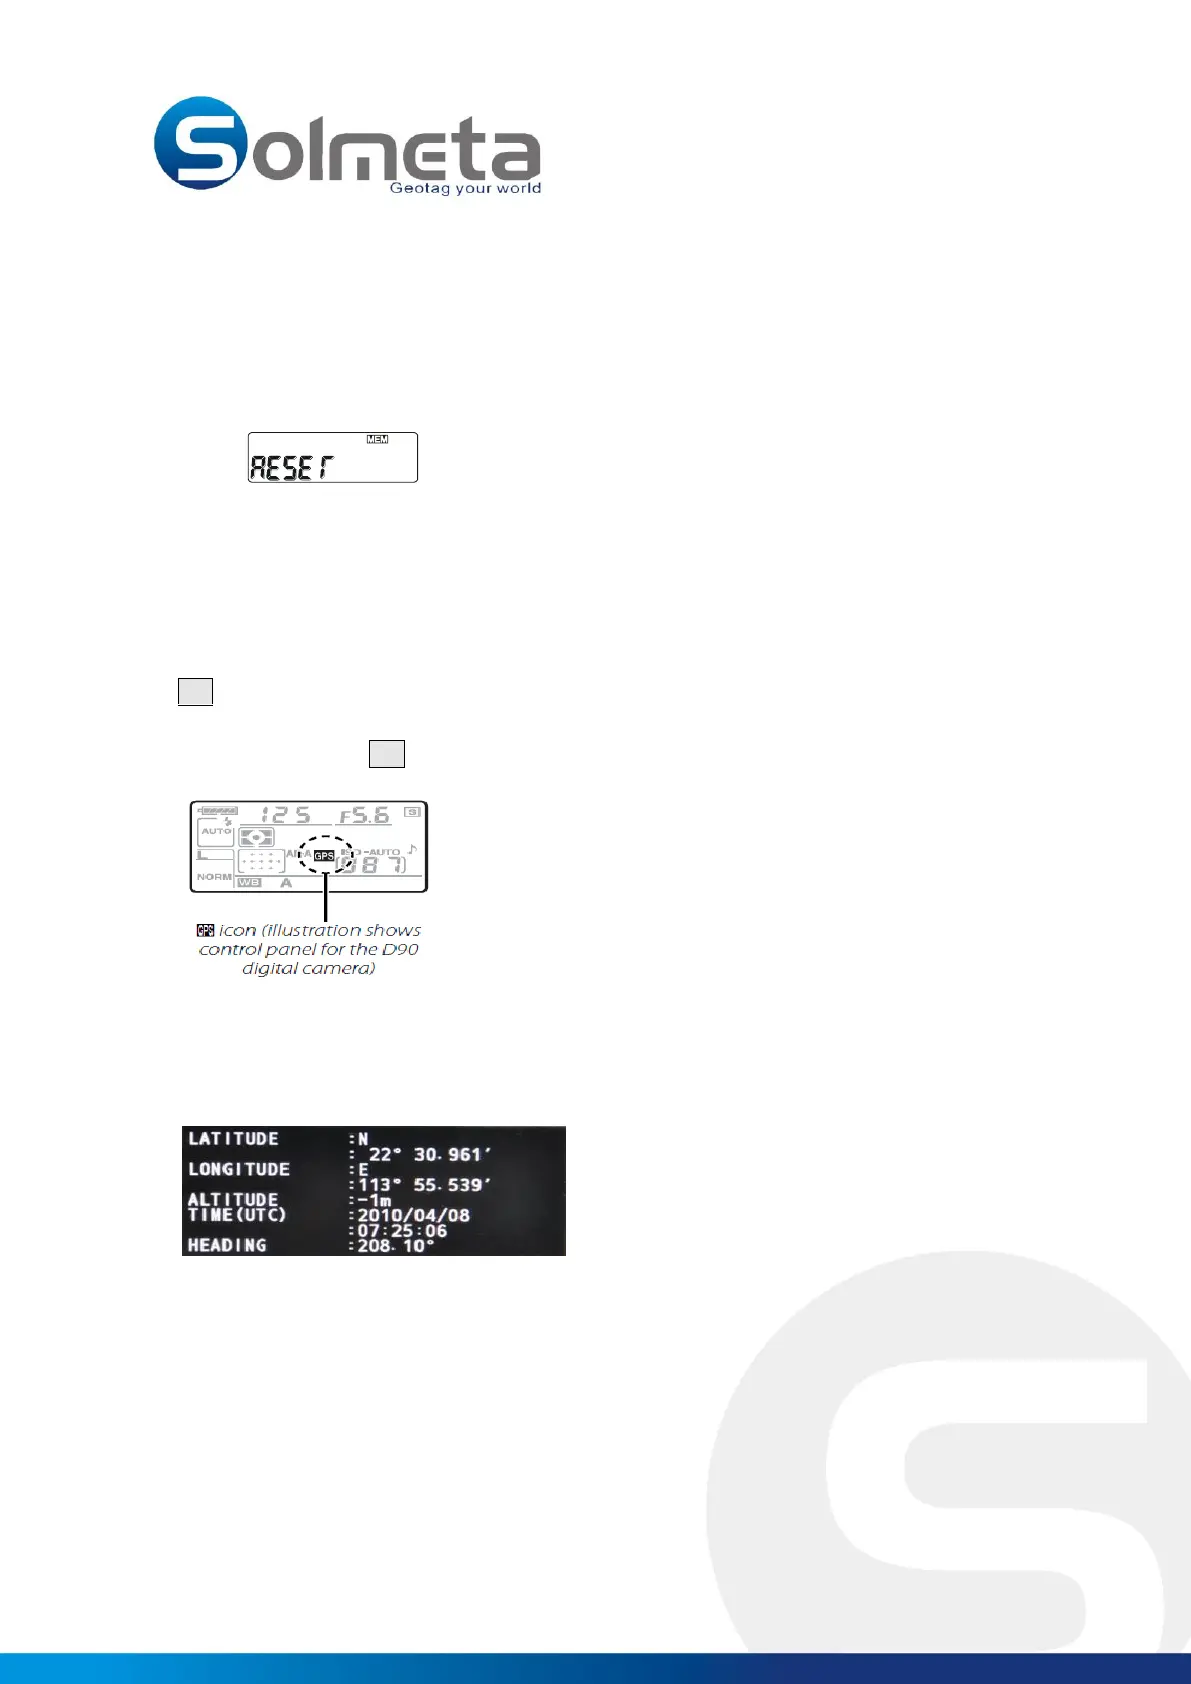
If the compass is not accurate after the calibration, it should be reset. The procedure as below.
1. Turn the Pro on, firmly press both the ENTER and MENU button together for about 2 seconds
until the LCD display as below:
2. Then press the ENTER button to confirm system reset.
Capture and record the location data
1. Connect the Geotagger Pro to the camera with the appropriate data cable, then turn the Pro on. The
GPS icon in the LCD will blink quickly, after a while will slow down and at last steady, that means the
Pro is being fixed and ready to supply the GPS data.
2. Turn the camera on, a GPS icon will be displayed in the control panel on top of the camera.
3. To view GPS data, select GPS> Position in the camera setup menu (this option is not available with D2X,
D2XS, D2HS, and D200 cameras). The current latitude, longitude, altitude, heading , and UTC will be
displayed as below.( a electronic compass is built in the Geotagger Pro , which can supply the compass
heading to the photo file.)
4. Take pictures, the GPS data and the heading data will be recorded with each photograph.