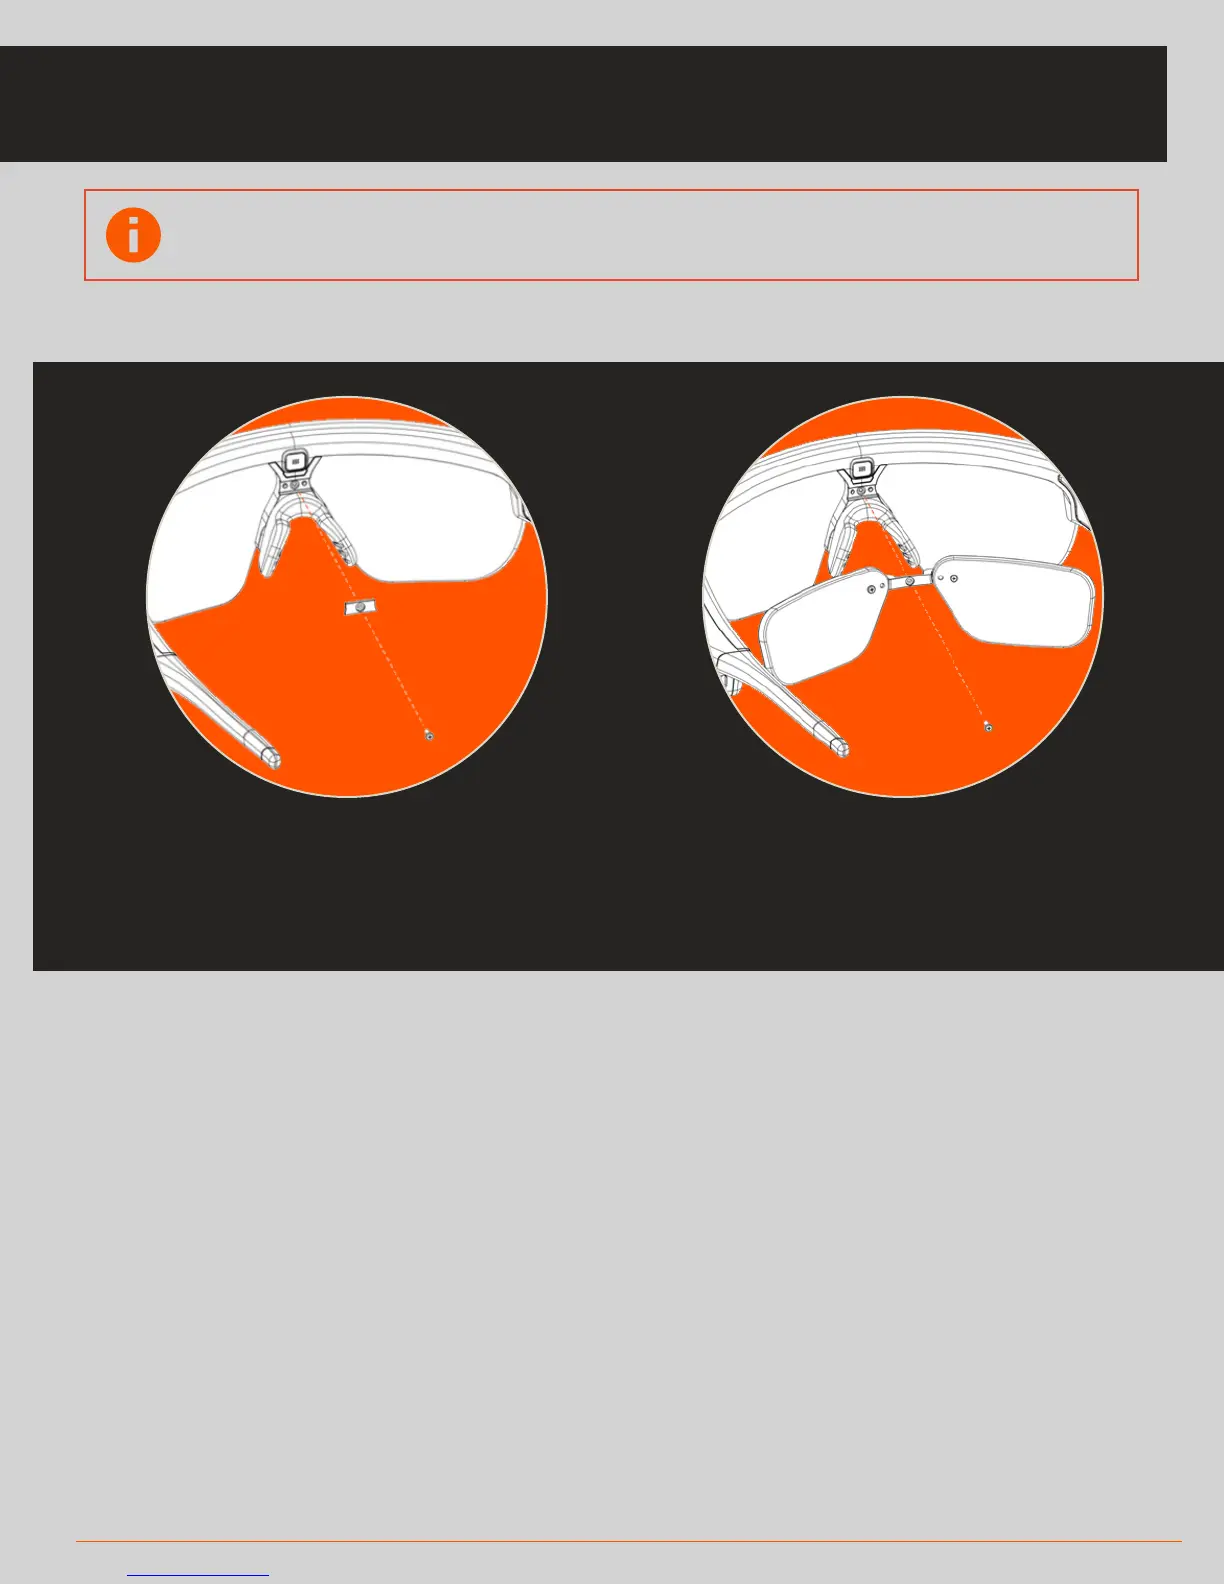
1. Remove the thin bar located above the
nosepiece using a Phillips head
screwdriver
2. Position your prescription insert where
the thin bar was and use the same screw
to fasten the insert to your Solos headset
5 UNIT SETUP
CHANGING AND PROTECTING THE LENS
To attach a prescription lens, follow these steps:
Using Protective Lens Sleeve
*Note: This protective sleeve is not meant to prevent
damage to the headset under extreme forces or abuse
• Un-Velcro the flap to open the sleeve
• Slip the headset into the sleeve and close the
flap over the front of the Solos lens
• It should fit over the Solos optics module
Swapping interchangeable lens
To remove a lens from the headset:
• Detach the sides from the headset frame then
• Twist the lens either counter-clockwise or
clockwise to detach from the nose frame
To insert a lens:
• Insert both sides of the lens
into their proper areas on the
headset frame
• Align the lens with the nose
frame, then snap into place
Note: You will need to get your custom prescription lenses cut at an
optician before using with Solos