10
CONTENTS
WELCOME 2
1. SAFETY 3
2. NINA TIMER IO REMOTE CONTROL 5
3. USING NINA TIMER IO 16
Control an item of equipment 16
My function 18
Natural Control function 22
Launch a scenario 27
Sunlight Function 28
Alarm function 32
Timer function 34
Create typical days 39
Program the week 57
View programmed actions 60
4. CUSTOMIZING NINA TIMER IO 68
Customize items of equipment 68
Customize groups 72
Customize scenarios 78
Define timer settings 83
Customize remote control 88
5. ADVANCED SETTINGS 94
6. TROUBLESHOOTING 107
7. ABOUT NINA TIMER IO 108
Copyright © 2017 - 2021 SOMFY ACTIVITÉS SA, Société Anonyme. All rights reserved.
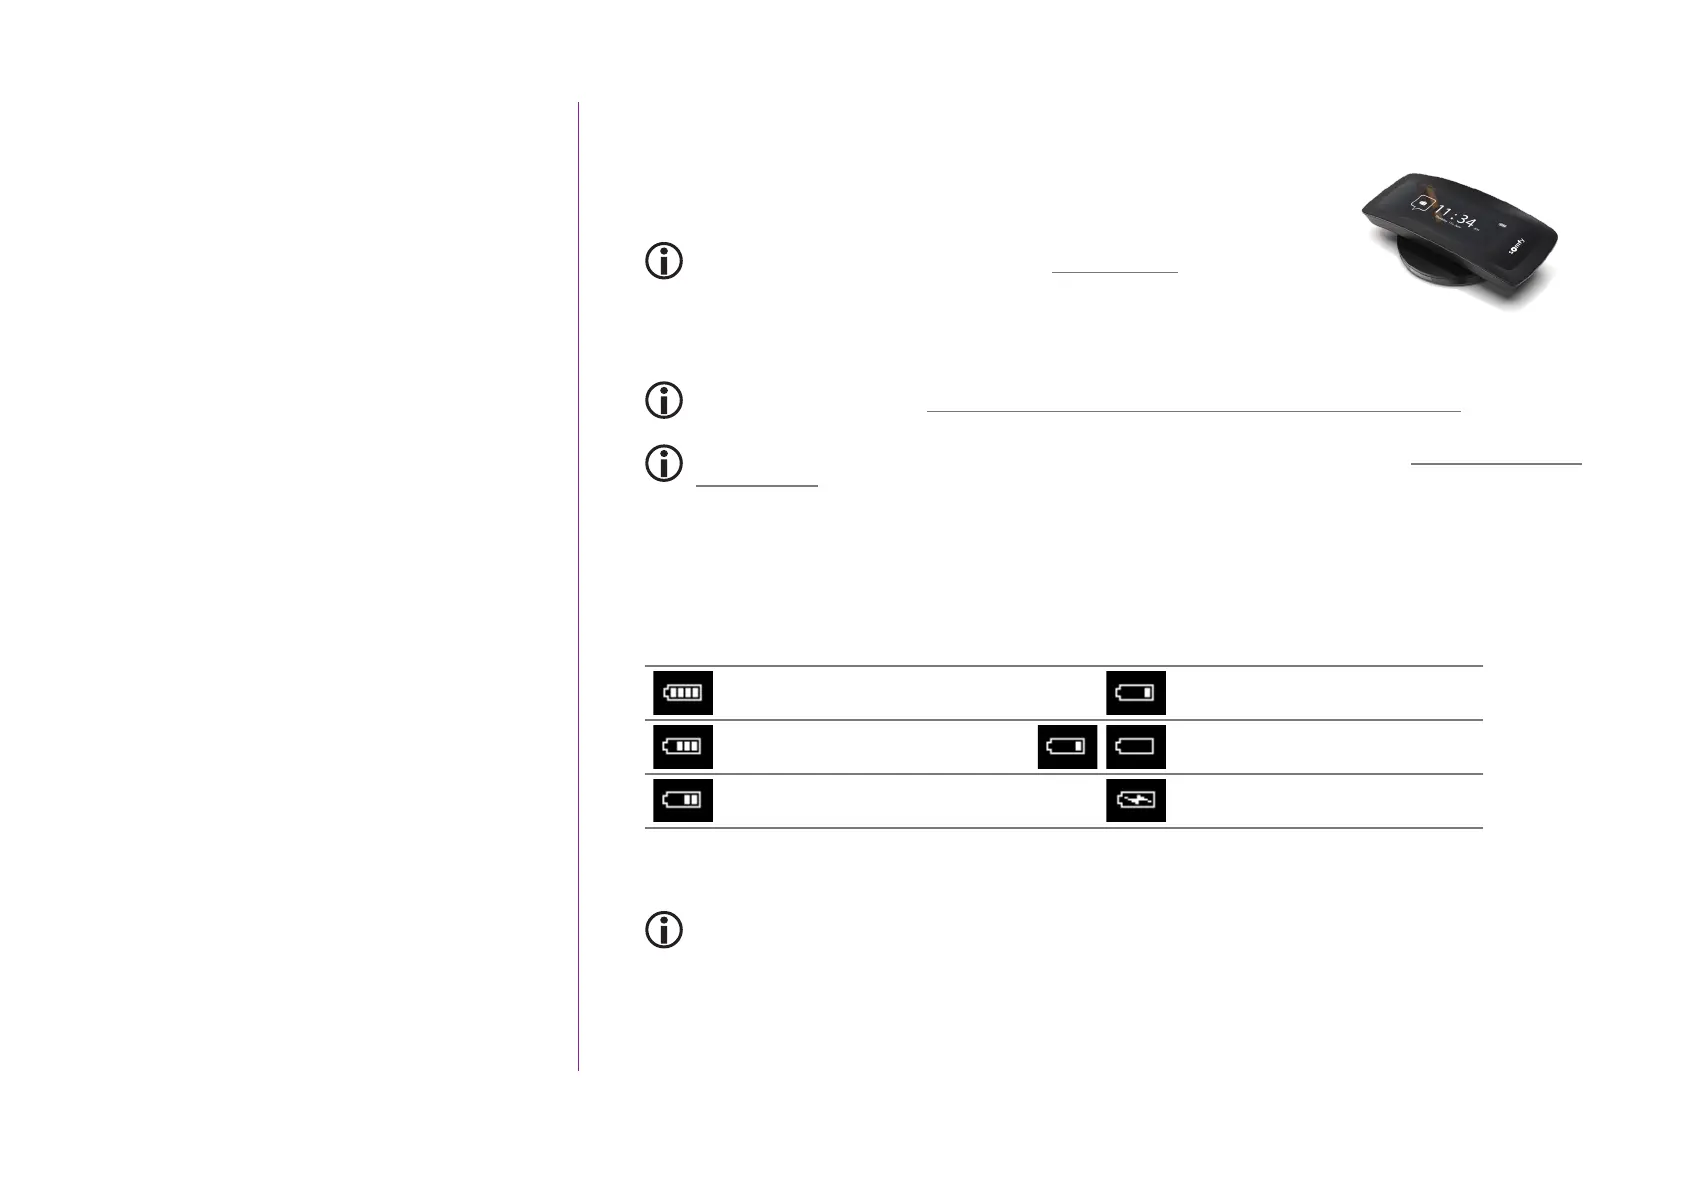
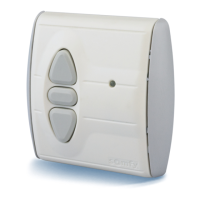
Base
The Nina Timer io remote control is placed on the base for easy viewing.
The base can also recharge the Nina Timer io battery when the remote control is
placed on it.
To recharge the Nina Timer io battery, see Battery, page 10.
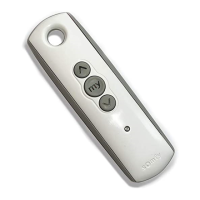
Nina Timer io is in operation when it is placed on its base: the screen is always on.
It goes to the standby screen after 10 seconds of inactivity.
To disable this function, see Manage the screen status when Nina Timer io is on its base, page 91.
For an overview of the home screen depending on the position of Nina Timer io, see Nina Timer io remote
control, page 7.
Battery
Battery level
The battery level is indicated by a dynamic icon as shown below:
Battery full (>75%) Battery between 10% and 25%
Battery between 50% and 75%
Battery <10% (flashing)
Battery between 25% and 50% Battery charging
When the battery level reaches 25%, a warning message is displayed, prompting you to place Nina Timer
io on its base.
When the battery level is between 6% and 10%, another warning message is displayed: the remote
control can only be used if it placed on its base, until the battery level has risen again.