Lighting the Grill
Do not attempt to "Light" the grill if the odor of gas is present!!
BEFORE LIGHTING
Important! Before Lighting:
• Check the gas supply line for cuts, wear or abrasion.
• Always keep your face and body as far away from the grill
as possible when lighting.
GRILL BURNER LIGHTING
Lighting the Grill with electronic igniter
1. Make sure all control knobs are in the "OFF" position.
2. Open the gas supply valve located on top of your L.P.
tank.
ATTENTION: When turning the L.P. tank on, make sure
to open the valve very SLOWLY two (2) complete turns
to ensure proper gas ow.
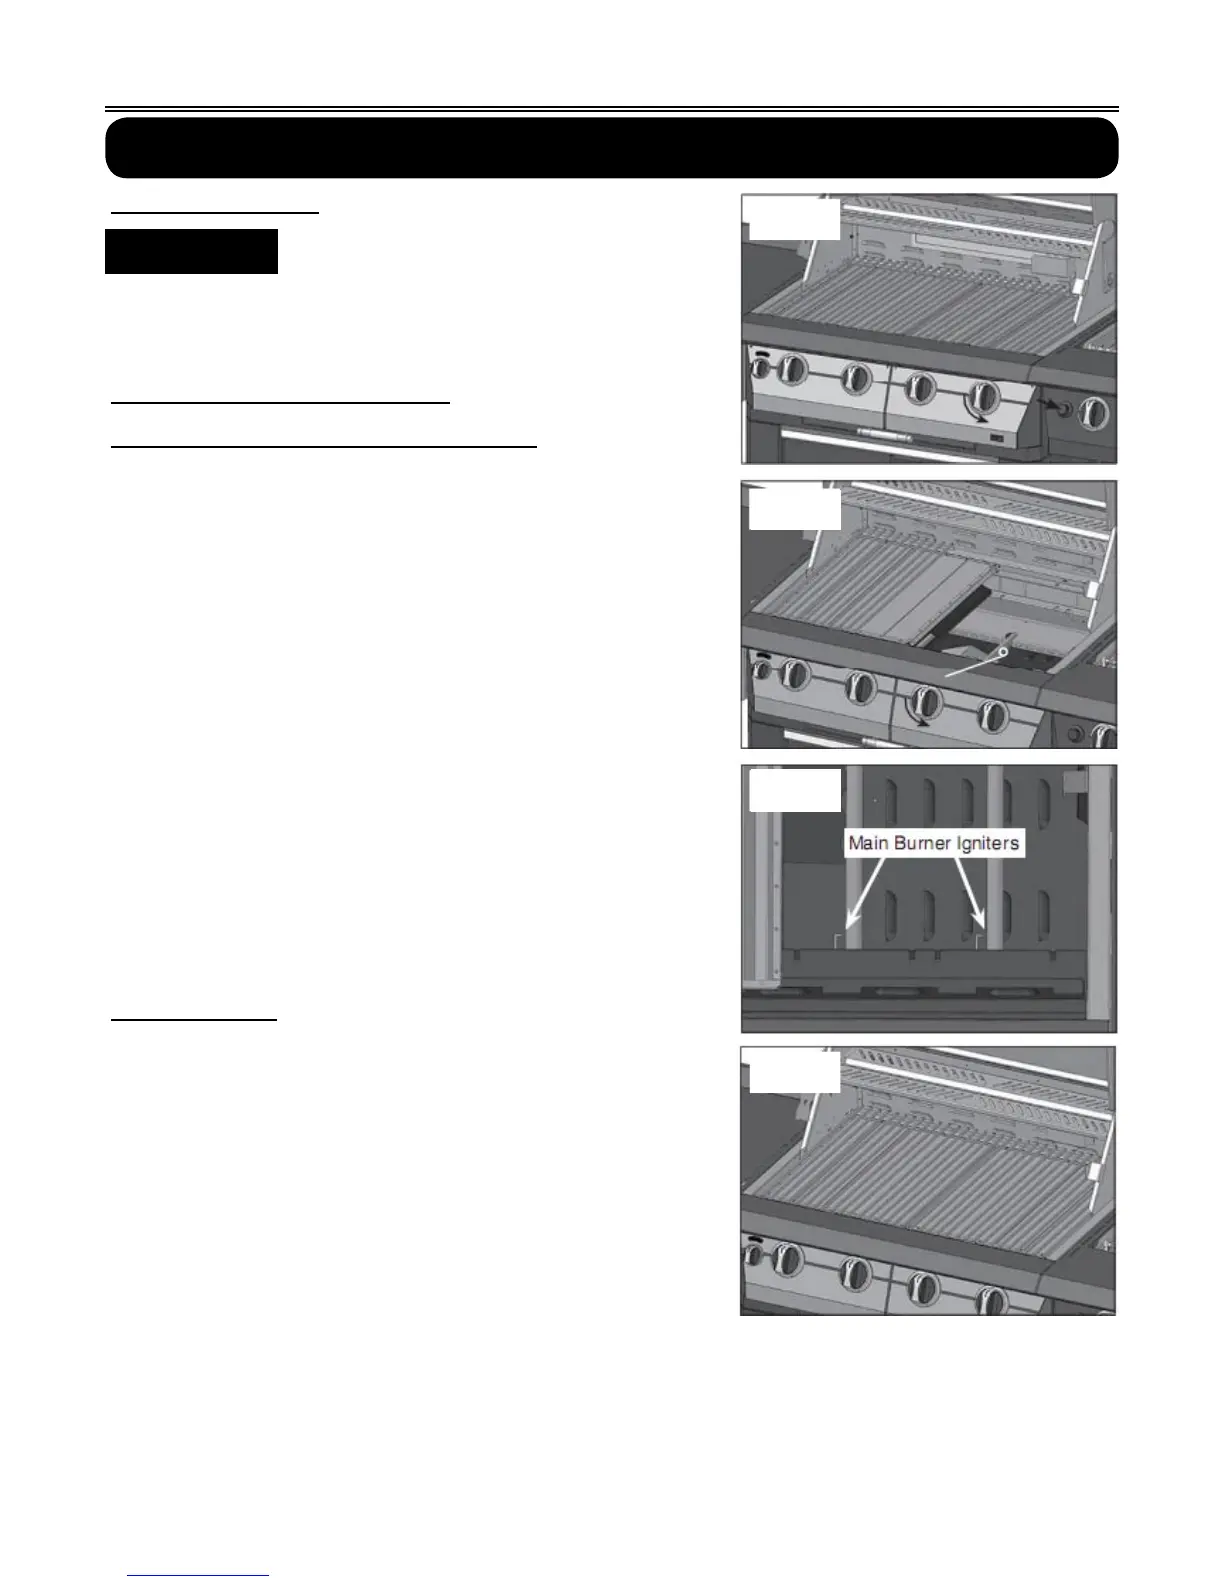
3. Always open the hood before attempting to light.
4. Push and turn one of the control knobs counter-clockwise
to the "HIGH" position and immediately press the
electronic igniter button. You will hear a snapping sound. It
may be necessary to hold the electronic starter button for
about 4 seconds. (See Fig. 19)
NOTE: If the burner does not light in 4 seconds, turn the
knob to the “OFF” position and wait 5 minutes before
trying again.
5. Repeat above steps to light remaining burners.
Match Lighting
If by chance the electronic igniter does not light the burner,
the burner may be lit with a match attached to the match
extender, located on the inside of the cart door.
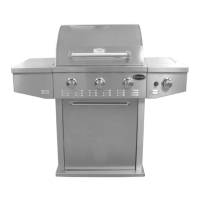
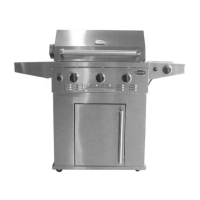
Remove the main cooking grate, anti-flare screens flavor
grid. Keep your face as far away from the grill surface as
possible and pass the match extender to the ports of the
main burner tubes. Position the match near the burner ports
and push and turn the control knob counter-clockwise to the
"HIGH" position. After the burner has lit, turn the knob to the
"LOW" position and carefully place the flavor grid screen
and grate back in position. Then turn the control knob to the
desired setting. (See Fig. 20-22)
NOTE:
If the grill will not light after several attempts see the
troubleshooting section of this manual. Turn the control
knobs to the OFF position when not in use.
▲
!
WARNING
16
Fig. 18
Fig. 19
Fig. 20
Fig. 21