Chapter 2 Fitting and Connections
40 Chapter 2 Fitting and Connections
Using Accessories
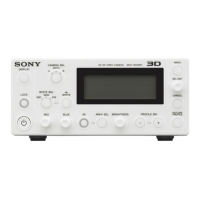
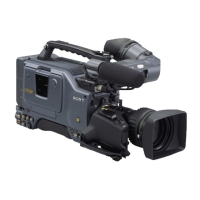
WRR-810A/860A
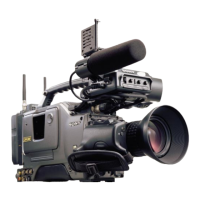
Input selection switch: Set to LINE.
To audio mixer, etc.
AUDIO IN
CH-1/CH-2
5
4
14
2,3
LINE MIC
+48V ON
AUDIO IN
CH-1
FRONT
VJ MIC
WRR
REAR
CH-2
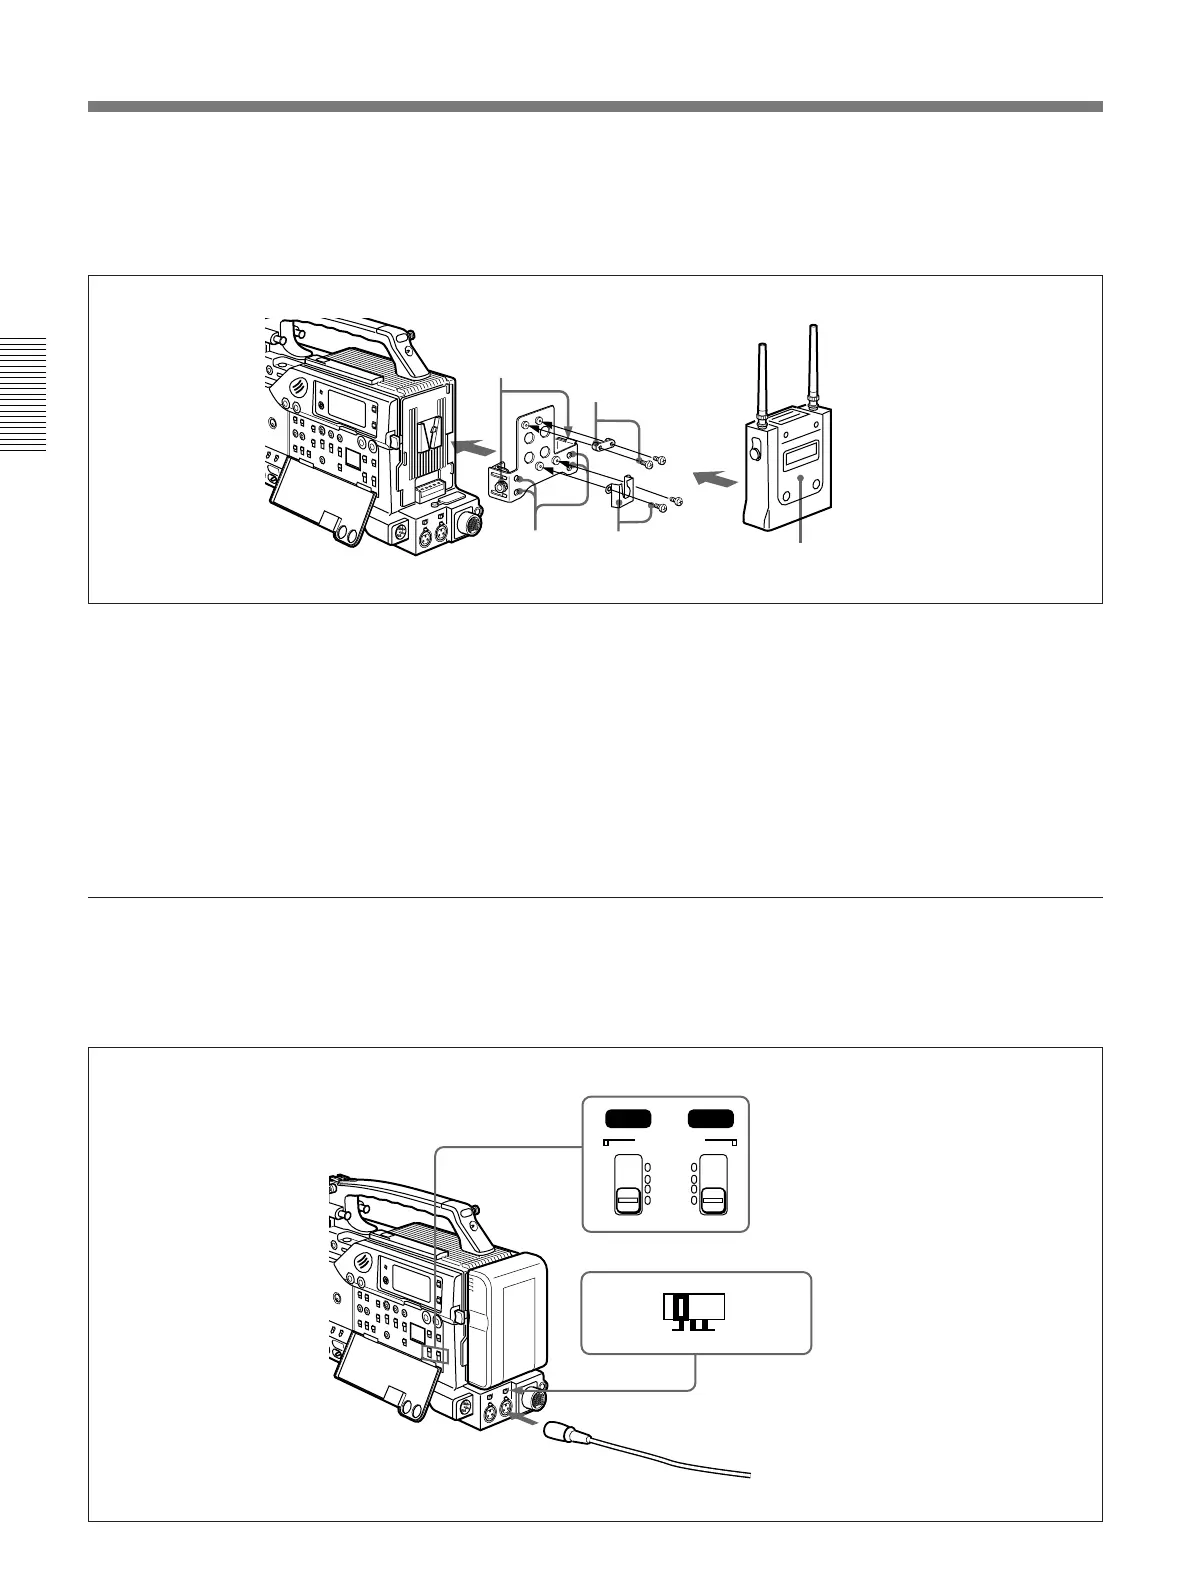
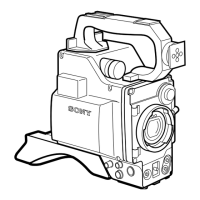
To connect a WRR-810A/860A
Attach the WRR tuner fitting (not supplied) (Part No.
A-8278-057-A) to the rear of the camcorder as shown
in the following figure.
1 Pass a screwdriver through the holes and tighten
the screws .
2 Loosen the adjustment screws.
3 Adjust the metal fitting position for a battery
pack to be attached, and tighten the adjustment
screws to fix its position.
4 Attach the holder kit (two fittings and four screws,
supplied with the tuner) to the WRR tuner fitting
(one for the upper position and the other for the
lower position).
5 Mount the tuner on the WRR tuner fitting.
For details about the WRR tuner fitting (Part No. A-8278-
057-A), contact your Sony dealer.
Using an external audio system
Connect an audio mixer or other external audio system
component to the AUDIO IN CH-1/CH-2 connector as
shown below.
AUDIO IN (CH-1/CH-2) switches: Set to REAR.