EasyManua.ls Logo

Sony AV-3420CE - Page 9

Sony AV-3420CE
88 pages
Print Icon
To Next Page IconTo Next Page
To Previous Page IconTo Previous Page
Loading...
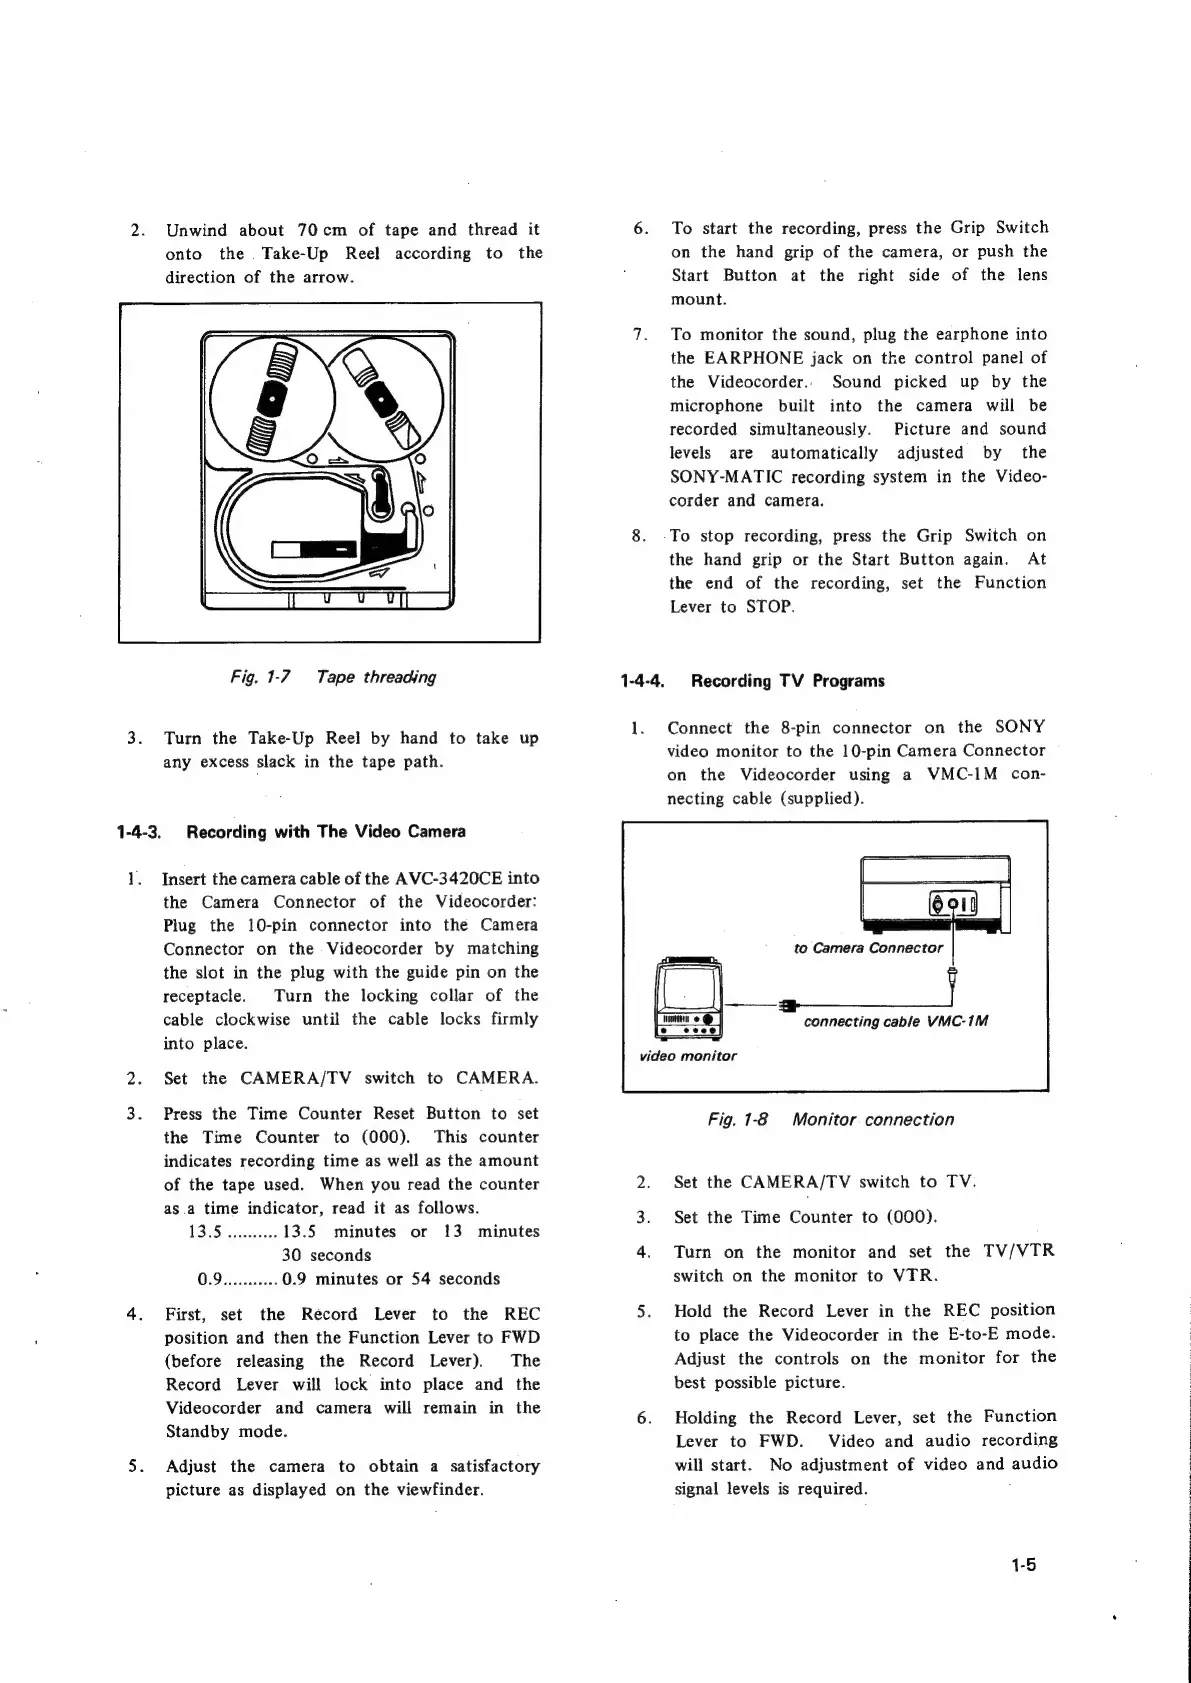
2.
3.
1-4-3.
Unwind
about
70cm
of
tape
and
thread
it
onto
the
.Take-Up
Reel
according
to
the
direction
of
the
arrow.
Fig.
1-7
Tape
threading
Turn
the
Take-Up
Reel
by
hand
to
take
up
any
excess
slack
in
the
tape
path.
Recording
with
The
Video
Camera
Insert
the
camera
cable
of
the
AVC-3420CE
into
the
Camera
Connector
of
the
Videocorder:
Plug
the
10-pin
connector
into
the
Camera
Connector
on
the
Videocorder
by
matching
the
slot
in
the
plug
with
the
guide
pin
on
the
receptacle.
Turn
the
locking
collar
of
the
cable
clockwise
until
the
cable
locks
firmly
into
place.
Set
the
CAMERA/TV
switch
to
CAMERA.
Press
the
Time
Counter
Reset
Button
to
set
the
Time
Counter
to
(000).
This
counter
indicates
recording
time
as
well
as
the
amount
of
the
tape
used.
When
you
read
the
counter
as.a
time
indicator,
read
it
as
follows.
1375.2
eesecces
13.5
minutes
or
13
minutes
30
seconds
0.9...
.ceceeee
0.9
minutes
or
54
seconds
First,
set
the
Record
Lever
to
the
REC
position
and
then
the
Function
Lever
to
FWD
(before
releasing
the
Record
Lever).
The
Record
Lever
will
lock
into
place
and
the
Videocorder
and
camera
will
remain
in
the
Standby
mode.
Adjust
the
camera
to
obtain
a
satisfactory
picture
as
displayed
on
the
viewfinder.
6.
To
start
the
recording,
press
the
Grip
Switch
on
the
hand
grip
of
the
camera,
or
push
the
Start
Button
at
the
right
side
of
the
lens
mount.
7.
To
monitor
the
sound,
plug
the
earphone
into
the
EARPHONE
jack
on
the
control
panel
of
the
Videocorder..
Sound
picked
up
by
the
microphone
built
into
the
camera
will
be
recorded
simultaneously.
Picture
and
sound
levels
are
automatically
adjusted
by
the
SONY-MATIC
recording
system
in
the
Video-
corder
and
camera.
8.
-.To
stop
recording,
press
the
Grip
Switch
on
the
hand
grip
or
the
Start
Button
again.
At
the
end
of
the
recording,
set
the
Function
Lever
to
STOP.
1-4-4.
Recording
TV
Programs
1.
Connect
the
8-pin
connector
on
the
SONY
video
monitor
to
the
10-pin
Camera
Connector
on
the
Videocorder
using
a
WMC-1M
con-
necting
cable
(supplied).
video
monitor
Fig.
1-8
Monitor.
connection
2.
Set
the
CAMERA/TV
switch
to
TV.
3.
Set
the
Time
Counter
to
(000).
4.
Turn
on
the
monitor
and
set
the
TV/VTR
switch
on
the
monitor
to
VTR.
5.
Hold
the
Record
Lever
in
the
REC
position
to
place
the
Videocorder
in
the
E-to-E
mode.
Adjust
the
controls
on
the
monitor
for
the
best
possible
picture.
6.
Holding
the
Record
Lever,
set
the
Function
Lever
to
FWD.
Video
and
audio
recording
will
start.
No
adjustment
of
video
and
audio
signal
levels
is
required.
;
|
|
15