24 (E)
Chapter 1 Overview
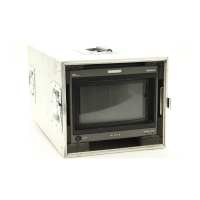
Installation of the 4:3 Mask
When the aspect ratio is switched from 16:9 to 4:3,
replace the 16:9 mask with the supplied 4:3 mask.
BVM-D9H1U/D9H1E/D9H1A/
D9H5U/D9H5E/D9H5A
Installing the 4:3 mask
1 Remove four screws from both sides of the monitor
and then remove the16:9 mask.
2 Install the 4:3 mask (supplied) and fix both sides
with four screws.
Replacing the 16:9 mask
Remove the 4:3 mask and replace the 16:9 mask using
the same procedures as those for installing the 4:3
mask.
BVM-D14H1U/D14H1E/D14H1A/
D14H5U/D14H5E/D14H5A
Installing the 4:3 mask
1 Remove the 16:9 mask.
2 Install the 4:3 mask (supplied).
1 Attach the lower portion of the mask.
2 Attach the upper portion of the mask by
pressing it until the click.
Replacing the 16:9 mask
Remove the 4:3 mask and replace the 16:9 mask using
the same procedures as those for installing the 4:3
mask.