90
1 Display the index screen (t step
6 in “Read This First”).
2 Press MENU to display the menu.
3 Select DPOF with b/B, then press
z.
4 Select [Select] with v/V, then
press z.
• You cannot add a mark in [All In This
Folder].
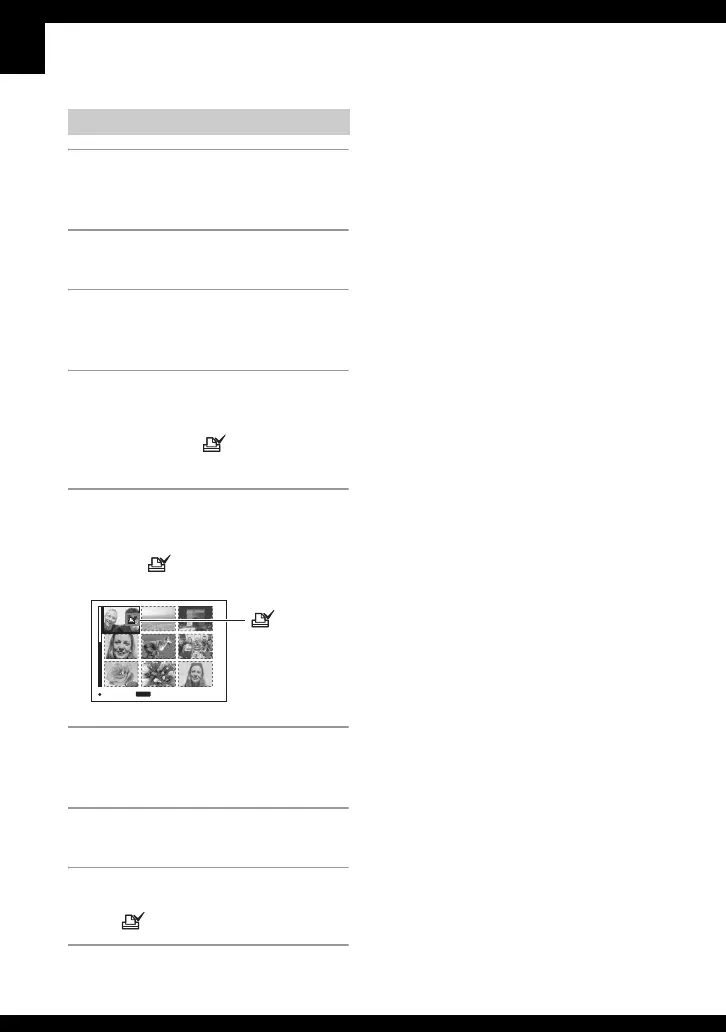
5 Select the image you want to
mark with v/V/b/B, then press z.
A green mark appears on the
selected image.
6 Repeat step 5 to mark other
images.
7 Press MENU.
8 Select [OK] with B, then press z.
The mark turns white.
To cancel, select [Cancel] in step 4 or select
[Exit] in step 8, then press z.
To remove the mark in index mode
Select the images from which you want to
remove the mark in step 5, then press z.
To remove all the marks in the folder
Select [All In This Folder] in step 4, then
press z. Select [Off], then press z.
Marking in index mode
TO NEXT
MENU
SELECT
(green)
 Loading...