
K
kent31Sep 23, 2025
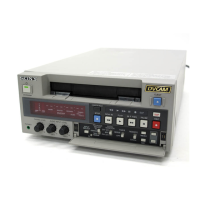
Why does my Sony DSR-45AP pause at the beginning or end of the tape?
- OOlivia DavisSep 23, 2025
If the unit automatically goes into playback pause mode when the tape reaches its beginning or end, and the remote selector is set to RS-422A with the REMOTE/LOCAL switch set to REMOTE, set the remote selector to other than RS-422A if you do not intend to control the unit from an external device.