Chapter 2 Fitting and Connections
30
Chapter 2 Fitting and Connections
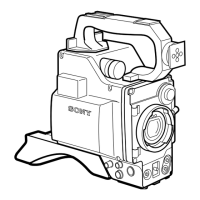
Fitting the Lens
In the case of the DXC-D35K/D35PK model, the lens
is already fitted. In other cases, use the following
procedure to fit the lens.
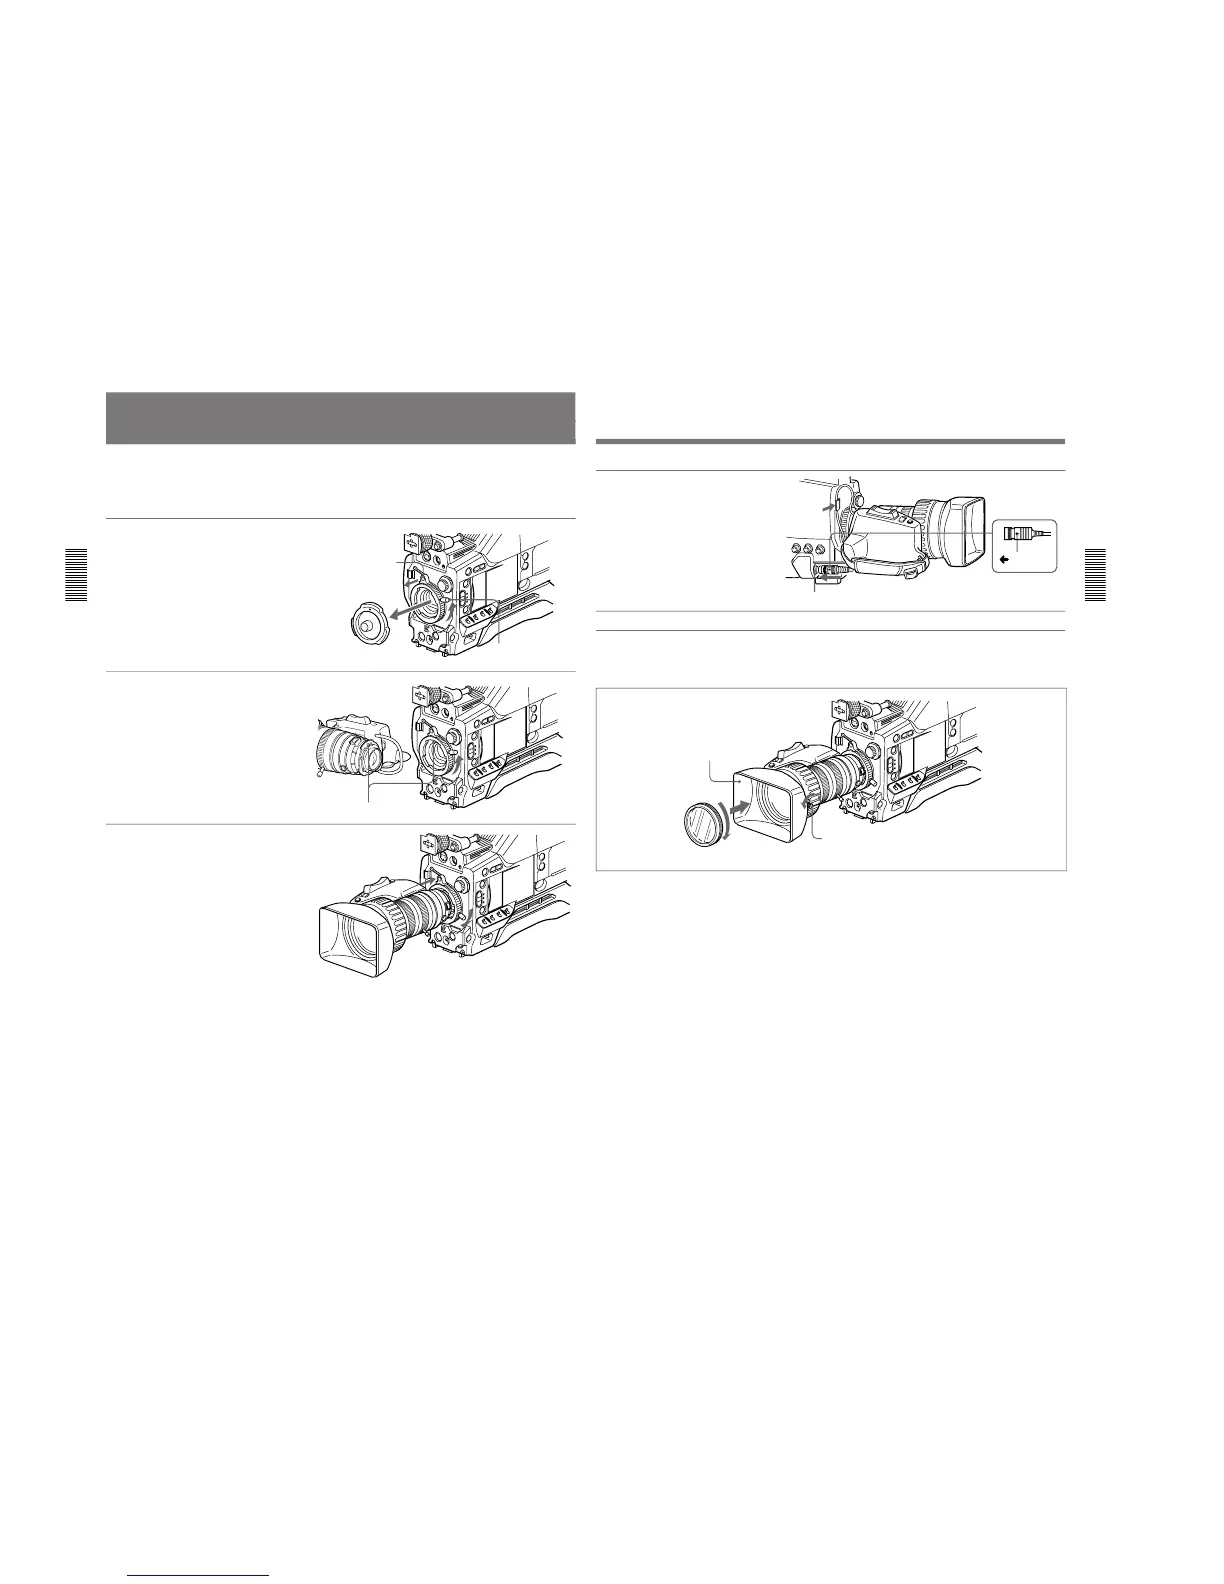
1
Remove the retaining rubber
which prevents the lens mount
from coming loose, then raise
the lens fixing lever, and
remove the lens mount cap.
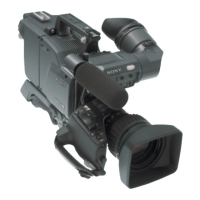
2
With the lens fixing lever
turned fully counterclockwise,
push in the lens, aligning the
projection on the lens with the
cutout on the camera.
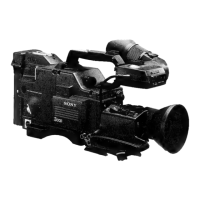
3
Supporting the lens, turn the
lens fixing lever fully
clockwise. Replace the
retaining rubber on the lens
mount.
Retaining rubber
Lens mount cap
Lens fixing lever
Align and push in.
Chapter 2 Fitting and Connections
Chapter 2 Fitting and Connections
31
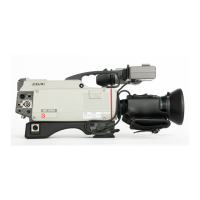
4
Using the triangular mark as a
guide, push the lens connector
into the LENS connector on
the camera head, until it clicks
into place. Fasten the cable
with the clamps.
LENS connector
Triangular
mark
Fitting optional filters
Remove lens hood
Lens hood fixing screw
Filter (optional)
Loosen the lens hood fixing screw to remove the lens
hood, then attach the filter.