us
28
3
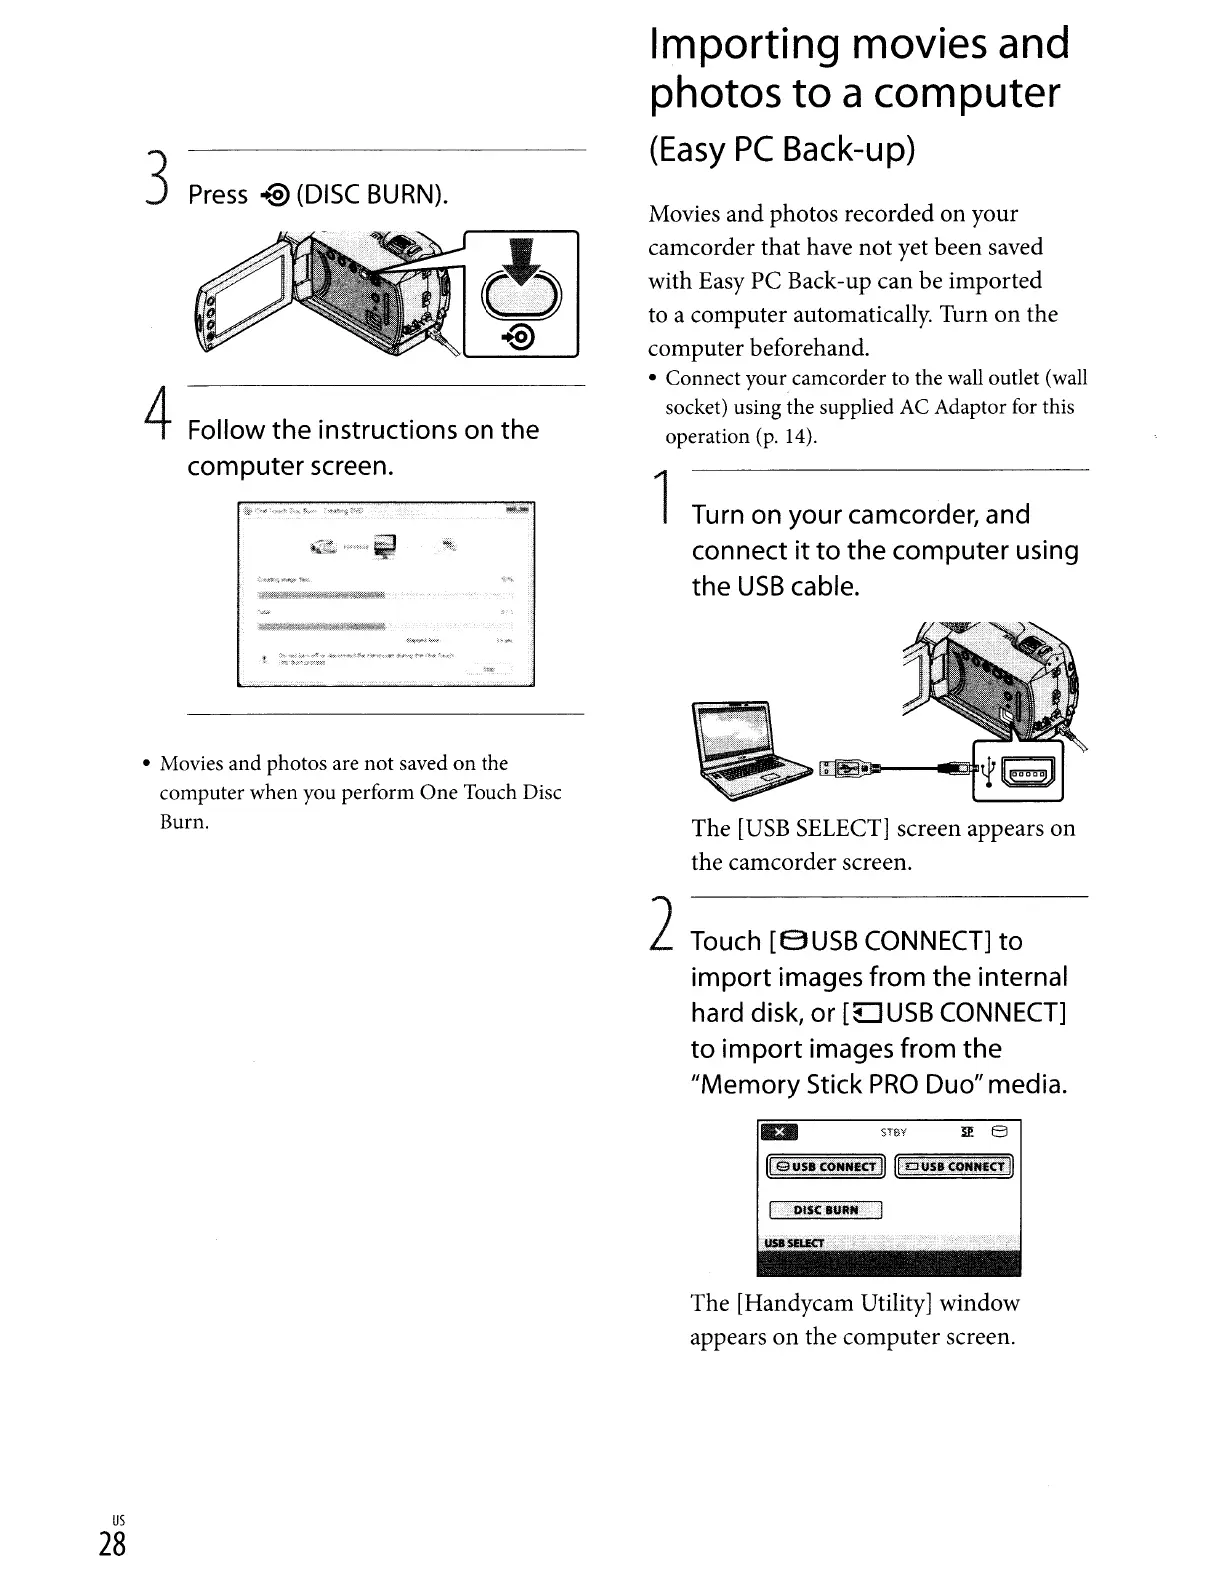
Press
-@
(DISC
BURN).
4
Follow
the
instructions
on
the
computer
screen.
• Movies
and
photos
are
not
saved
on
the
computer when you perform
One
Touch Disc
Burn.
Importing
movies
and
photos
to
a computer
(Easy
PC
Back-up)
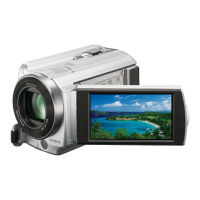
Movies and photos recorded on your
camcorder that have not yet been saved
with Easy PC Back-up can be imported
to a computer automatically. Turn on the
computer beforehand.
• Connect your camcorder to the wall outlet (wall
socket) using the supplied AC Adaptor for this
operation (p. 14).
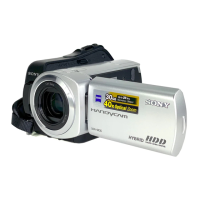
1
Turn
on
your
camcorder,
and
connect it
to
the computer
using
the
USB
cable.
The
[USB
SELECT] screen appears on
the camcorder screen.
2
Touch
[BUSB
CONNECT]
to
import
images
from
the internal
hard
disk,
or
[LJUSB
CONNECT]
to
import
images
from
the
"Memory
Stick
PRO
Duo"
media.
. 'DISC
BURN
. I
The [Handycam Utility] window
appears
on
the computer screen.
 Loading...