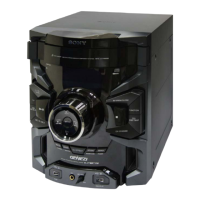
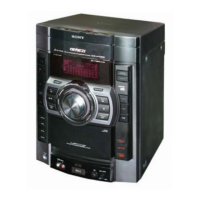
HCD-GPX33/GPX55/GPX77/GPX88
13
SECTION 3
TEST MODE
[PANEL TEST MODE]
This mode is used to check the
fl
uorescent indicator tube, LEDs,
keys, [MASTER VOLUME / DJ CONTROL] jog, model, destina-
tion and software version.
Procedure:
1. Press [ENTER] and [MUSIC] button simultaneously and hold
3 seconds.
2. All LEDs and segments in
fl
uorescent indicator tube are light-
ed up. All RGB LEDs are lighted up in white color.
3. When you want to enter to the software version display mode,
press [
+
n
] button.
The model information appears on the
fl
uorescent indicator
tube.
• “GSX3” is shown for XXX-GPX33.
• “GSX5” is shown for XXX-GPX55.
• “GSX7” is shown for XXX-GPX77.
• “GSX8” is shown for XXX-GPX88.
** If display shown information below, please proceed with
[MODEL & DEST WRITE MODE] to write model & destina-
tion.
• “GSX8(T)” is shown for XXX-GPX33/55/77/88.
XXX = MHC / LBT
Press [
+
n
] button again to view the destination information.
4. During the destination information display, press [
+
n
] button.
Each time [
+
n
] button is pressed, the
fl
uorescent indicator
tube shows the version of each category software in the follow-
ing sequence: SC, MTK, UI, PF, SYS, CD, CDMA, CDMB,
ST, TA, TAS, TM, BTM, BT, NFC, and return back to model
information display.
5. When [
] button is pressed while the version numbers
are being displayed except model and destination, the
date of the software creation appears. When [
] button
is pressed again, the display returns to the software ver-
sion display.
6. Press [
-
p
] button, the key check mode is activated.
7. In the key check mode, the
fl
uorescent indicator tube displays
“K 0 V0”.
• Each time a button is pressed, “K” value increases.
However, once a button has been pressed, it is no
longer taken into account.
• “V” value increases in the manner of 0, 1, 2, 3...
if [MASTER VOLUME / DJ CONTROL] knob is
turned clockwise, or it decreases in the manner of 0,
9, 8, 7... if [MASTER VOLUME / DJ CONTROL]
knob is turned counterclockwise.
8. When [ENTER] button is pressed after all LEDs and segments
in
fl
uorescent indicator tube light up, alternate segments in
fl
uorescent indicator tube and LEDs would light up, all RGB
LEDs would light up in red color. If you press [ENTER]
button again, another half of alternate segments in
fl
uorescent
indicator tube and LEDs would light up, all RGB LEDs would
light up in green color. Pressing [ENTER] button again would
cause all segments in
fl
uorescent indicator tube and LEDs
light up, all RGB LEDs would light up in blue color. Pressing
[ENTER] button again would turn off all segments in
fl
uores-
cent indicator tube and all LEDs including RGB LEDs.
9. To release from this mode, press the buttons in the same
manner as step 1, or disconnect the power cord.
[MODEL & DEST WRITE MODE]
This mode is used to set software model & destination.
This mode is only available when no permanent model & destina-
tion is stored.
Procedure:
1. Press [ENTER] and [FOOTBALL] button simultaneously and
hold for 5 seconds.
2. Fluorescent indicator tube display will show “M XXXXX”.
3. Press [
+
n
or
-
p
] button to select the model based on the
set’s model.
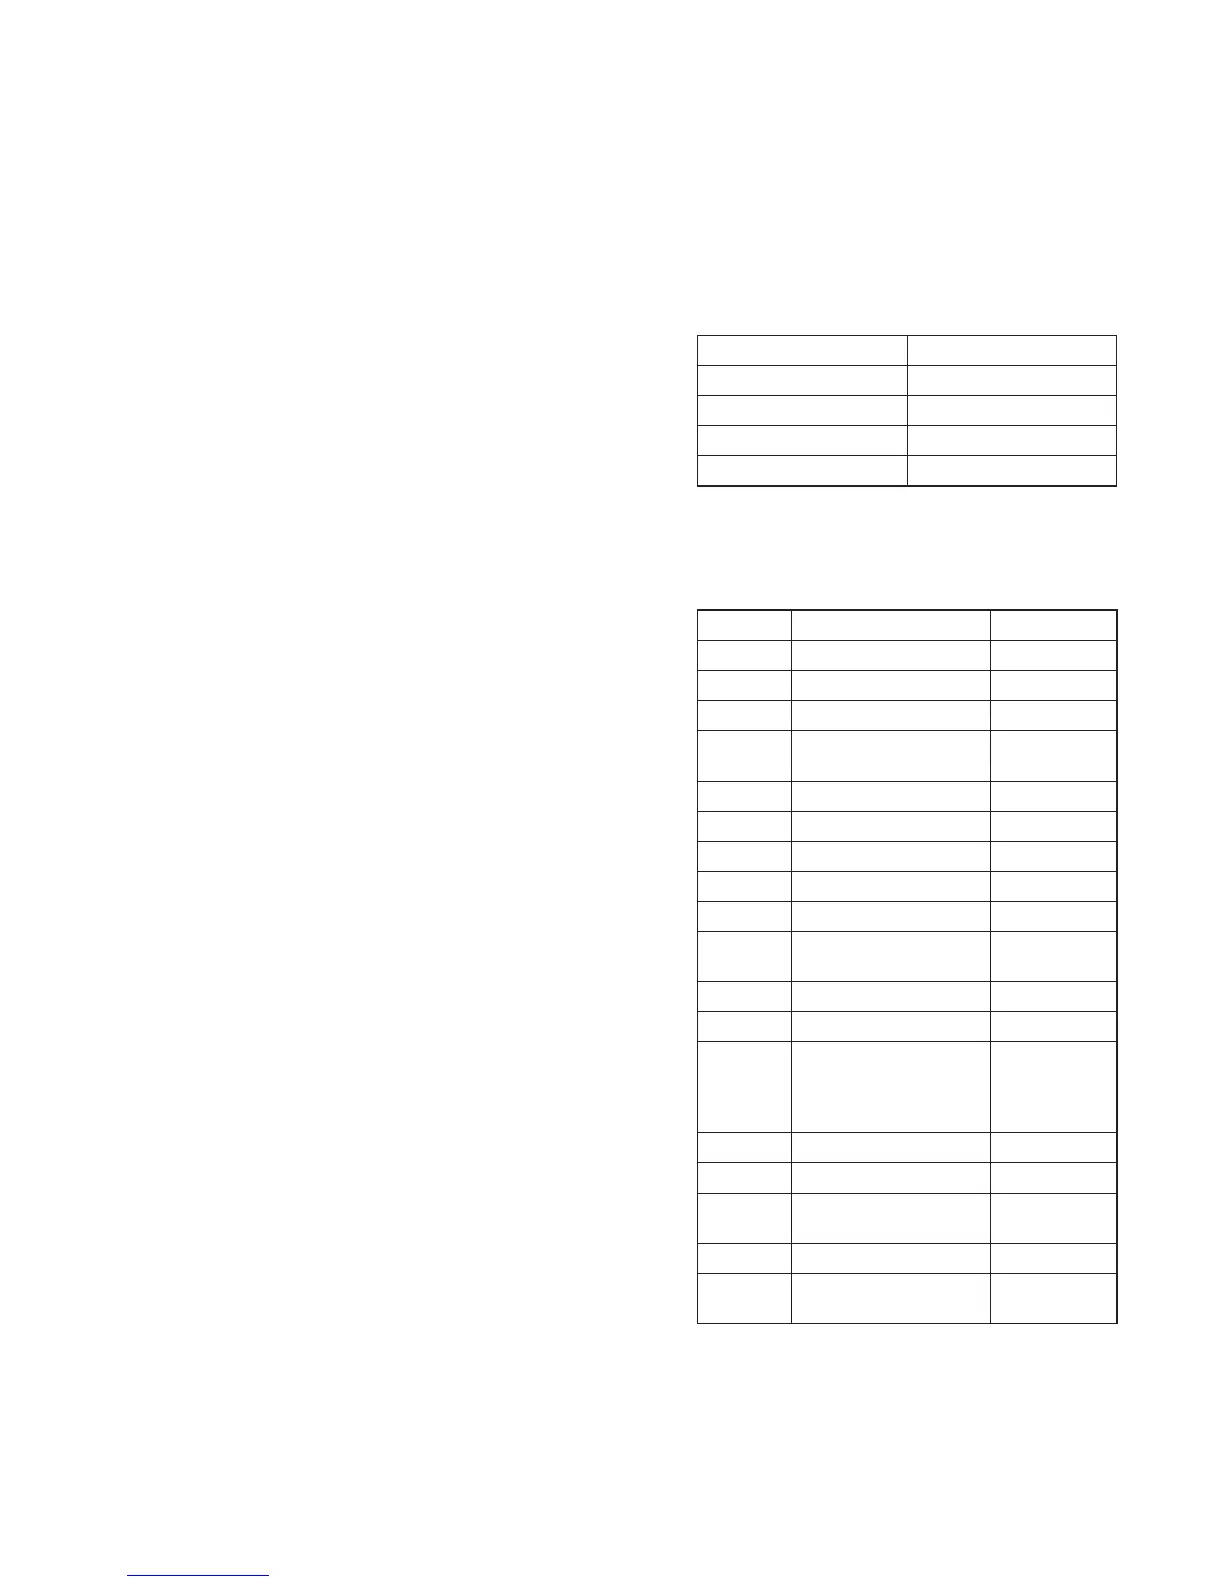
Product Code F. Tube display
XXX-GPX33 “M GSX3”
XXX-GPX55 “M GSX5”
XXX-GPX77 “M GSX7”
XXX-GPX88 “M GSX8”
XXX = MHC / LBT
4. Press [ENTER] button.
5. Fluorescent indicator tube display will show “D XXXXX”.
6. Press [
+
n
or
-
p
] button to select the destination based on
the set’s country.
Area Code Country F. Tube display
J1 Japan “D J”
JE1 Tourist “D JE”
U2/CA2 America, Canada “D NA”
CEL/CE1/
CE2
Europe (general) “D CE2”
CEK U.K. “D CEK”
RU1/RU3 Russia “D RU”
AU1 Australia “D AU”
CN1 China “D CN”
E12 India, Pakistan, Morocco “D E12”
E3/E93/
SA2/E15
Middle East, Africa
(South Africa), Iran
“D E3”
E4 Africa “D E12”
EA3 Saudi Arabia “D EA3”
HK1/
HK2/PL1/
SP1/SP2/
SP6/TH1
Hong Kong, Philippines,
Singapore, Malaysia,
Thailand
“D ASIA”
KR2 Korea “D KR”
TW2 Taiwan “D TW”
E2, E32,
E51, AR2
Latin America (general),
Chile, Peru, Argentina
“D LATIN”
BR1 Brazil “D BR”
MX2,
MX4
Mexico “D MX”
7. Press [ENTER] button to con
fi
rm the selection.
8. “RESET” appears on the
fl
uorescent indicator tube. After that,
the
fl
uorescent indicator tube becomes blank for a while, and
the system is reset.
9. Perform [PANEL TEST MODE] again to con
fi
rm on the
model & destination.


 To Next Page