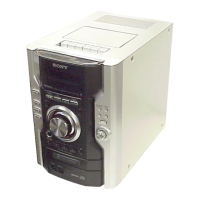
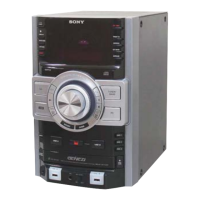
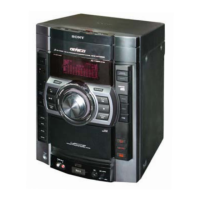
HCD-GPX33/GPX55/GPX77/GPX88
5
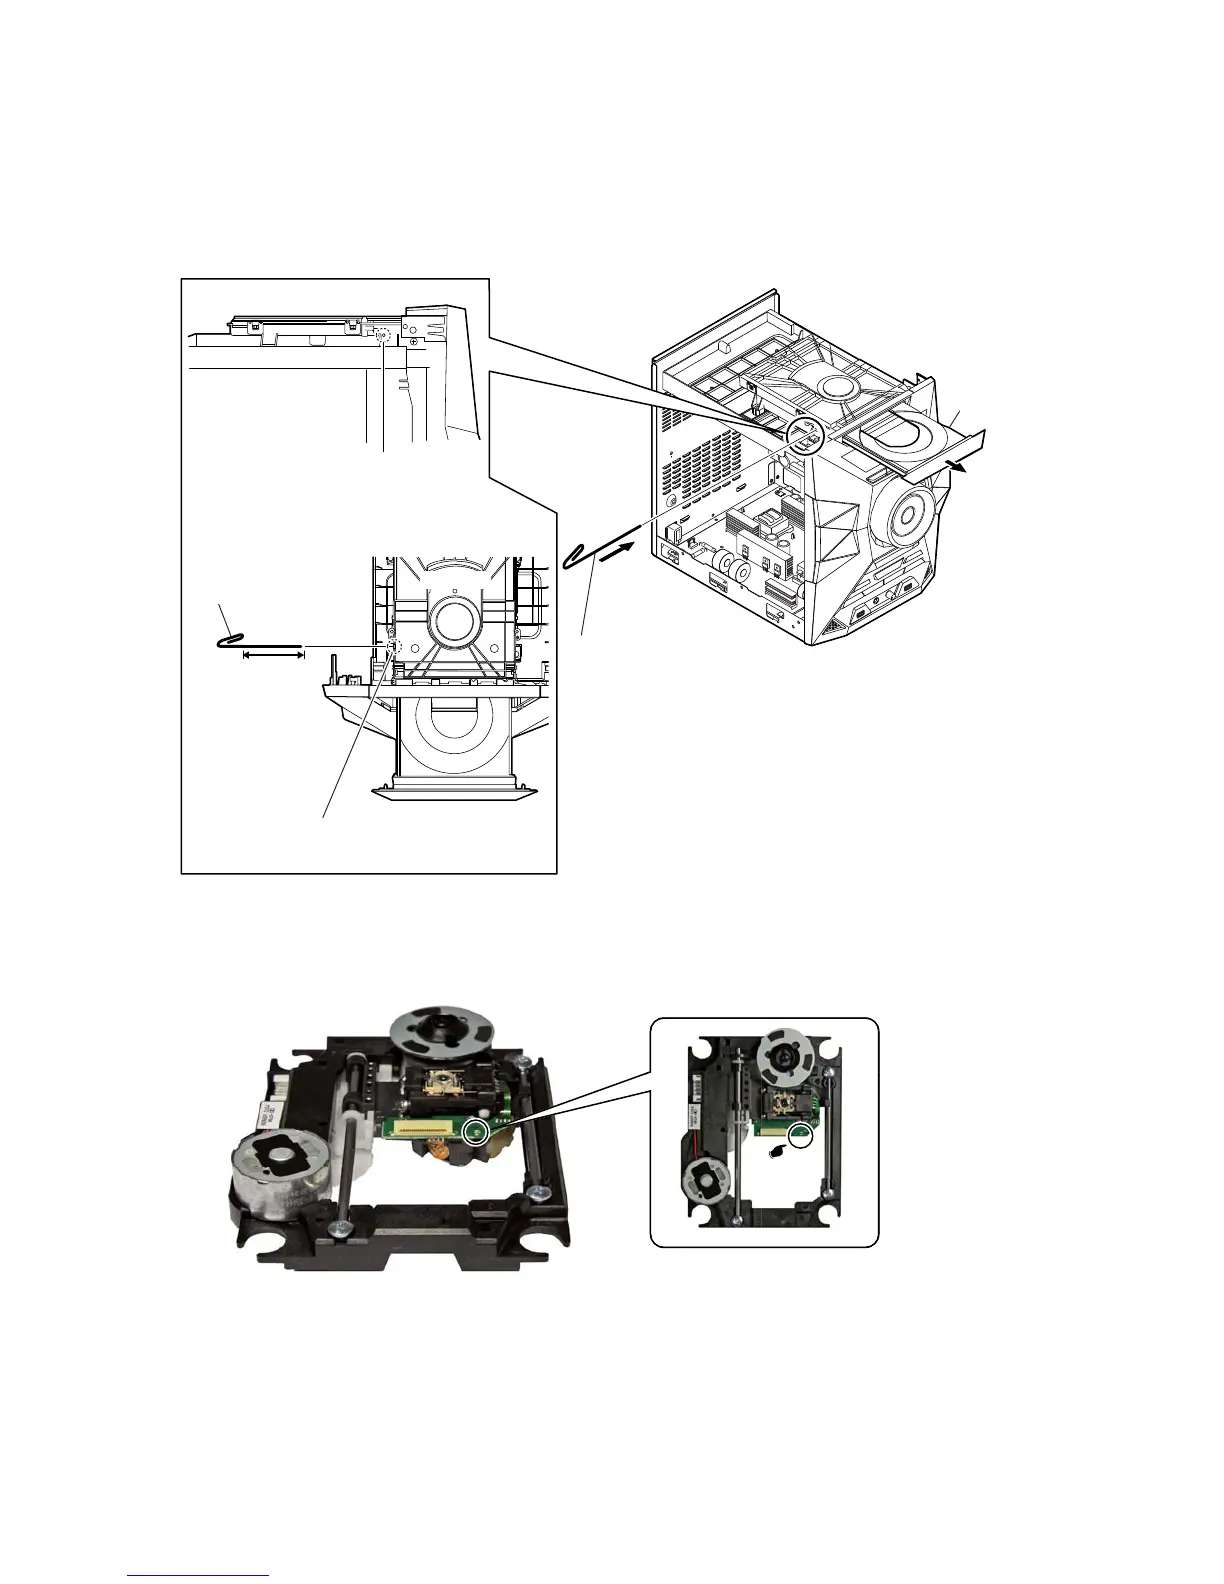
HOW TO OPEN THE TRAY WHEN POWER SWITCH TURN OFF
Note 1:
After the side panel (L, R) and top panel is removed, this work is done.
Note 2:
Please prepare the thin wire (clip etc. processed to the length of 8 cm or more).
1 Remove the panel, side-L.
(Illustration of disassembly is omitted.)
3
tray
2 Insert the clip etc.
tray
CD drive
Insert the clip etc.
processed to the
length of 8 cm or
more in the hole
on the side of the
chassis and push.
8 cm or more
hole
–
Side view –
– Top view –
Note:
Push after it inserts it in this hole well.
PRECAUTION WHEN INSTALLING A NEW OP UNIT/PRECAUTION BEFORE UNSOLDERING THE STATIC
ELECTRICITY PREVENTION SOLDER BRIDGE
When installing a new OP unit, be sure to connect the
fl
exible printed circuit board
fi
rst of all before removing the static electricity preven-
tion solder bridge by unsoldering.
Remove the static electricity prevention solder bridge by unsoldering after the
fl
exible printed circuit board has already been connected.
(Do not remove nor unsolder the solder bridge as long as the OP unit is kept standalone.)
 Loading...