Setup Adjustments
1 Connecting your monitor to your computer Navigating the menu
1 Press the center of the joystick to display the main
menu.
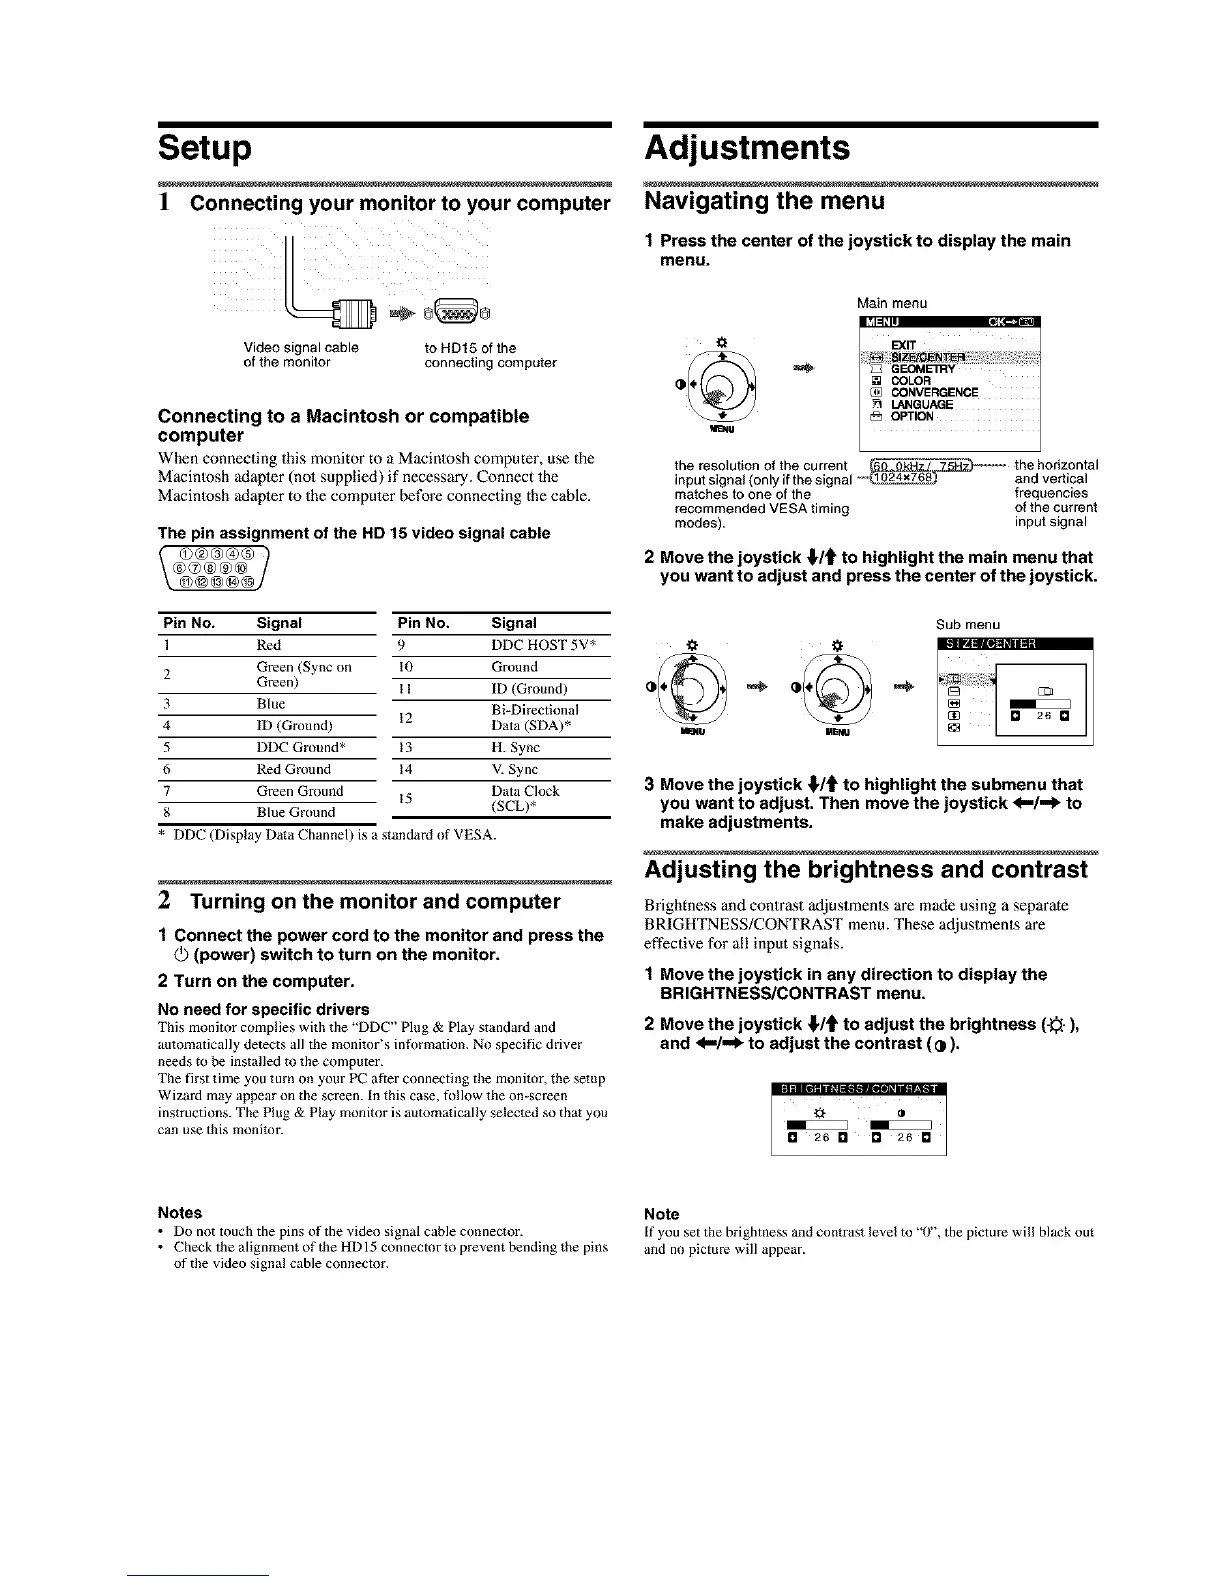
V_deo s_gnal Cable to HDt5 of the
of the monlior connecting compuler
Connecting to a Macintosh or compatible
computer
When connecling this monitor to a Macinlosh computer, use the
Macintosh adapler (not supplied) if necessary. Connect the
Macintosh adapler to/he computer before connec/ing the cable.
The pin assignment of the HD 15 video signal cable
Mainmenu
l,SRffli il_T'---
E<,r I
i
i!!!!:_i!i!i@_t_ii!i;i!i;!:;i;iiii!ii_ii!i_i!!!!ii!iii!i!iii;_!!i_ii!iiil;i!i_il
[] COLOR
CONVERGENCE
SO LANGUAGE
=.. a OPt'ON
thehorizontal
the resolutionof thecurrent
inputsignal(onlyifthesignal
andvertical
matchestoone of the frequencies
recommendedVESAtiming ofthecurrent
modes), inputsignal
2 Move the joystick ,I,/{ =to highlight the main menu that
you want to adjust and press the center of the joystick.
Pin No, Signal Pin No. Signal
l Red 9 DDC HOST 5V*
2 Green (Sync on I0 Ground
Green) I I ID (Ground)
3 Blue Bi-Direcdonal
12
4 ID (Ground) Data (SDA)*
5 DDC Ground* 13 H. Sync
6 Red Ground 14 V. Sync
7 Green Ground 15 Data Clock
8 Blue Ground (SCL)*
* DDC (Display Data Channel) is a standard of VESA.
2 Turning on the monitor and computer
1 Connect the power cord to the monitor and press the
(power) switch to turn on the monitor.
2 Turn on the computer.
No need for specific drivers
This monitor complies with the "DDC" Plug & Play standard and
automatically detects all the monitor's information. No specific drive_
needs to be installed to the computer.
The first time you turn on your PC after connecting the monitor, the setup
Wizard may appear on the screen. In this case, follow the on-screen
instructions. The Plug & Play monitor is automatically selected so that you
can use this monitor.
Sub menu
o {}
mU Mlil_l
3 Move the joystick €/'1=to highlight the submenu that
you want to adjust. Then move the joystick <ii/,,_ to
make adjustments.
Adjusting the brightness and contrast
Brightness and contrast adjustments are made using a separate
BRIGHTNESS/CONTRAST menu. These adjustments are
effective for all input signals.
1 Move the joystick in any direction to display the
BRIGHTNESS/CONTRAST menu.
2 Move the joystick _/€ to adjust the brightness (-_-),
and <1--/,=1_to adjust the contrast (¢).
====._
E E
I_1 26 0 _ 26 []
Notes
• Do not touch the pins of the video signal cable connector.
• Check the alignment of the HDI 5 connector to prevent bending the pins
of tl_e video signal cable connector.
Note
If you set the brightness and contrast level to "0", the picture will black out
and no picture will appear.
 Loading...