4
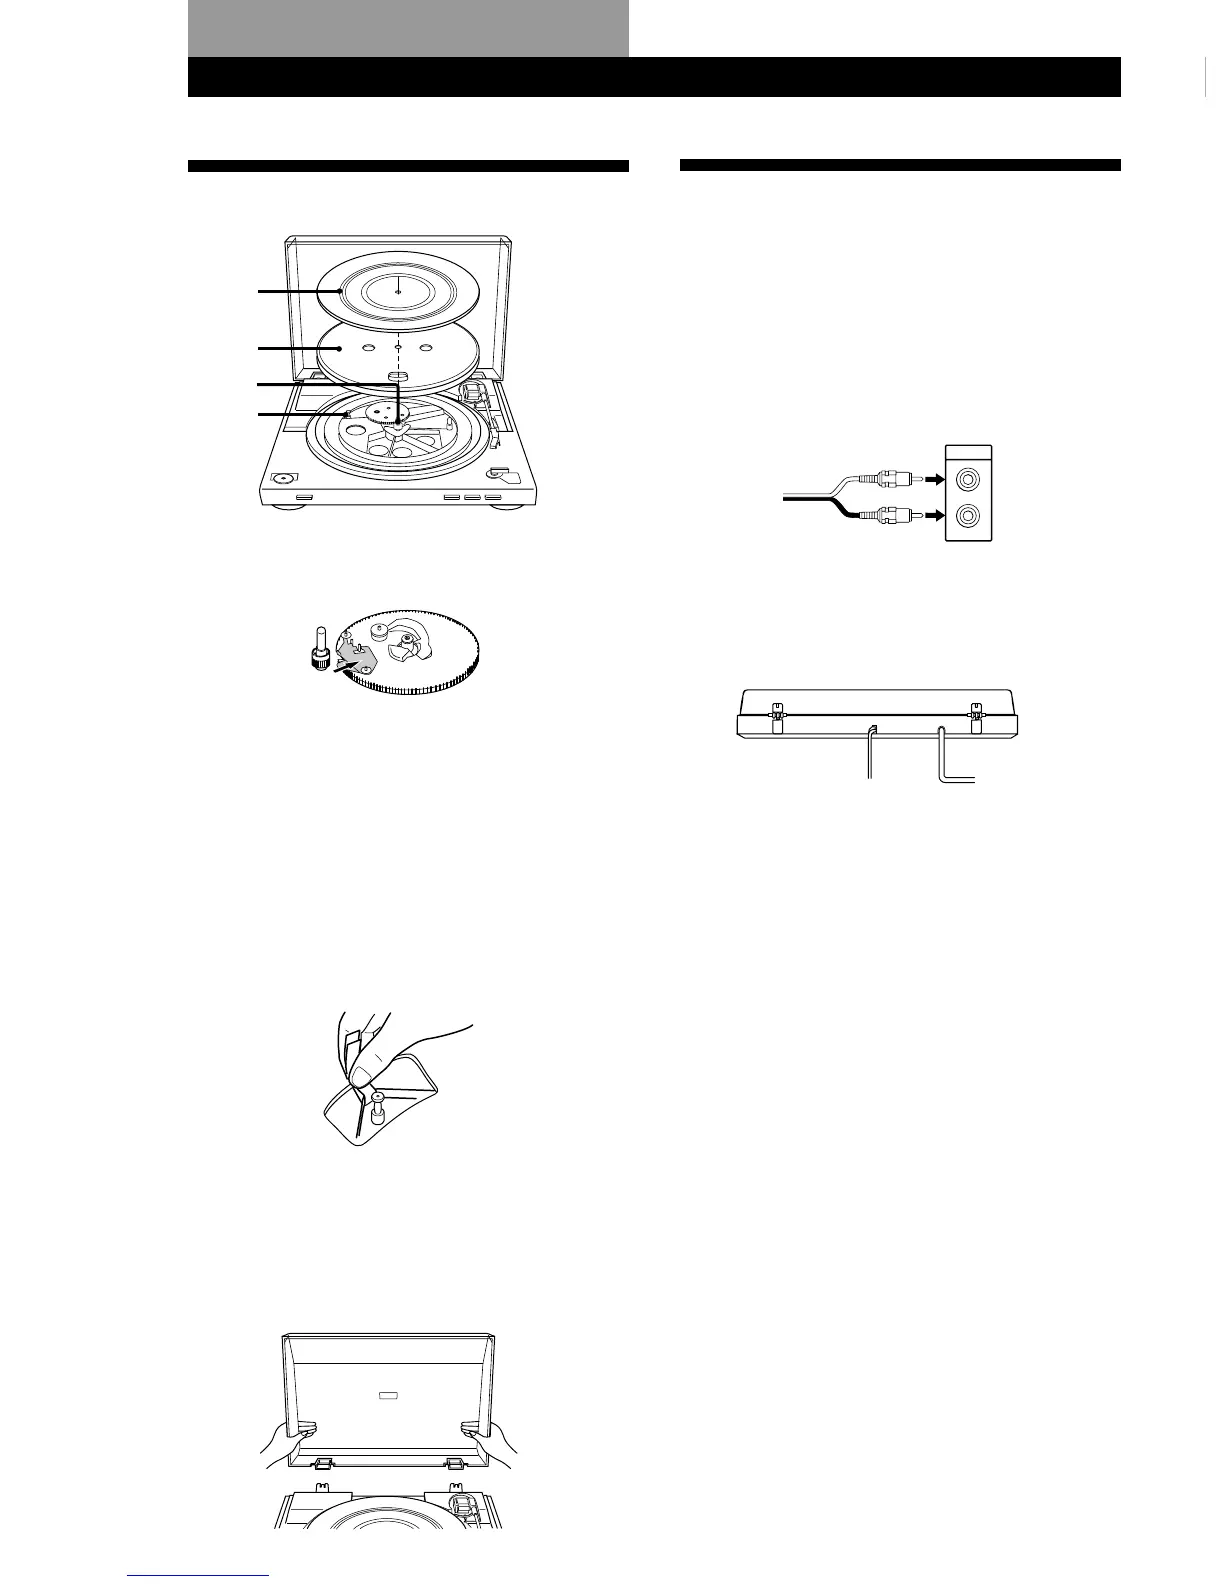
Assembling the Turntable
1 Move the metallic parts inside the larger gear in
the direction of arrows.
When the power is supplied after assembling or
moving the turntable
The turntable sometimes rotates and the torn arm
descends to the platter even if START is not pressed.
If this occurs, press STOP to return the tone arm to the
arm stand.
2 Carefully, place the platter on the spindle.
3 Using the ribbon, loop the drive belt around the
motor pully. After looping the belt, do not forget
to remove the ribbon.
4 Place the rubber mat on the platter.
Installing the dust cover
Insert the hinges on the dust cover into the hinge
pockets on the rear of the cabinet.
Getting Started
Hooking up the Turntable
The phono cables come attached to the rear of the
cabinet.
1 Connect the cable with the red plug to the right
PHONO IN R input jack on the amplifier and
connect the cable with the white plug to the left
PHONO IN L input jack.
Mains lead hookups
Connect the mains lead to an AC wall outlet after
completing all of the previous connections.
/ to a wall outlet
Amplifier
L
R
PHONO IN
2
3
4
1
 Loading...