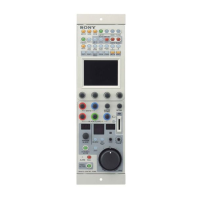
45
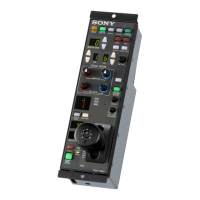
Setting the Operating Conditions
of the RCP-D50/D51
By using the RCP Config menu or LCD setting
display, you can set the built-in clock of the RCP-D50/
D51 and adjust various conditions of the RCP-D50/
D51, such as the sound volume of the warning buzzer
and the brightness of the indicators and LCD.
Displaying the RCP Config menu/LCD
setting display
Proceed as follows:
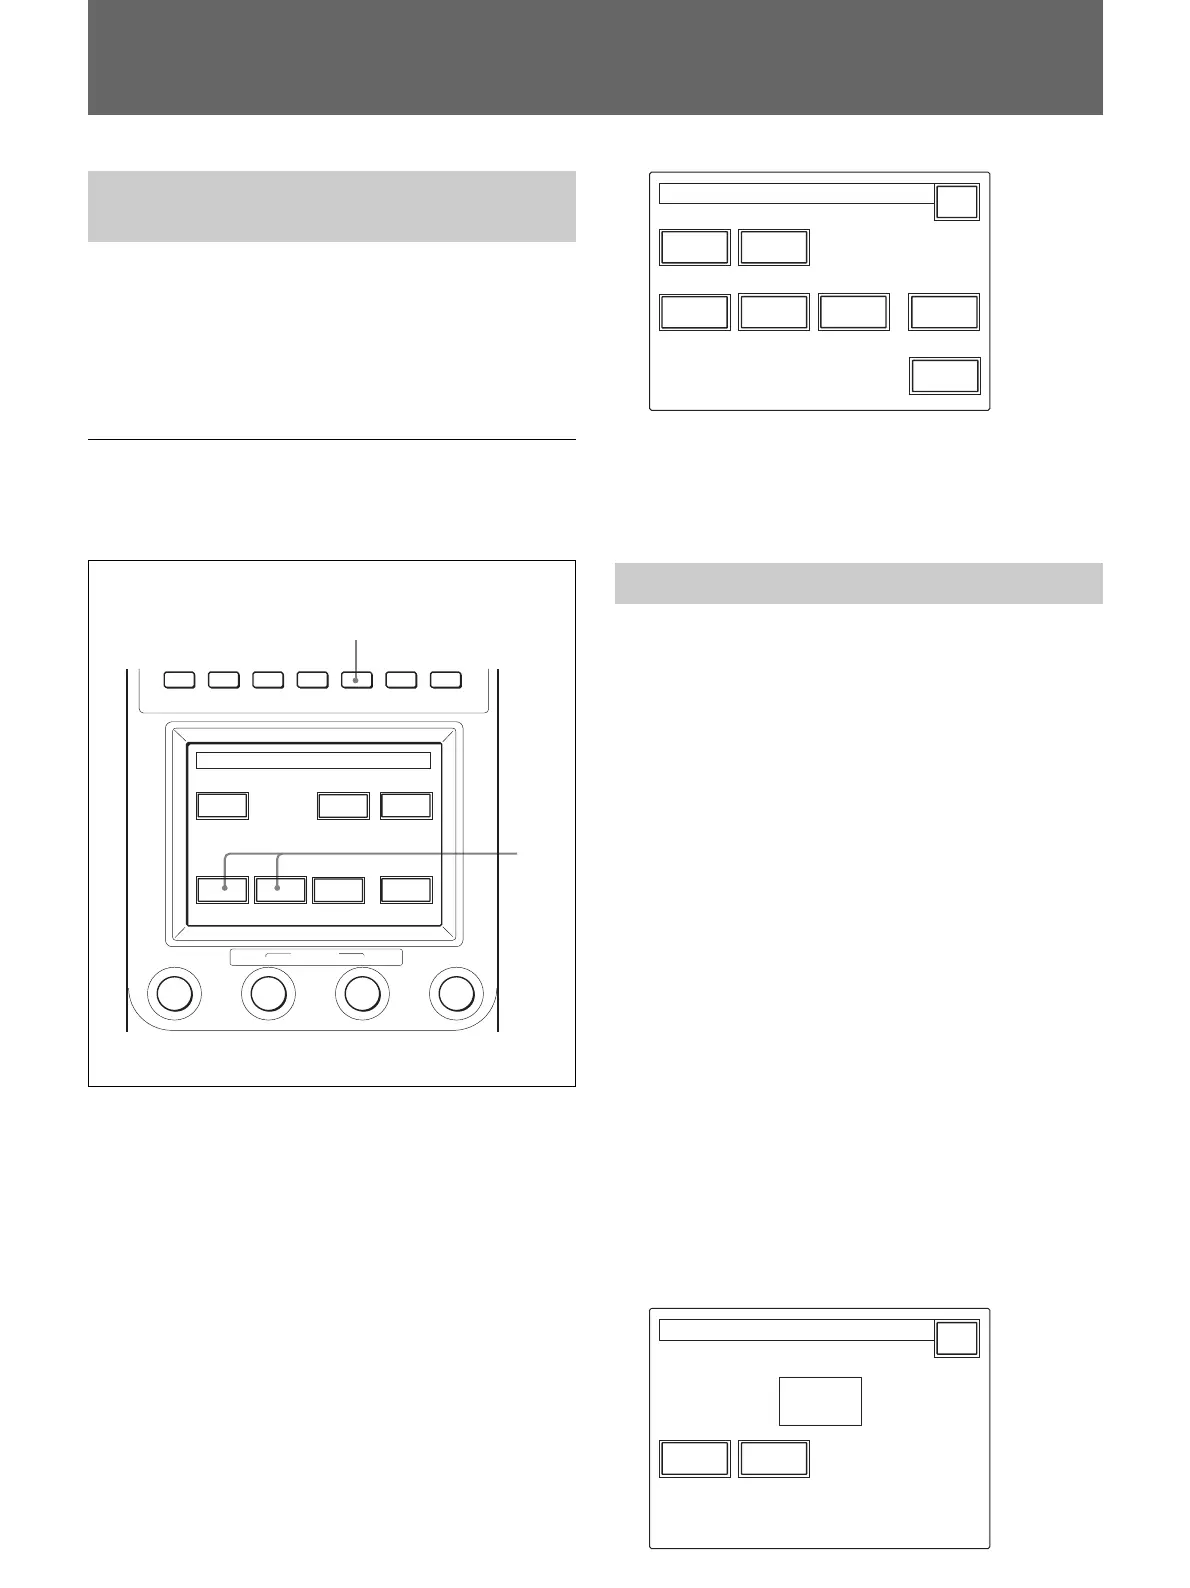
1 Press to light the OTHERS button of the menu
operation block.
The OTHERS menu appears.
2 To display RCP Config menu, press
[RCP Config].
The RCP Config menu appears.
RCP
Adjusting
RE
Setting
RCP Config. Menu
Exit
Cable
Comp
SW
Setting
Camera
No.
Date
Time
Secu-
rity
To obtain the LCD setting display, press [LCD].
The LCD setting display
(page 48) appears.
Setting the Built-in Clock
The RCP-D50/D51 has a built-in clock to record the
date and time when scene files are saved to Memory
Sticks.
To set the clock, proceed as follows:
1 Press the OTHERS button in the Menu operation
block so that the OTHERS menu is displayed on
the LCD, then press
[RCP Config] to call the RCP
Config menu.
2 Set the menu to Advanced Setting mode.
1) Press
[Security] on the RCP Config menu.
2) Press and highlight
[Engineer Mode].
The
[Status], [Menu Set], and [Code No.]
buttons are displayed.
3) Press
[Status].
The Security Status menu appears.
4) Press
[Advance Mode].
3 Press [Date/Time] on the RCP Config menu.
The current setting is displayed on the Date/Time
Set menu.
Exit
Date Time
2001/11/17
(Sat)
22
:
12
:
31
Date Time Set Menu
Initial Settings
PAINT 1 PAINT 2 PAINT 3
MENU
SCENE OTHERS
FUNCTION
MONITOR
Others Menu
RCP
Config
LCD
Memory
Stick
Adjusting File
Camera
Config
LCD
Moni.
1
2
MONITOR
BRIGHT
CONTRAST