1-12
51
Recording
To use the Rec Mode Adjust function
If the remaining disc space is not enough for the
current recording, the recorder automatically
adjusts the recording mode. Select “AUTO” for
“Mode” when setting the timer.
z Hints
•You can play the recorded program by selecting the
program title in the Title List menu.
•You can also turn on the timer programming menu
from the System Menu. Press SYSTEM MENU to
select “Timer,” and select “Timer-Standard.”
Notes
•Even when correctly set, the program may not be
recorded if another recording is underway, or other
prioritized timer setting overlaps.
•Before the timer recording starts, “TIMER REC”
flashes in the front panel display.
•The recorder automatically turns off when a timer
recording finishes, even if the recording started with
the recorder turned on.
•The recorder does not record programs with Copy-
Never signals. Such recordings stop after a few
seconds.
Recording From Connected
Equipment With a Timer
(Synchro Rec)
You can set the recorder to automatically record
programs from connected equipment that has a
timer function (such as a satellite tuner). Connect
the equipment to the LINE 1 IN jacks on the rear
of the recorder (page 13).
When the connected equipment turns on, the
recorder starts recording a program from the LINE
1 IN jacks.
1 Insert a recordable disc.
2 Select the line input audio.
Set “Line Audio Input” of “Audio” setup to
“Stereo” or “Main/Sub” in the “Setup”
display (page 81).
+
RW
+
R
-
RWVR
-
RWVideo
-
RVR
-
RVideo
11 22 33
44 55 66
77 88
00
99
M/m/</,,
ENTER
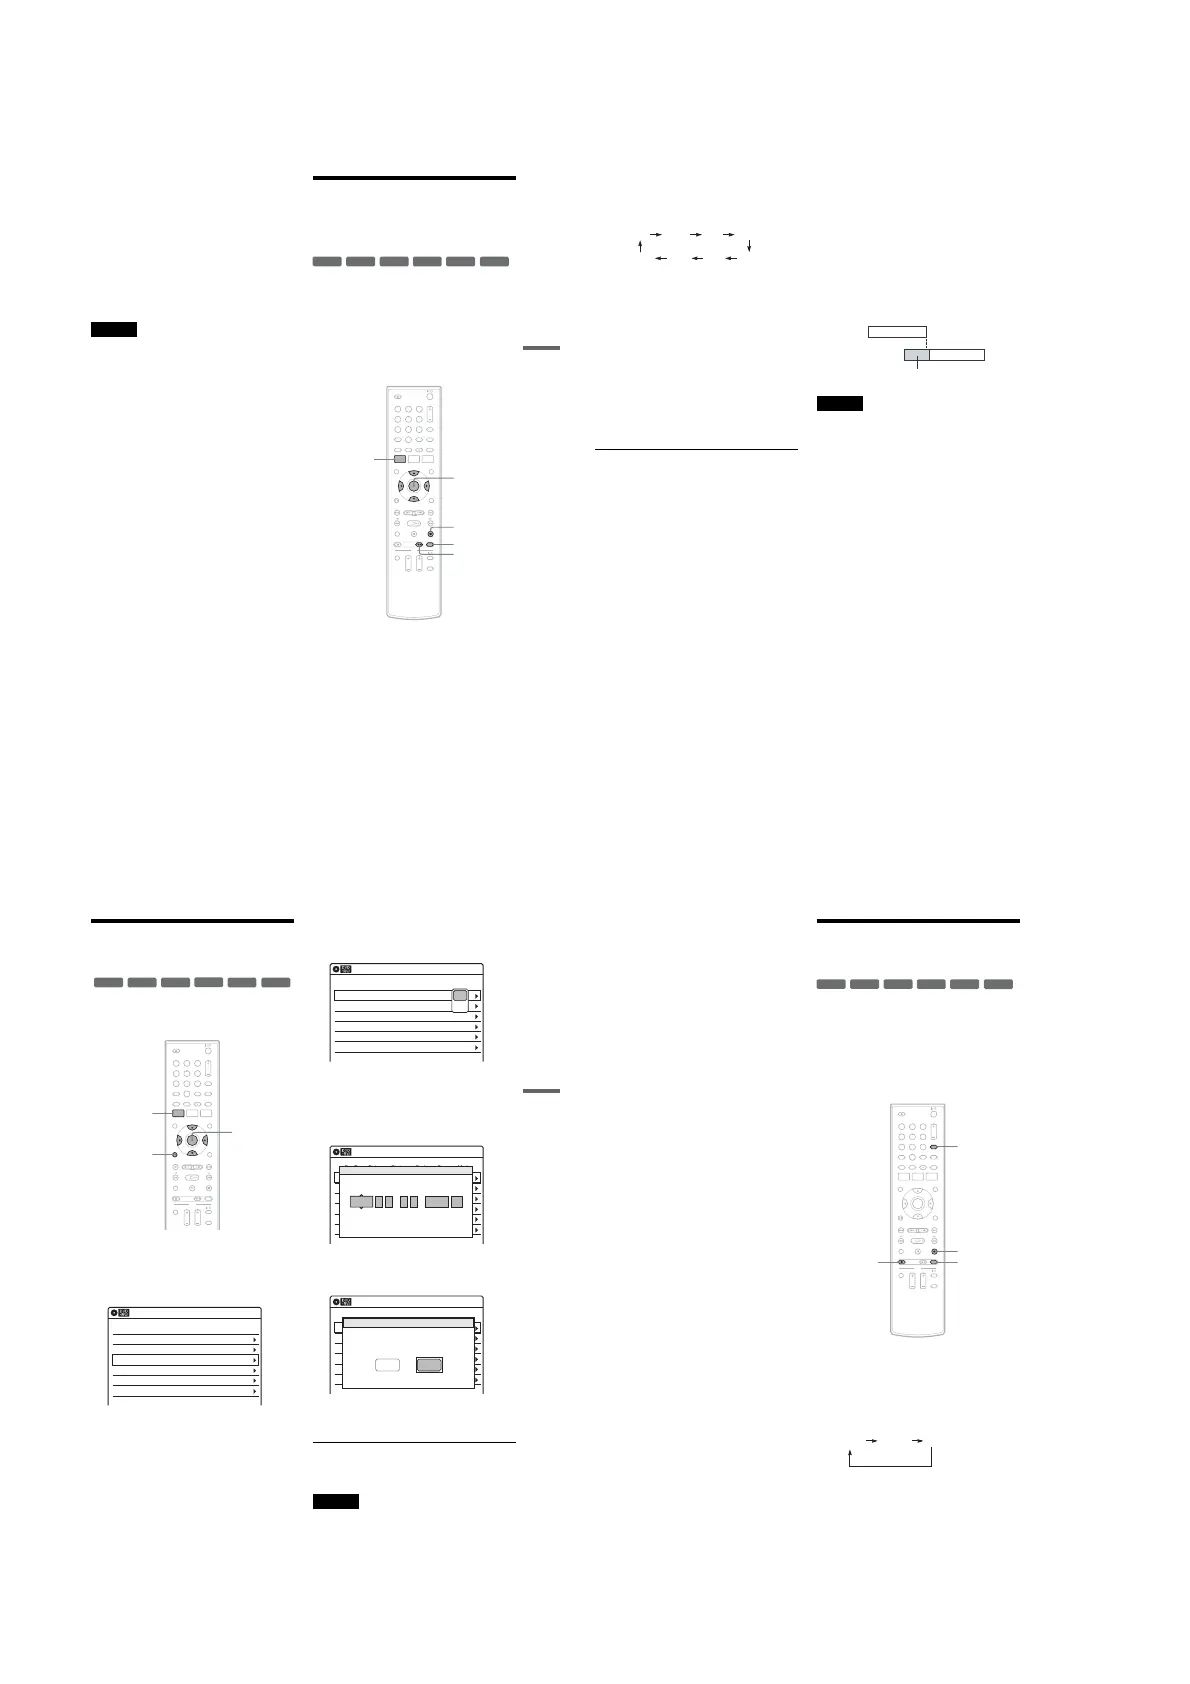
SYNCHRO
REC
x STOP
REC MODE
SYSTEM
MENU
,continued
52
3 Press REC MODE repeatedly to select the
recording mode.
The display changes on the TV screen as
follows:
For details about the recording mode, see
page 46.
4
Set the timer on the connected equipment
to the time you want to record, and turn it
off.
5
Press SYNCHRO REC.
The “SYNCHRO REC” indicator lights up on
the front panel display and the recorder stands
by for Synchro-Rec.
The recorder starts recording when a signal is
received from the connected equipment.
When the connected equipment turns off, the
recording stops and the recorder turns off.
To stop recording
Press x STOP twice.
To cancel a Synchro-Rec function
Press SYNCHRO REC before recording starts.
The SYNCHRO REC indicator turns off.
If you press SYNCHRO REC during Synchro-
Rec, the recording stops, the SYNCHRO REC
indicator turns off, and the recorder turns off.
If the timer settings of a Synchro-Recording
and another timer recording overlap
Regardless of whether or not the program is a
Synchro-Rec program, the program that starts first
has priority. The recorder starts recording the
second program about ten seconds after the first
program has finished. If the end time of one
setting and the start time of another timer setting is
the same, the beginning of the program that starts
later will be cut.
Notes
•The recorder starts recording only after detecting the
video signal from the connected equipment. The
beginning of the program may not be recorded
regardless of whether or not the recorder’s power is on
or off.
•To use the connected equipment during Synchro-Rec
standby, cancel the standby mode by pressing
SYNCHRO REC. To return to standby mode again, be
sure to turn off the equipment and press SYNCHRO
REC, before Synchro-Rec starts.
•The Synchro-Rec function does not work with some
tuners. For details, see the tuner’s operating
instructions.
•After a recording has finished, the recorder enters the
Synchro-Rec standby mode until the SYNCHRO REC
indicator turns off.
• If Synchro-Rec starts with the recorder turned on, the
recorder will turn off when the recording ends.
•The recorder does not record programs with Copy-
Never signals. Such recordings stop after a few
seconds.
HQ SPHSP LSP
SLP LPEP ESP
7:00 8:00 9:00 10:00
Program 1
Program 2
will be cut off
53
Recording
Changing or Canceling
Timer Settings (Timer List)
You can change or cancel timer settings using the
Timer List menu.
1 Press SYSTEM MENU.
The System Menu appears.
2 Select “Timer,” and press ENTER.
3 Select “Timer List,” and press ENTER.
Timer information displays the recording
date, time, recording mode, etc.
If there are more than six timer settings, press
m to display the next page.
4 Select the timer setting you want to change
or cancel, and press ENTER.
The sub-menu appears.
5 Select one of the options, and press
ENTER.
“Edit”: Changes the timer setting.
Select an item using </, and adjust using
M/m. Press ENTER.
“Erase”: Erases the timer setting.
Select “OK” and press ENTER when asked
for confirmation.
6 Press SYSTEM MENU to turn off the Timer
List.
To return to the previous display
Press O RETURN.
Notes
•Even when correctly set, the program may not be
recorded if another recording is underway, or other
prioritized timer setting overlaps. For priority, see
page 50.
+
RW
+
R
-
RWVR
-
RWVideo
-
RVR
-
RVideo
11 22 33
44 55 66
77 88
00
99
SYSTEM
MENU
M/m/</,,
ENTER
O RETURN
01 04/15 09:00PM 10:00PM Line1
--/-- --:-- --:-- ---- ---04
--/-- --:-- --:-- ---- ---05
--/-- --:-- --:-- ---- ---06
03 --/-- --:-- --:-- ---- ---
02 04/30 09:15PM 09:45PM Line1
10:10 AM
SP
SP
Timer List
No Date Start End Ch Mode Edit
01 04/15 09:00PM 10:00PM Line1
--/-- --:-- --:-- ---- ---04
--/-- --:-- --:-- ---- ---05
--/-- --:-- --:-- ---- ---06
03 --/-- --:-- --:-- ---- ---
02 04/30 09:15PM 09:45PM Line1
10:10 AM
Timer List
No Date Start End Ch Mode Edit
Edit
Erase
01 DVD 04/15 09:00PM 10:00PM CH8
--- --/-- --:-- --:-- ---- ---04
--- --/-- --:-- --:-- ---- ---05
--- --/-- --:-- --:-- ---- ---06
03 --- --/-- --:-- --:-- ---- ---
02 DVD 04/30 09:15PM 09:45PM CH11
10:10 AM
No Rec To Date Start End Source Mode Edit
Timer – Standard
No.1
: PM PM
:
09 00 10 00 Line1 SP
Date Start End Ch Mode
04/15
01 04/15 09:00PM 10:00PM CH8
--/-- --:-- --:-- ---- ---04
--/-- --:-- --:-- ---- ---05
--/-- --:-- --:-- ---- ---06
03 --/-- --:-- --:-- ---- ---
02 04/30 09:15PM 09:45PM CH11
10:10 AM
No Date Start End Source Mode Edit
Timer List
Do you want to erase ‘No.01’?
OK
Cancel
,continued
54
•You cannot change the timer settings for a recording
currently underway.
Recording From a VCR or
Similar Device
You can record from a connected VCR or similar
device. For connection details, see “Connecting a
VCR or Similar Device” on page 27.
Use the DV IN jack on the front panel if the
equipment has a DV/D8 output jack (i.LINK
jack). To record from a digital video camera
connected to the DV IN jack, see page 71.
1 Insert a recordable disc.
2 Press INPUT repeatedly to select an input
source according to the connection you
made.
The front panel display changes as follows:
+
RW
+
R
-
RWVR
-
RWVideo
-
RVR
-
RVideo
11 22 33
44 55 66
77 88
00
99
INPUT
x STOP
REC MODE
z REC
LINE2 DVLINE1
 Loading...