– 18 –
– DSP Section –
[Setting the DSP Test Mode]
1. Power on with pressing the
[ANSWER ON/OFF] key for 3 seconds.
2. When the DSP test mode (step 1) is set, it beeps confirm tone.
[Releasing the DSP Test Mode]
To release the test mode, perform as follows:
• Turn the power off (disconnect the AC adapter plug).
• Bell in. (except step 6)
[Changing the DSP Test Mode Step]
1. Press the
[QUIC, SKIP] key.
2. It switches over next step, and indicates step status on the 7 segments LED (D217).
Note: Volume level can be changed by the [+] or [ ] key in the all steps. But then the step is changed, volume level will be maximum (level 10).
1. STEP 1
1-1. Status Indication of the Dial Mode
It indicates status of the [DIAL MODE] switch (S1) on the 7 segments LED (D217) as follows.
TONE: “71”
PULSE: “P1”
1-2. Key Check
Every time each key is pressed, the code corresponded to each key is indicated on the 7 segments LED for a second as follows
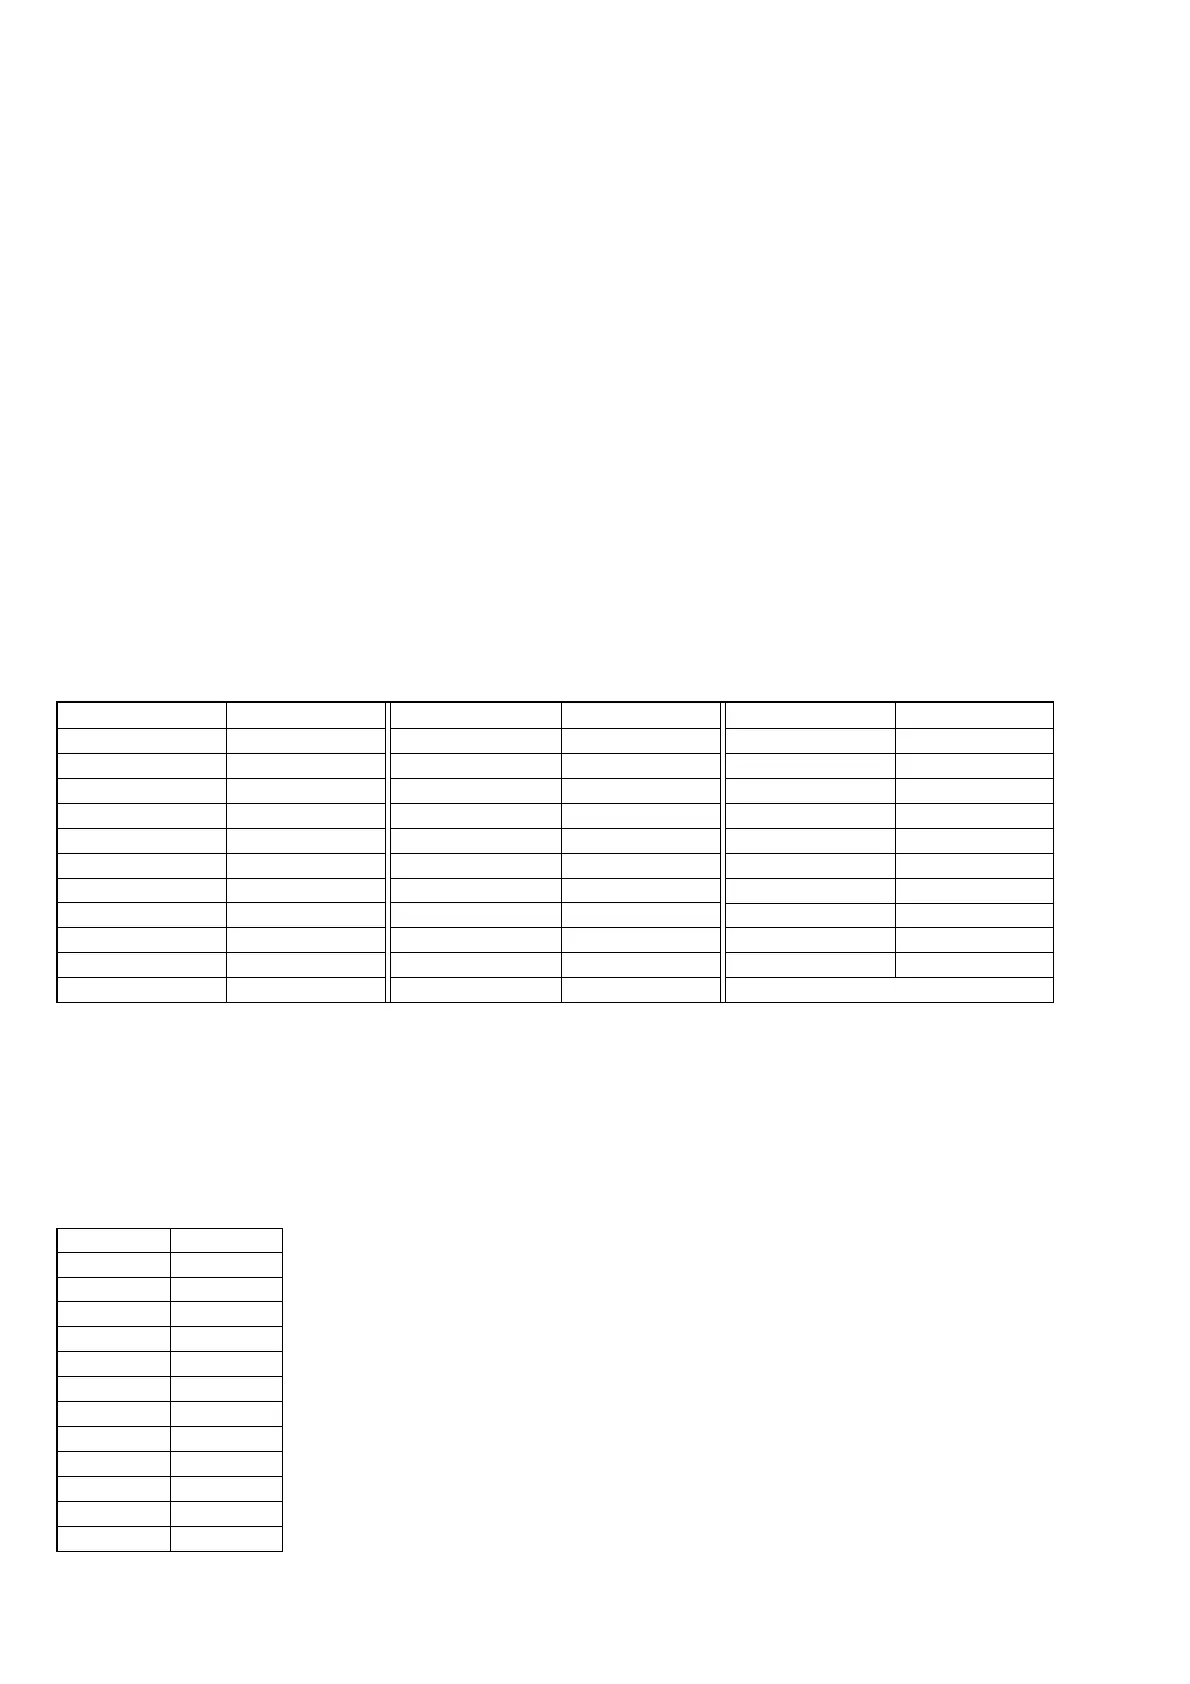
Key Code
SPEAKERPHONE 01
INTERCOM 02
HOLD 03
MENU 04
SELECT 05
TIME SET 06
ERASE 07
REC/MEMO 08
SLOW, REPEAT 09
QUICK, SKIP change the step
ANSWER ON/OFF DSP version
Key Code
PGM 0C
VOL + 0d
VOL – 0E
MAIL BOX 1 11
MAIL BOX 2 12
MAIL BOX 3 13
1 21
2 22
3 23
4 24
5 25
Key Code
6 26
7 27
8 28
9 29
0 2A
2b
# 2C
REDIAL/PAUSE 2d
FLASH 2E
SPEED DIAL 2F
*
2. STEP 2
When set to this step, it indicates “ 2” on the 7 segments LED (D217).
In this step, speakerphone is receiving mode every time.
3. STEP 3
When set to this step, it indicates “ 3” on the 7 segments LED (D217).
In this step, it will be line monitor mode every time.
When it detects DTMF signal from the line input (LINE jack: J1), beeps key-touch-tone and indicates the code on the 7 segments LED
(D217) for a second as follows.
DTMF Code
1 _1
2 _2
3 _3
4 _4
5 _5
6 _6
7 _7
8 _8
9 _9
0 _A
_b
# _C
–
*