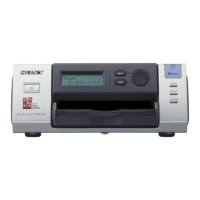
Setup
Setting up the Personal Computer to be Used for Setup / About the Setup Window
34
Setup
Setting up the Personal
Computer to be Used for
Setup
1
Start the personal computer to be used for setup.
2
Open the TCP/IP setting page.
3
Enter the IP address of the computer and the sub-
net mask.
IP address of the computer: NNN.NNN.NNN.nnn
NNN.NNN.NNN.NNN: IP address assigned to
the UP-DF500 on the network
nnn: Arbitrary numbers (from 1 to 254, should
not be the same as those of the fourth NNN of
the UP-DF500 IP address.)
Sub-net Mask:255.255.255.0
4
Restart the personal computer.
5
Connect the UP-DF500 and the personal computer
to be used for setup using the network cross cable.
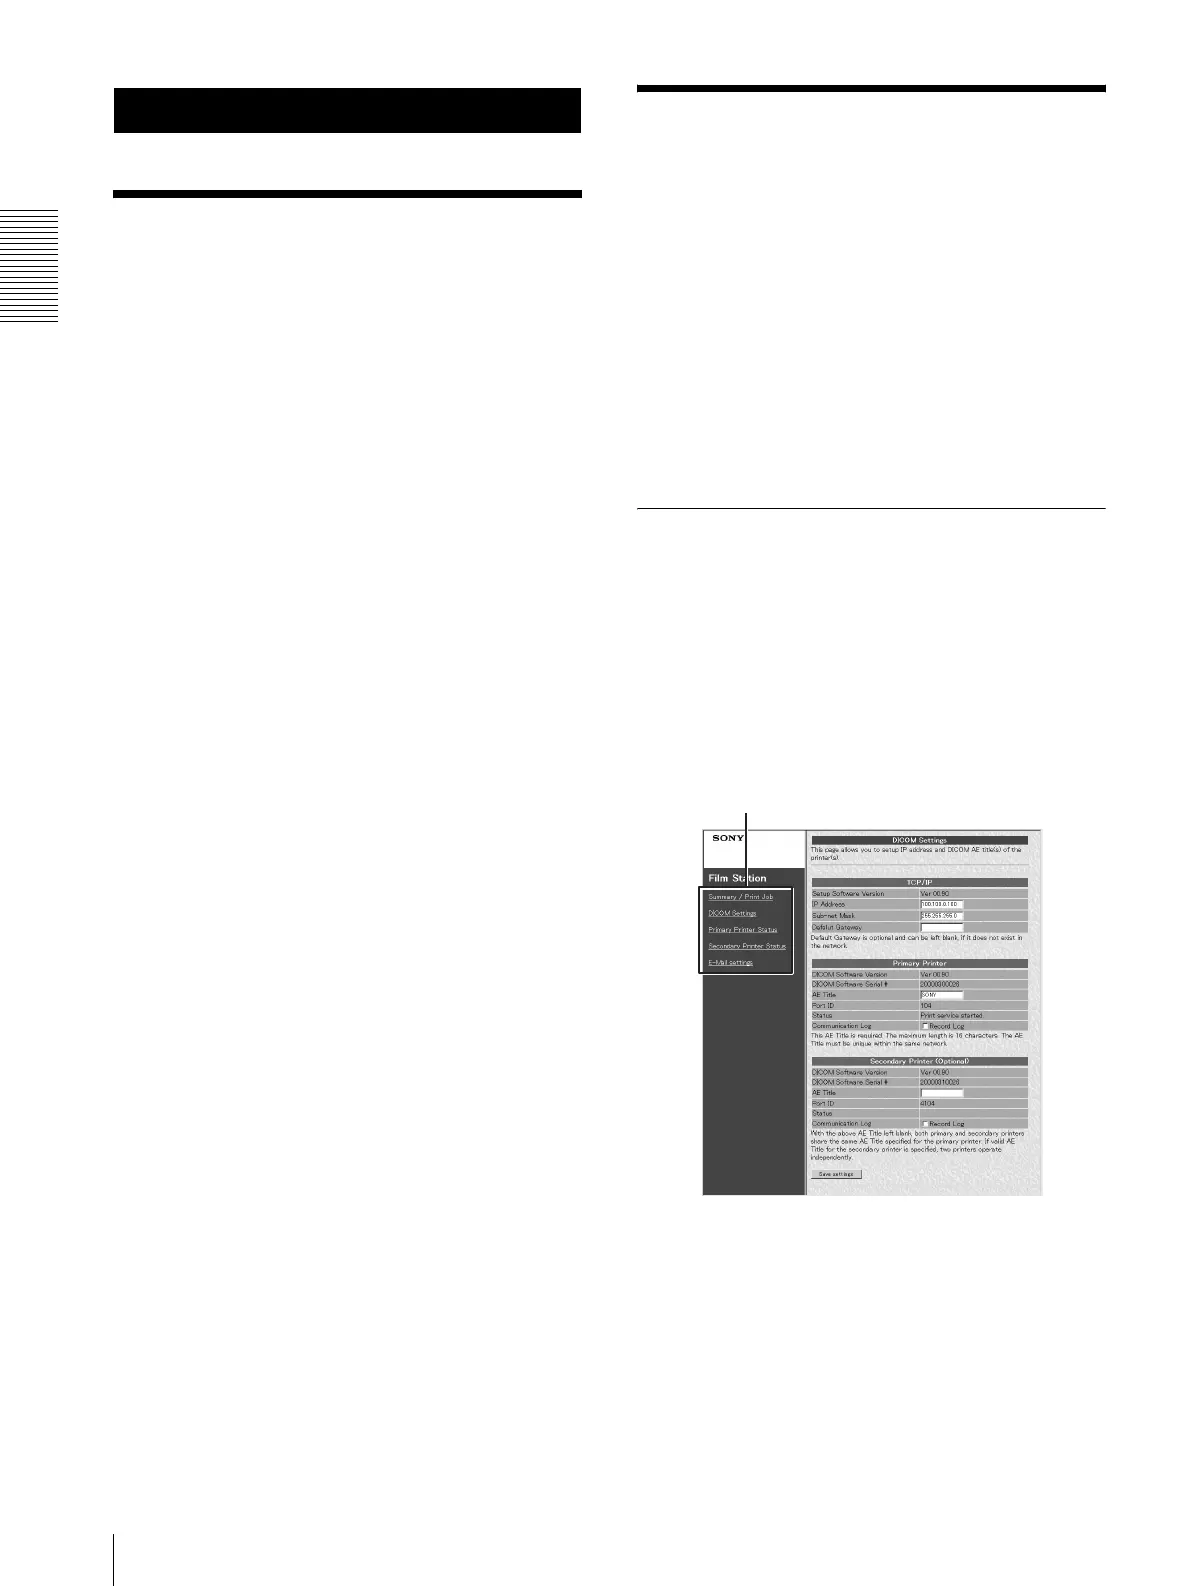
About the Setup Window
The UP-DF500 can be set up on the setup window
displayed on the Web browser of the personal computer
to be used for setup.
The setup window has the following pages:
• Summary/Print Job page
Displays the summary and print job status of the UP-
DF500.
• DICOM Settings page
Sets up the IP address, DICOM AE title, and so on.
• Printer Status page
Displays the status of the UP-DF500.
• E-Mail Settings page
Sets up the items related to E-Mail.
Opening the Setup Window
1
Start the personal computer to be used for setup,
and then start the Web browser software.
2
Enter the following address.
http://NNN.NNN.NNN.NNN
This is the IP address assigned to the UP-DF500 on
the network.
3
Click the desired page in the page selection area.
The desired page opens.
Page selection area