Transmitter Settings
26
• IN LEVEL (audio input level) select (UTX-B03/P03
only)
• +48V (+48 V supply) setting (UTX-P03 only)
• TIME (accumulated running time) display
• MENU MODE (menu display mode) setting
• COMPANDER (compander mode) setting
• PWR LOCK (POWER button lock) function
• MUTING (muting function) setting
• PHASE (phase switching) setting (UTX-B03 only)
• BATTERY (battery type) setting
• CONTRAST (display text contrast) setting
• RESET (factory default setting) function
• VERSION (software version) display
The following configuration menus cannot be modified
during transmission. Set these menus in transmission
stopped mode.
• GP/CH (group/channel) select
The following configuration menus do not appear and
cannot be modified during transmission. Set these menus
in transmission stopped mode.
• BAND (frequency band) select (Not available on
Japanese and Korean models)
• RF POWER (RF transmit output level) select
Transmission stopped mode
This mode allows settings to be modified when RF
transmission has stopped.
Use this mode to make settings without risk of
interrupting other wireless traffic when setting channels
and other settings.
With the power off, press and hold the SET button and
press the POWER/MUTING button for at least one
second to turn the power on and to display the
transmission stopped mode menu.
The following configuration menus can only be modified
in transmission stopped mode.
• GP/CH (group/channel) select
• BAND (frequency band) select (Not available on
Japanese and Korean models)
• RF POWER (RF transmit output level) select
• RESET (factory default setting) function
Basic menu operation
The basic menu operation is the same in simple mode,
extended mode, and transmission stopped mode.
1
Press the + or – button to display the function to be
set.
2
Press and hold the SET button until the setting starts
flashing.
3
Press the + or – button to change the setting.
4
Press the SET button to enter the setting.
If no operation is performed for five seconds, the
backlight will turn off. Pressing any button will turn the
backlight on again.
Setting the transmit channel
Procedure for all transmitters (UTX-B03/M03/
P03)
For details about the channel groups and channels that can
be selected, refer to the “Frequency List” on the
CD-ROM.
1
Press and hold the SET button and press the POWER/
MUTING button to turn the power on.
2
Use the + or – button to display the GP/CH menu.
3
Press and hold the SET button for one second or
longer.
Press and hold until the channel group display starts
flashing.
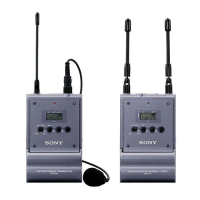
4
Use the + or – button to select the desired group
name, then press the SET button.
The channel group is set, and the channel number
display starts flashing.
Note
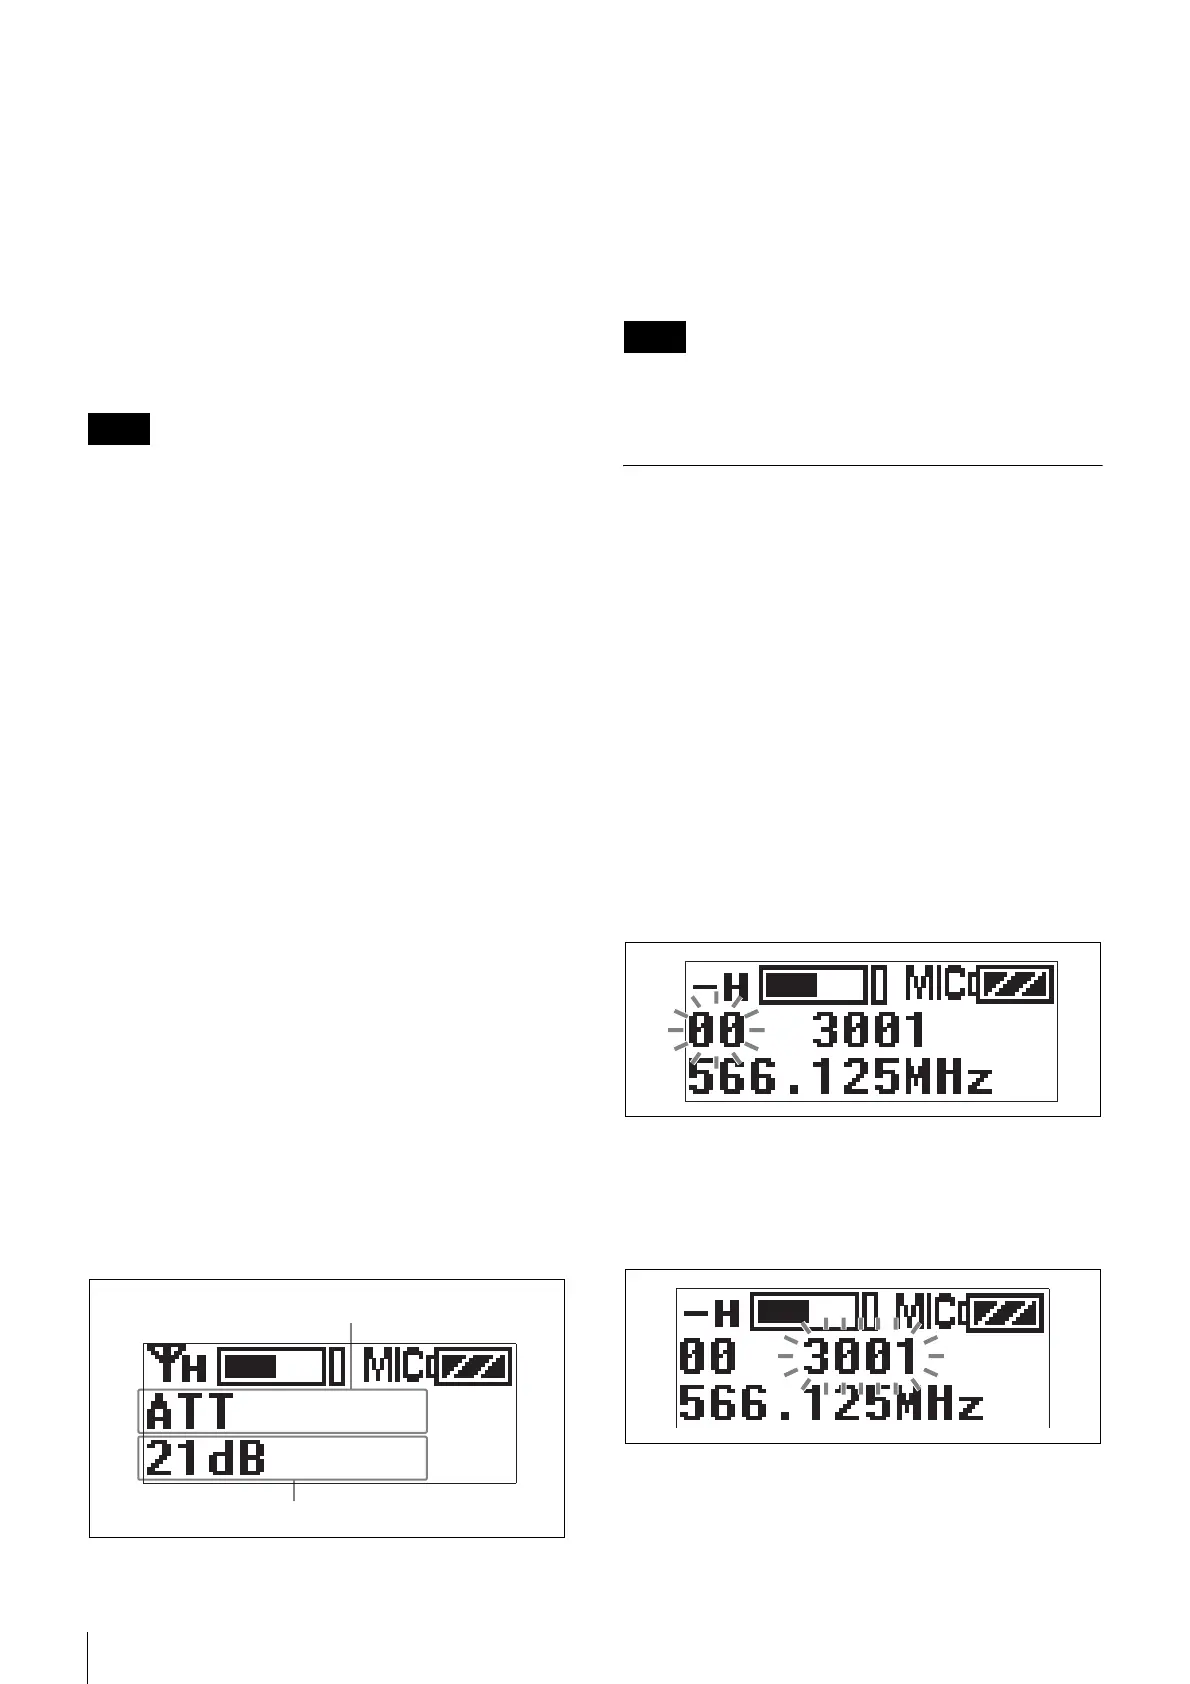
Function name
Setting
Note