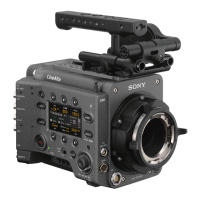
2. Preparation: Mounting a Lens and Adjusting the Flange Focal Length
23
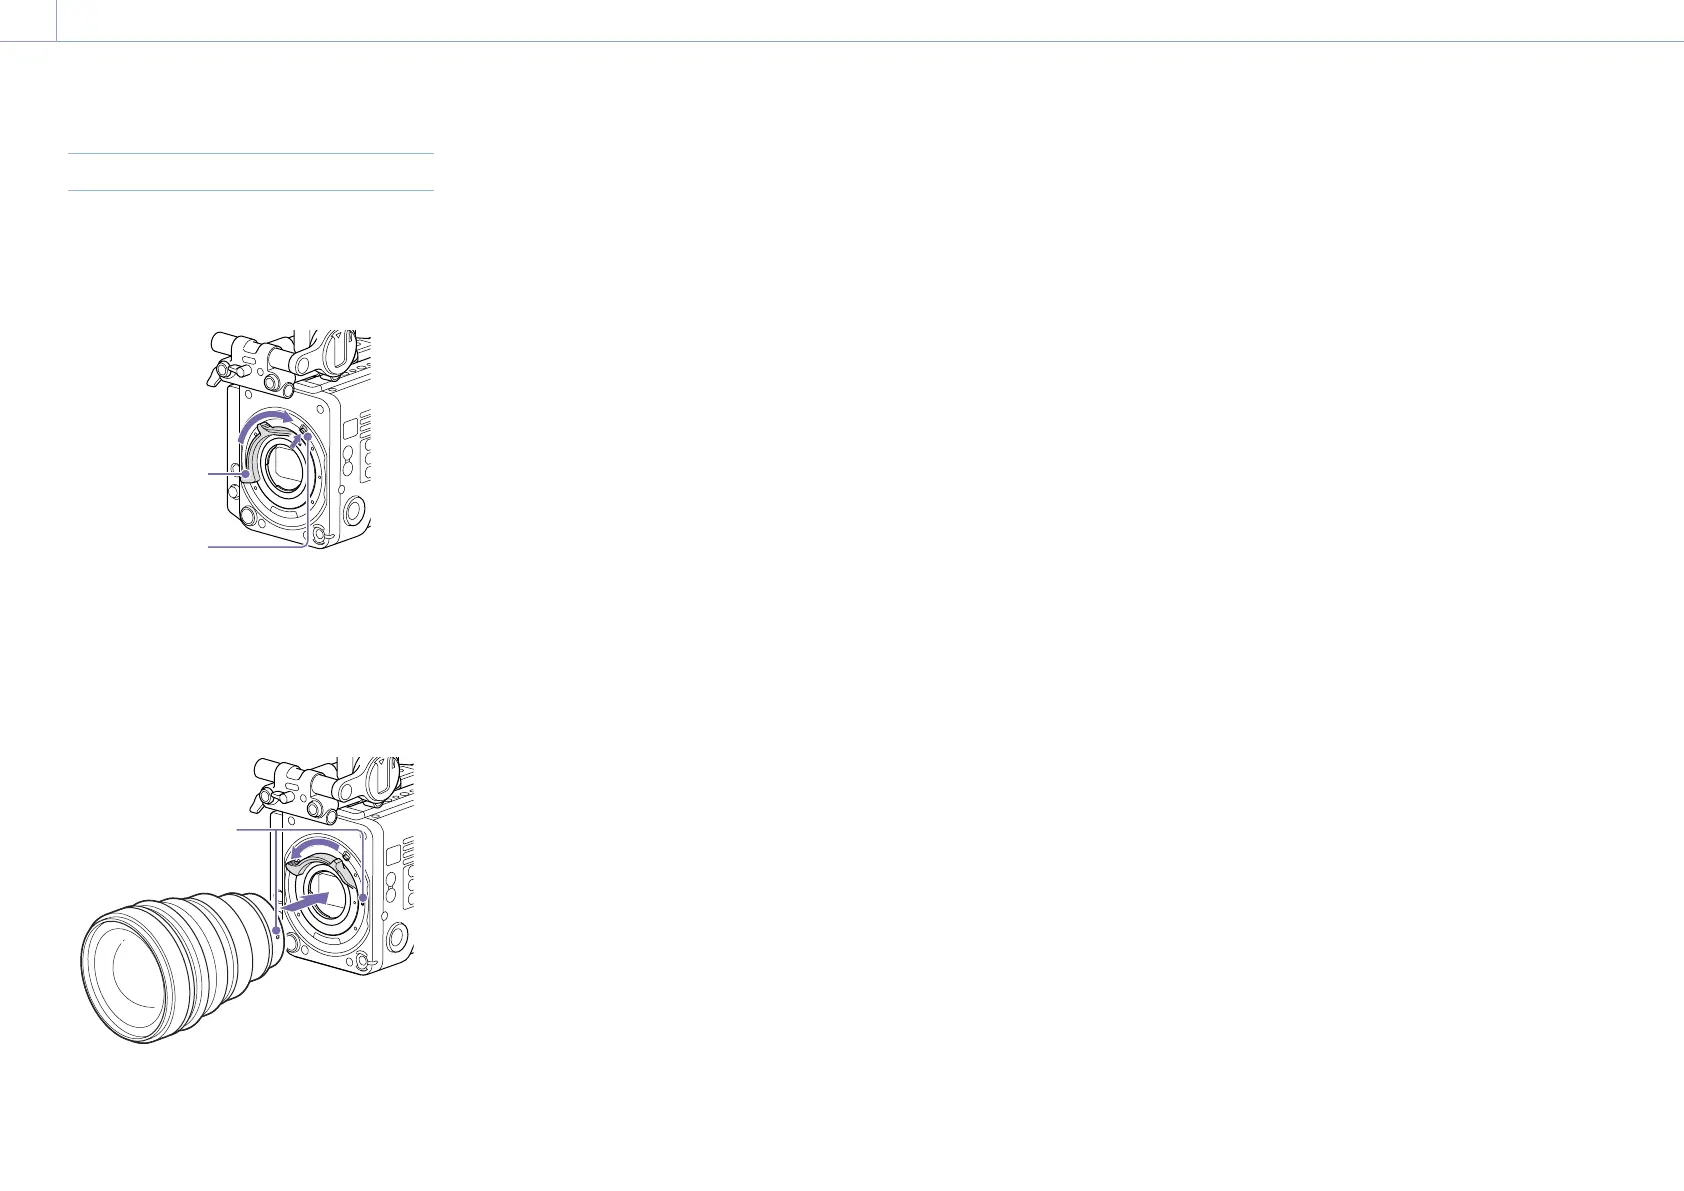
Attaching an E-Mount Lens
1 Remove the PL lens adaptor (page 22).
2 Push the lock switch up, and turn the
mount lever clockwise to release the lock.
Mount lever
Lock switch
3 Align the mounting marks (white) on the
unit and lens mount, and then push the
lens into the mount.
4 Secure the lens by turning the mount
lever counterclockwise while holding the
lens.
Mounting marks
(white)
[Note]
When an E-mount lens is connected, operation using a
12-pin lens connector is not guaranteed.
To remove the lens
1 Push the lock switch up, and turn the
mount lever clockwise to release the lock.
2 Pull the lens forward.
[Note]
If another lens will not be attached soon, carefully
align the concave part of the mount cover, then
secure the mount cover by turning the mount lever
counterclockwise.
 Loading...