3
2. Mount & connect the device
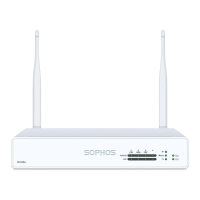
Mount the antennas (for wireless models only)
Connect the provided antennas to the connectors on the back
of your appliance and align them in a vertical position.
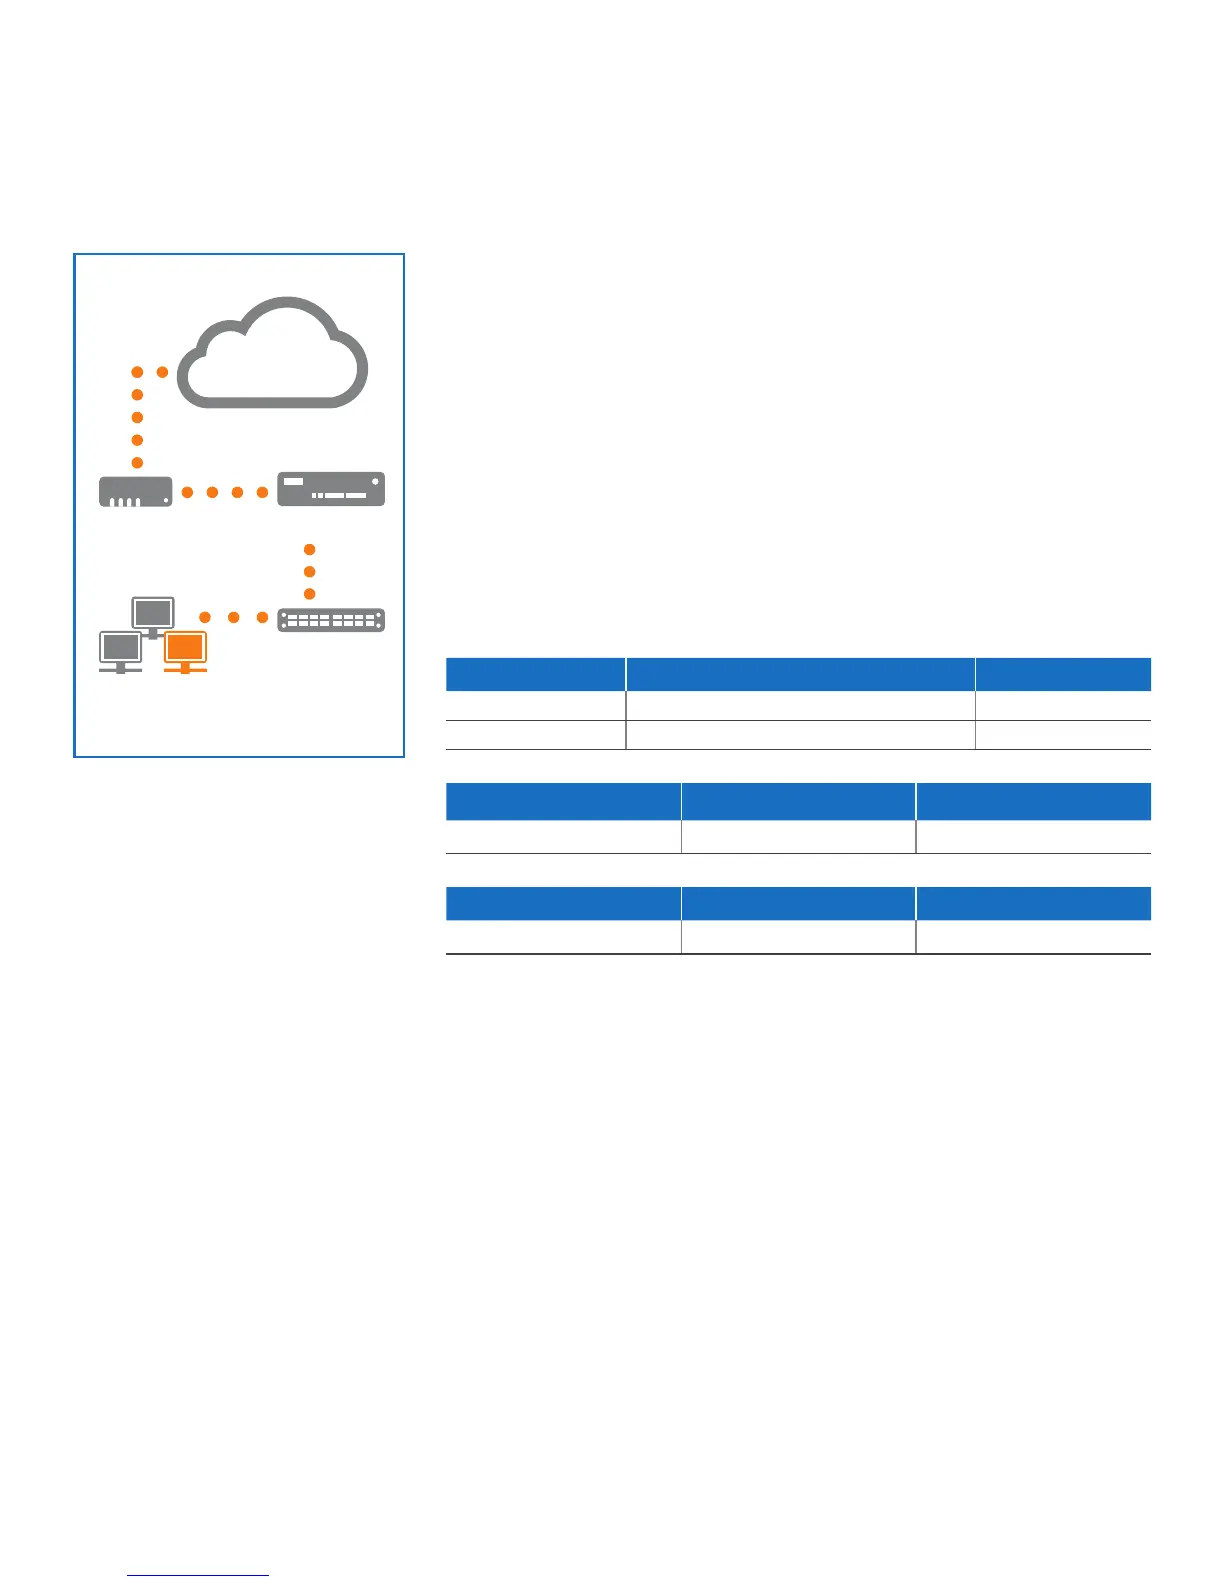
Connect the ports to the internal and external networks
1. Connect the Port 1/LAN port via a hub or switch to the internal network. For this
purpose, use the RJ45 Ethernet cable provided. Note that your Administration PC
must also be connected to this network.
2. Connect Port 2/WAN to the external network. The connection to the WAN
depends on the type of Internet access.
Note: For electromagnetic compatibility reasons, please only use shielded RJ45
Ethernet cables.
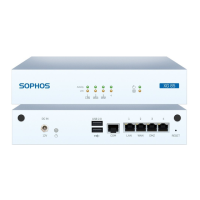
The XG devices are shipped with the following default settings:
Ethernet Port IP Address Zone
1 172.16.16.16/255.255.255.0 LAN
2 DHCP WAN
Admin Console Username Admin Console Password CLI Console Password
admin admin admin
Default Gateway DNS proxy DHCP service
DHCP Enabled Enabled
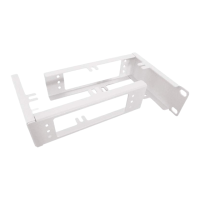
Mount the appliance to the rack
If you want to mount the device within a rack please use the optionally available
rackmount kit for this device.
Quick Start Guide XG 86(w) Rev. 1
Internet
e.g.,
DSL modem
Internal network
admin client PC
XG Appliance
Switch
Port 2/
WAN
Port 1/
LAN
 Loading...