8
Quick Start
ACCESRY
STATUS
HUMIDITY
OUTDOOR
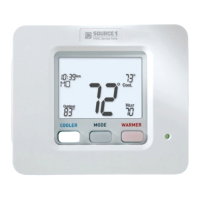
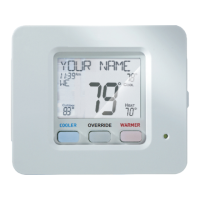
Viewing the Temperature Sensors
OUTDOOR TEMP - Press the OUTDOOR button to view the
current outdoor temperature. The high and low temperatures
for the day will also be displayed. The high and low
temperatures reset at 12:00 am. Press the OUTDOOR
button again to return to normal operation.
If the thermostat is connected to Skyport; upon pressing the OUTDOOR
button the scrolling display will read “Forecast”. The forecasted high and
low temperatures for the day will be displayed.
Press the OUTDOOR button again to view any connected wired sensor
(remote or SUPPLY).
Note: If no outdoor sensor is connected, and there isn’t outdoor temperature via
Wi-Fi, then 2 dashes [- -] will appear with the first button press.
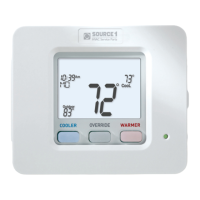
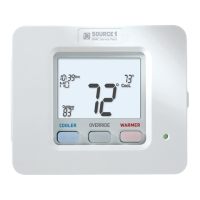
REMOTE/SUPPLY TEMP - Press the Accessory Status button to
view linked wireless wired sensors and other accessories.
Press the Accessory Status button to return to the main screen.
Setup step #46 selects the use of the wired temperature sensor.
Viewing the Indoor Humidity Sensor
IMPORTANT: Allow at least 2 minutes after the thermostat is
powered on for the humidity to read correctly.
Press the HUMIDITY button to display the current humidity measured at the
thermostat. The room’s relative humidity is displayed in the top left corner. The
humidification setpoint appears in the larger, center display and can be adjusted
using the WARMER or COOLER buttons. Press the MODE button again to view
and adjust the dehumidification setpoints. Press the HUMIDITY or MODE button
again to confirm settings and return to normal operation.
Note: Due to variations in environmental and equipment conditions,
it is not always possible to achieve the desired humidification or
dehumidification setpoint.