Do you have a question about the South Shore 3840010 and is the answer not in the manual?
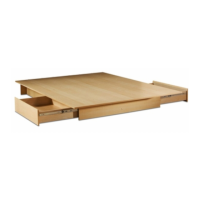
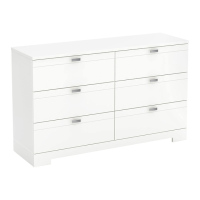
Gathering and identifying main furniture components for initial assembly.
Installing drawer slides onto the left and right side panels.
Inserting cam lock bolts and nuts into side panels for structural connection.
Mounting drawer slides onto the center support panel.
Securing support rails and pieces to the main structure.
Connecting support pieces to the top panel.
Joining the left side panel to the top panel.
Securing the center support rail to the main assembly.
Attaching the middle support panel to the structure.
Adding remaining center support rails to the assembly.
Joining the right side panel to the main structure.
Securing the back support piece to the unit.
Adding internal support panels for drawer stability.
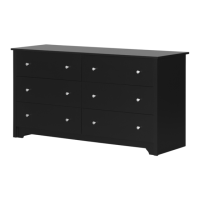
Securing the main top panel to the assembled unit.
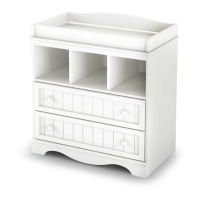
Identifying and preparing components for drawer assembly.
Connecting drawer side panels to drawer bases.
Mounting drawer slides onto the assembled drawer sides.
Forming the drawer box structure with internal supports.
Installing drawer runners onto the drawer boxes.
Securing drawer fronts to the assembled drawer boxes.
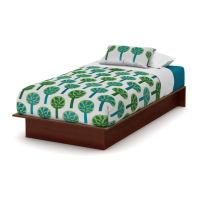
Final step of sliding the assembled drawers into the dresser unit.
Instructions to prevent furniture tip-over and potential crushing injuries to children.
Understanding the limitations of tip-over restraints in preventing accidents.
Instructions for installing the safety bracket to prevent unit tip-over.
Recommendations for cleaning and maintaining the furniture's finish and condition.
Explains the terms, conditions, and coverage of the limited warranty.
Provides contact details for warranty claims and support.
| Product Name | South Shore 3840010 |
|---|---|
| Category | Indoor Furnishing |
| Style | Modern |
| Assembly Required | Yes |
| Material | Particleboard |