6
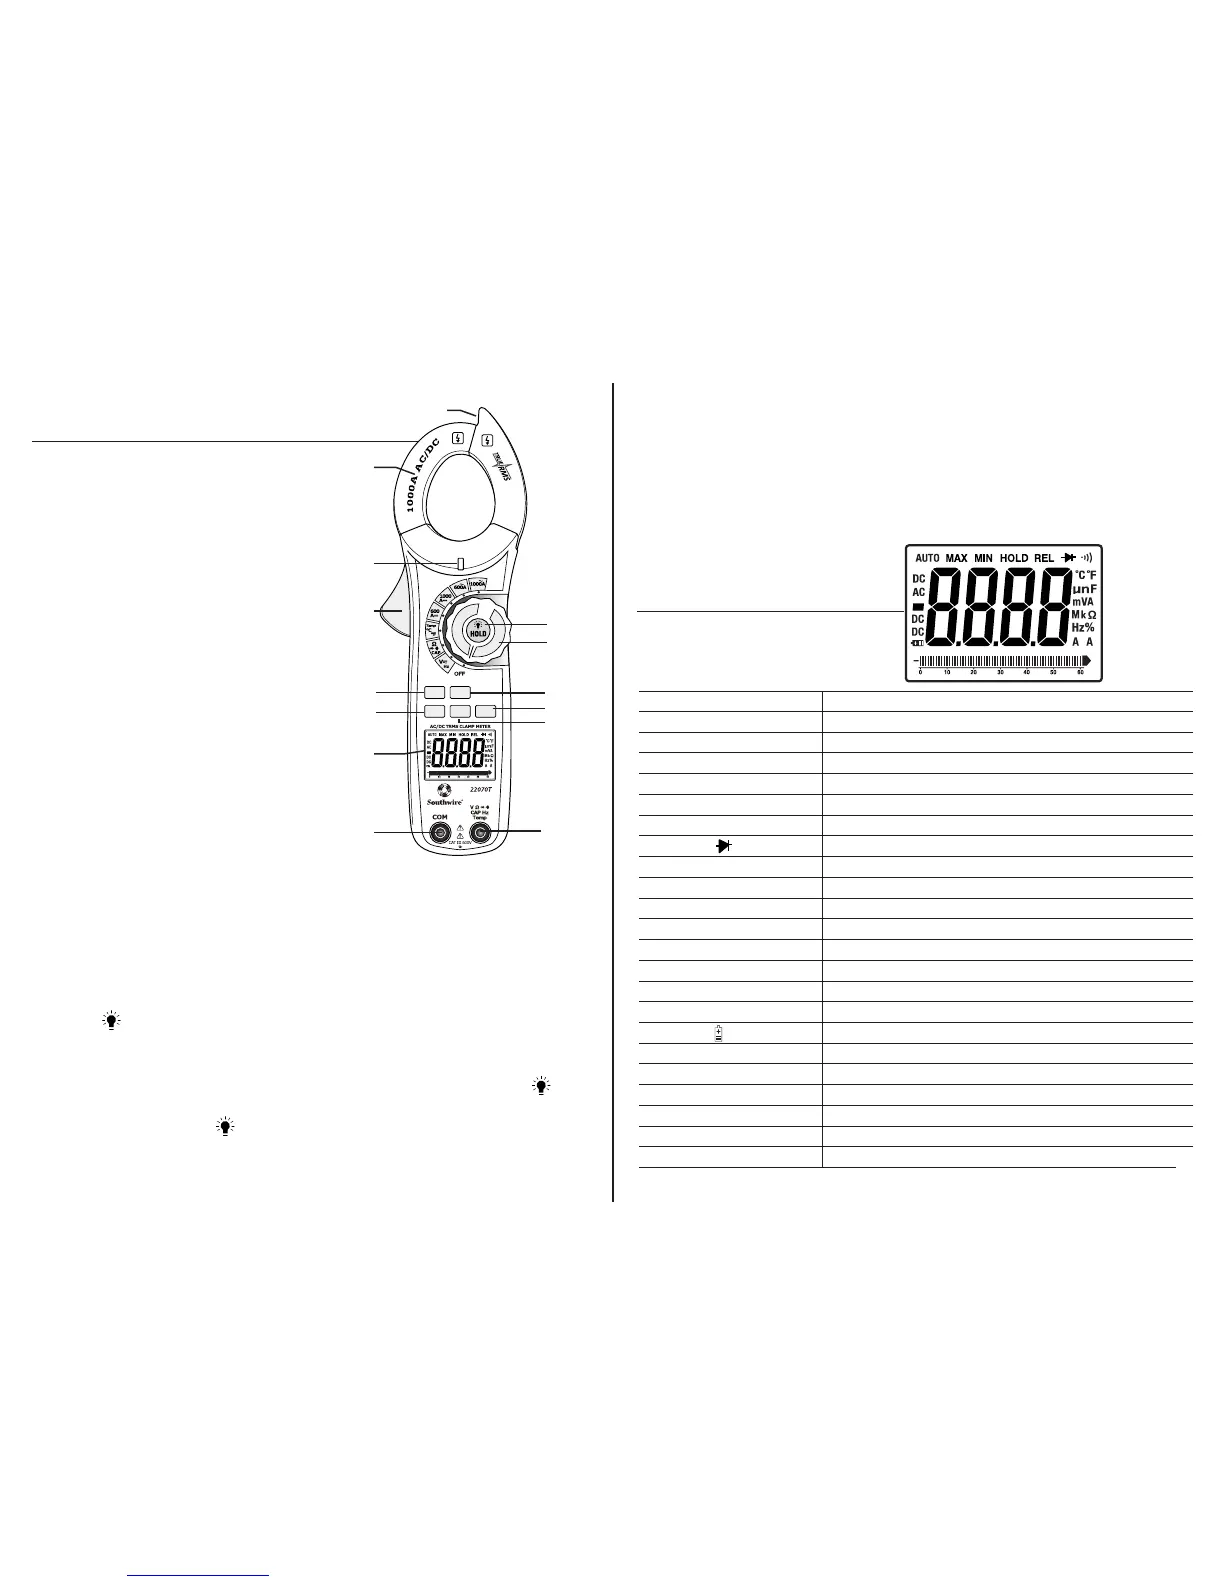
Symbols Used
on LCD Display
RANGE BUTTON When the meter is first turned on, it goes into Autoranging.
This automatically selects the best range for the measurements being made and is
generally the best mode for most measurements. For measurement situations requiring
that a range be manually selected, perform the following: 1. Press the RANGE button.
The “AUTO” display indicator will turn off. 2. Press the RANGE button to step through
the available ranges until you select the range you want. 3. Press and hold the RANGE
button for 2 seconds to exit the Manual Ranging mode and return to Autoranging.
V Volts
A Amps
AC Alternating current
DC Direct current
- Minus sign
Ω Ohms
•))) Continuity
Diode test
F Farads (capacitance)
Hz Hertz (frequency)
% Percent (duty cycle)
ºF Degrees Fahrenheit
ºC Degrees Centigrade
AUTO Autoranging
REL Relative
HOLD Display hold
Battery status
n nano (10
-9
)
µ micro (10
-6
)
m milli (10
-3
)
k kilo (10
3
)
M mega (10
6
)
OL Overload
5
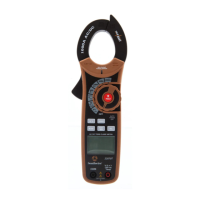
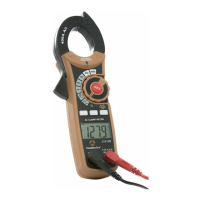
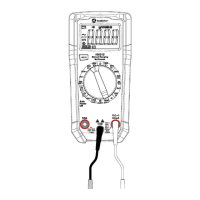
Meter Description
1. Current clamp
2. Non-contact AC voltage indicator light
3. Clamp trigger
4. Data Hold/Backlight button
5. Rotary function switch
6. Frequency/Duty Cycle button
7. RANGE select button
8. MODE select button
9. Relative button
10. MAX/MIN button
11. LCD display
12. COM input jack
13. V, Ω, CAP, Temp, Hz input jack
14. Non-contact voltage detector
AUTO
POWER
OFF
MODE
REL
MAX
MIN
RANGE
Hz%
Non-Contact
Voltage Detector
600V
CAT
III
1.
2.
3.
6.
8.
12.
11.
14.
4.
5.
9.
7.
10.
13.
MODE BUTTON
To select AC or DC volts, Resistance/Diode
Test, Continuity, or Capacitance and °F or °C
MAX/MIN RECORDING BUTTON
Select the proper range before selecting MAX/MIN to ensure that the MAX/MIN
reading will not exceed the testing range. Press the MAX/MIN button to enter
the MAX/MIN recording mode. Press once to select MAX.
Press again to select MIN. Press for two seconds to end the MAX/MIN mode.
(MAX/MIN operates on Voltage, Current, Resistance, and Temperature functions.)
REL BUTTON For DC Current Zero & Offset adjustment
DATA HOLD BUTTON To freeze the LCD meter reading, momentarily press the
data HOLD button. While data hold is active, the HOLD display icon appears
on the LCD. Press the data hold button again to return to normal operation.
BACKLIGHT BUTTON The backlight illuminates the display when the ambient light is
too low to permit viewing of the displayed readings. Press and hold the HOLD button
for two seconds to turn the backlight on. If HOLD appears on display, clear HOLD by
momentarily pressing HOLD .
 Loading...