Page 14 Seaich Corporation, LLC. All rights reserved. www.seaich.com
|
Spacerails, LLC. www.spacerails.com
B
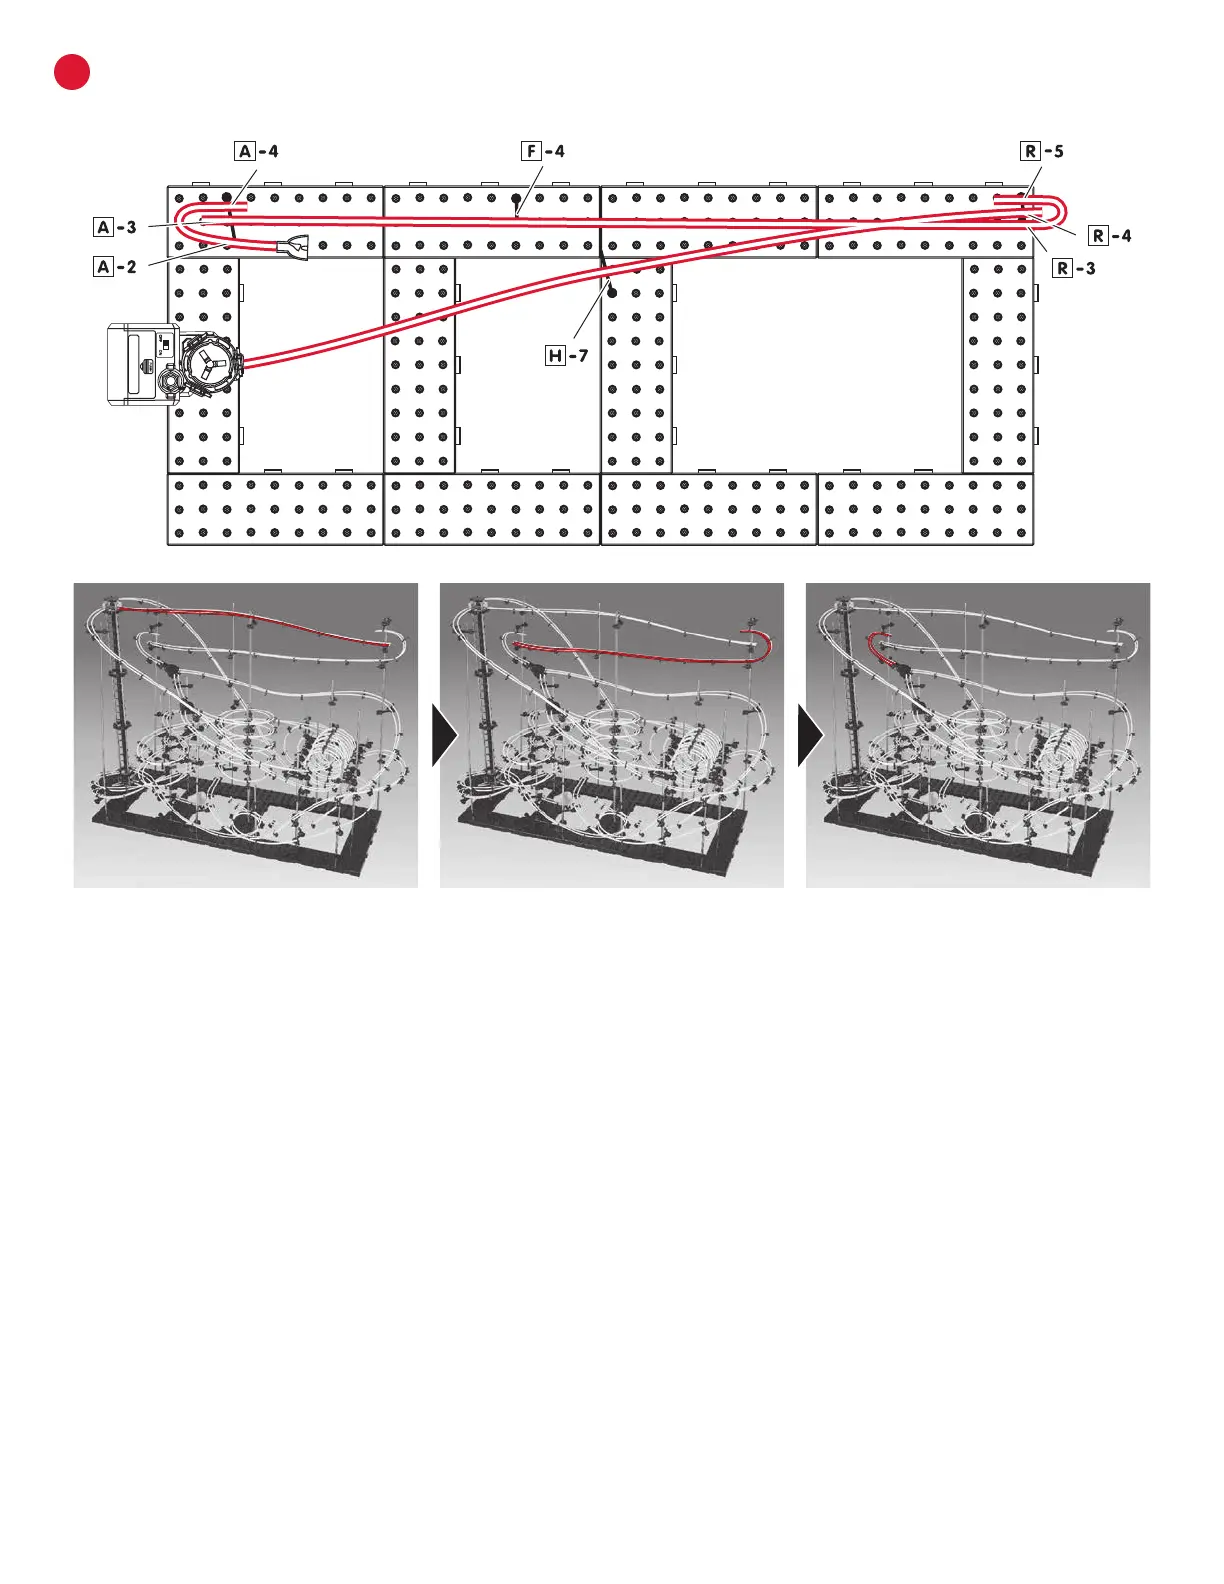
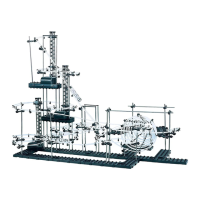
INSTALLING RAIL
Rail Section 1:
Step1: Install one side of a rail at a time. Starting at the
top center Elevator Ring connect rail D (78 cm) to rail
Clip. Keeping rail tight connect to arm H-7 and Finish rail
at arm R-4. Repeat step for second rail. Attach Rail Clips
every 8-10 cm along rail to maintain stability and keep
rails parallel.
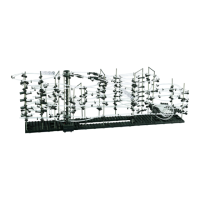
Step2: Starting at arm R-5 connect rail E (90 cm). Loop
rail under and connect to arm R-3. Keeping rail tight
connect to arm F-4 and Finish rail at arm A-3. Repeat step
for second rail. Attach rail Clips every 8-10 cm along rail
to maintain stability and keep rails parallel.
Step 3: Starting at arm A-4 connect rail B (22 cm). Loop
rail under and connect to arm A-2. Finish by attaching
the rail to the Rail Clip on single side of the Rail Splitter.
Fine Tune: Once each rail section is completed run a
Marble down your course and make sure it travels well.
Make any adjustments as needed. Do not worry about
adjusting the splitter until all rails have been connected.