Seaich Corporation, LLC. All rights reserved. www.seaich.com
|
Spacerails, LLC. www.spacerails.com Page 15
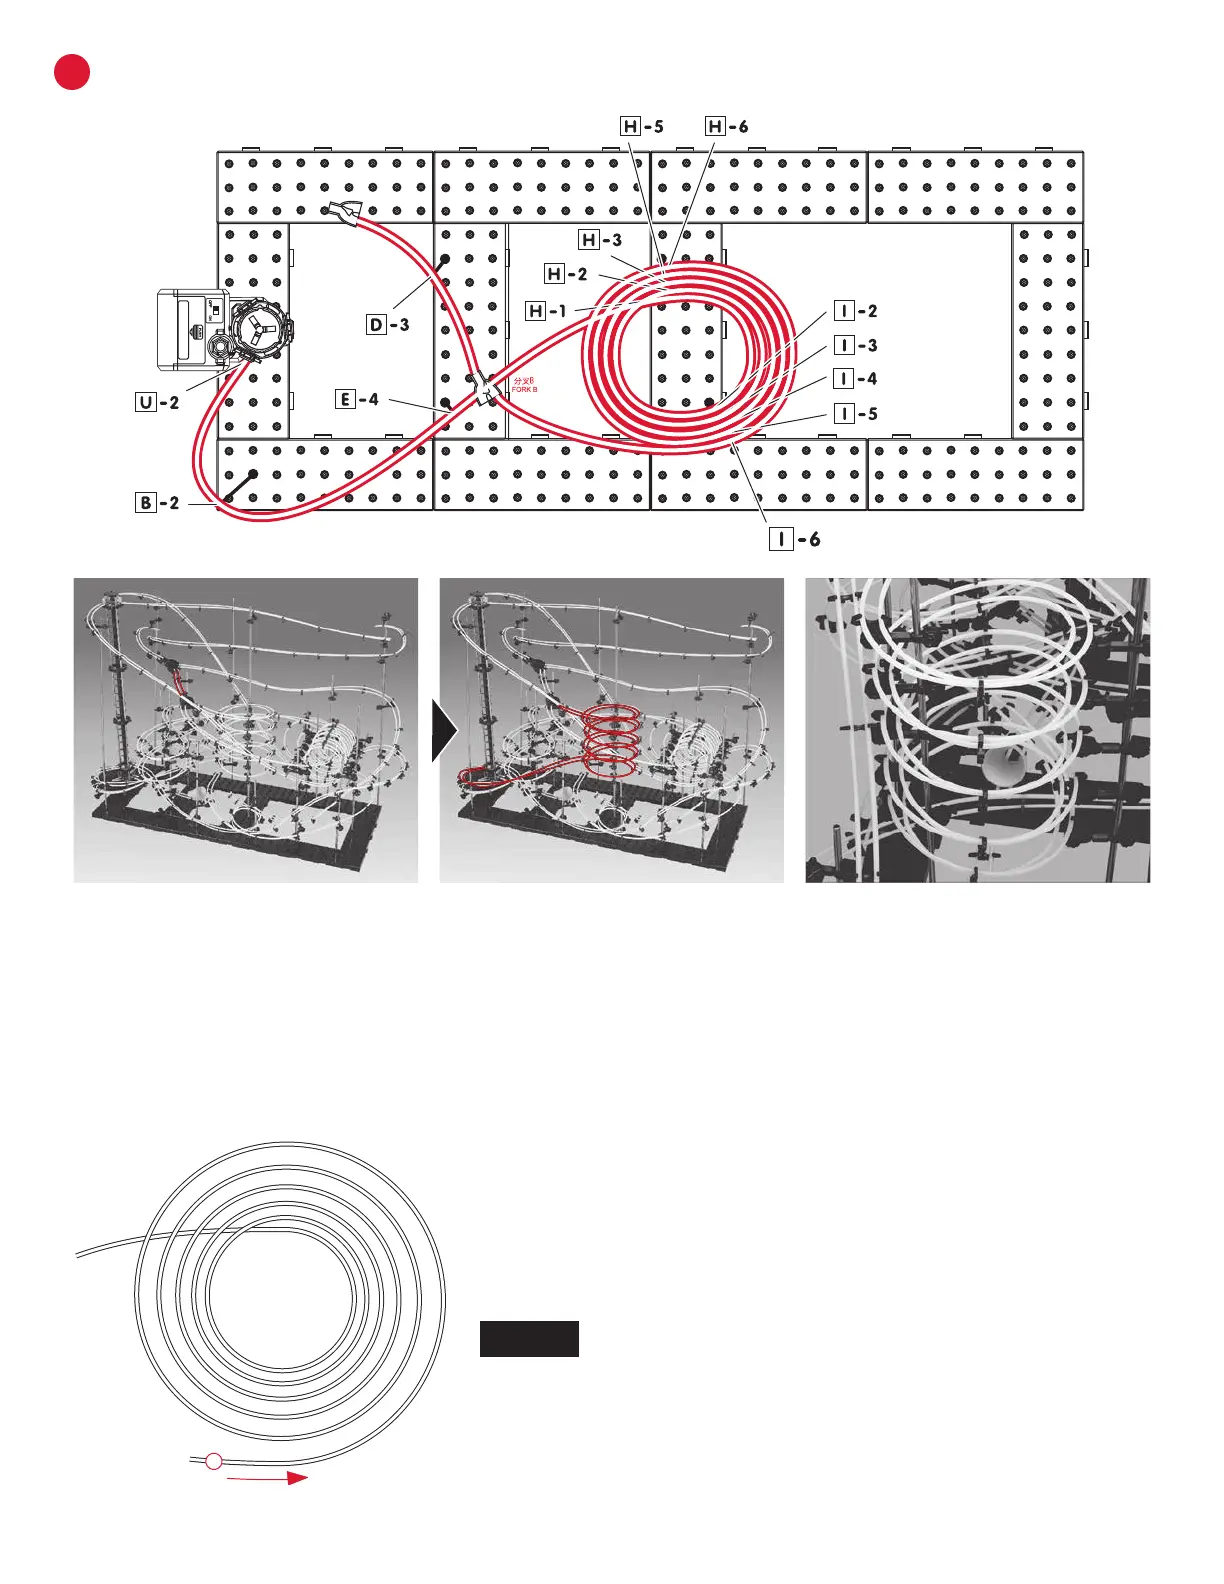
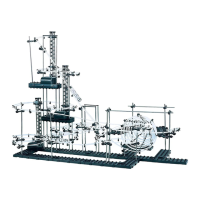
Step1: Start by attaching rail A (15 cm) to Rail Clip of rst
splitter facing the front of the base. Connect rail through
arm D-3 and nish by attaching rail to the Rail Clip on
the single side of the second Rail Splitter. Repeat step for
second rail.
Step2: Connect rail G (310 cm) to Rail Clip on second
splitter facing the back of the base. Create an nested loop
where each successive loop is slightly smaller than the
one above it. Starting with the inside rail connect arms
I-6, H-6, I-5, H-4, I-4, H-3, I-3, H-2, I-2, H-1, across to arm
E-4 and arm B-2. Finish at Rail Clip on Elevator Ring 2
facing the front of the base. Repeat step for the outside
rail. At least one rail will need to be trimmed at Elevator
Ring. Attach Rail Clips to keep rails consistently spaced,
supported, and create banked corners as needed.
B
INSTALLING RAIL
Rail Section 2:
NOTE:
If length of rail is longer or shorter than
expected try adjusting the size of the nested
loops to better utilize the rails.
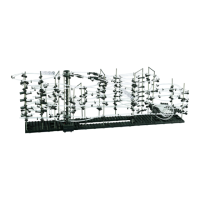
This top view of the nested loop section shows how each successive loop
is slightly smaller than the one above it. Start with a loop of about 20 cm
and work down to about 17 cm on the bottom loop. These numbers are
intended to be a guide only. Test your loops with the Marble. Adjust until
you get good consistent speed throughout this section.