4
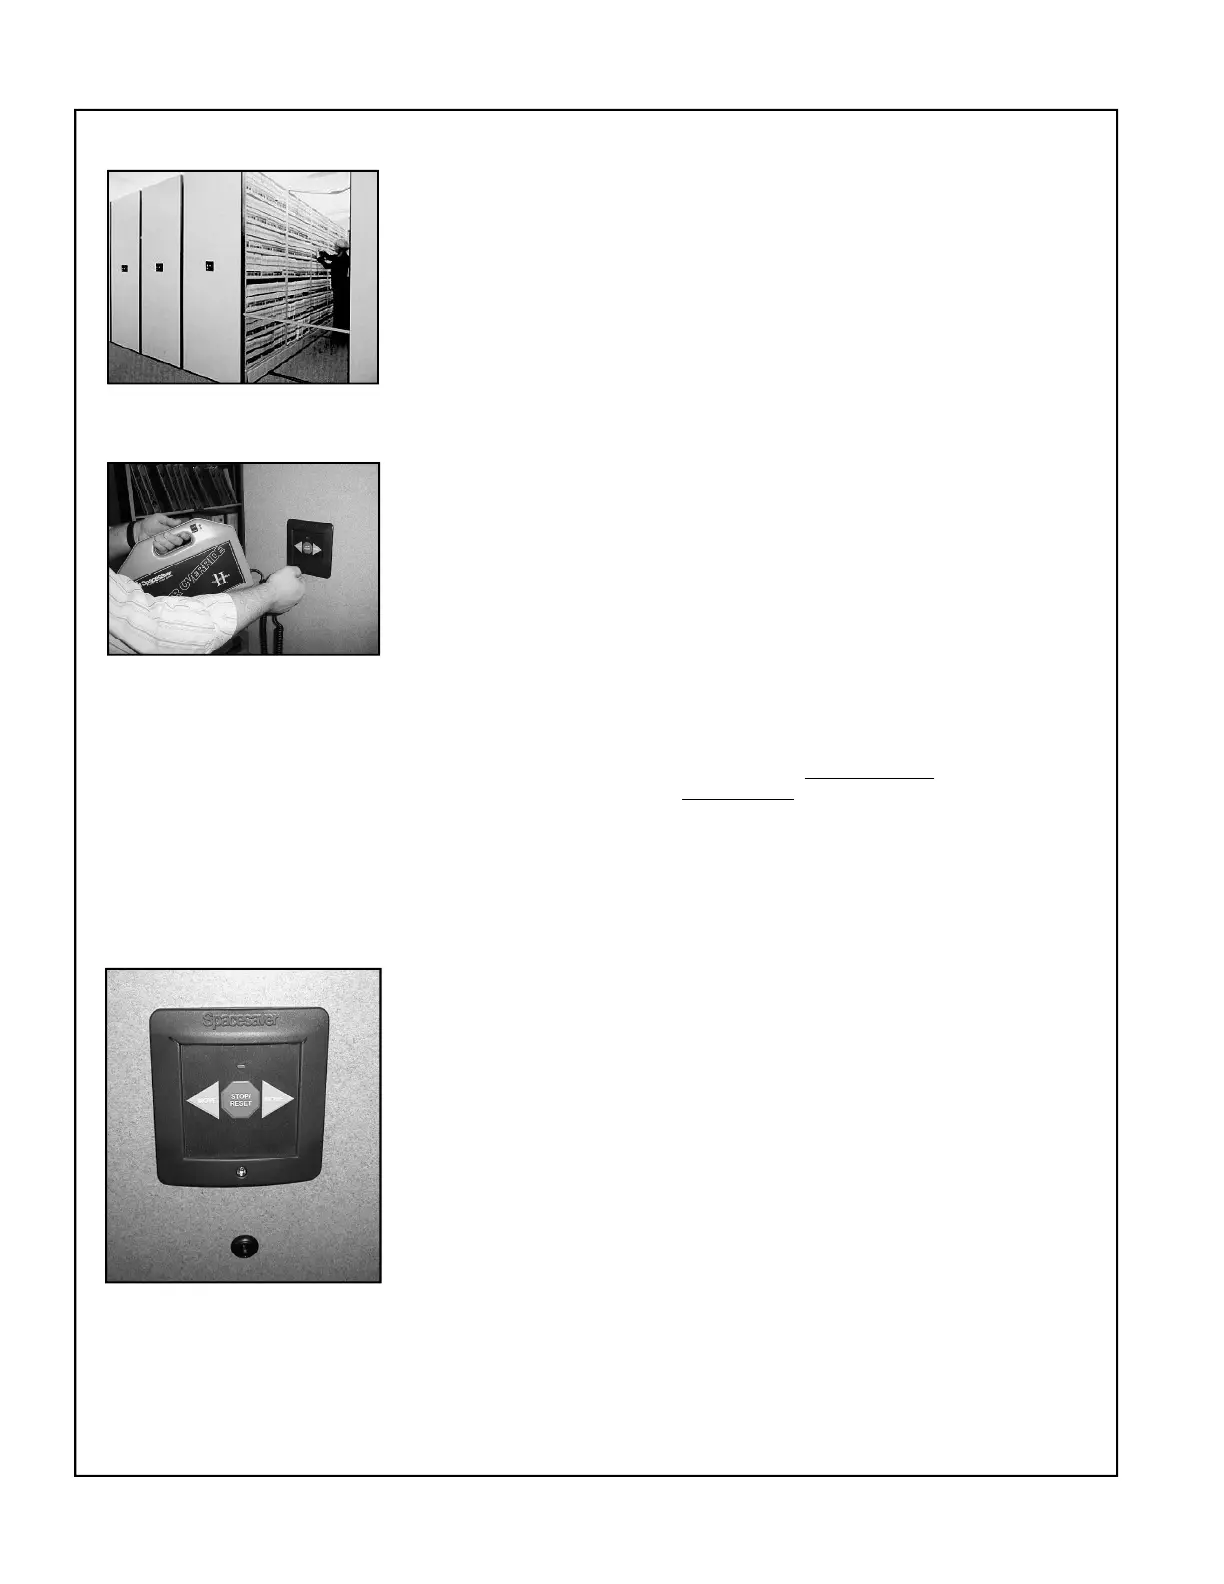
8. Using the optional photoelectric aisle entry sensor:
8.1 Using this option usually requires no conscious effort on your part. As
you enter the aisle you break an invisible light beam. As long as you
stand in the beam, or stay in the aisle after breaking the beam, no
carriage movement is Posssible.
8.2 When you leave the aisle you will have to press the "reset" button at
that aisle in order to return the system to an operable condition.
8.3 Activation of this safety will have the same effect on the carriage as
does the activation of the safety sweep. See Section 6 or 7 for details
on clearing your system.
9. Using the optional power override pack:
9.1 This feature provides a temporary means for operating your system
during a power outage.
9.2 The unit plugs into a receptacal provided at each control head. Slow
movement of one carriage at a time, in either direction, is achieved by
pressing a rocker switch on the power pack. A warning beep will
sound to alert that an aisle is being closed.
9.3 With power off to the system, the safety devices and limit switches
will not work. Extreme care must be exercised while using the
power override unit.
9.4 If your power override unit is the rechargeable type it should be
plugged into a 110 volt outlet while not in use. The L.E.D.'s will help
determine the units charged status. Both L.E.D.'s on indicates that the
unit is fully charged. One L.E.D. on indicates that the unit is charging. If
both L.E.D.'s are on, but the unit fails to work, check the condition of the
internal fuse.
9.5 If your power override unit is of the battery type the batteries should be
changed every 12 months or more frequently if used often. Use 16 D
size batteries.
10. The Power Pro system has several different “lock” options available.
10.1 Lock the entire system to either side and shut down every control head
allowing no access for optimum security. This option will override all
other lock commands within the module. All control heads will go
dormant.
Use: Open the first or last aisle, packing the system to the right or left.
Activate the keylock on the face panel (could also be located on a
platform). The system shuts down and electrically locks so no access is
available.
10.2 Lock any number of carriages in either direction allowing limited
access.
Use: First shift is ending and second shift does not need access to aisles 5 &
6. Open aisle 4, moving the 4
th
& 5
th
carriages to the right and
carriages 1,2, & 3 to the left. Activate the keylock on the face panel of
carriage 4. The system will lock carriage 4 & 5 into position and allow
movement from carriages 1,2, & 3. This configuration will grant access
to aisles 1 – 4 only.
10.3 Lock one (or more) carriage in the stationary mode allowing access to
two or more sub-modules.