MAINTENANCE 27
There are no user-repairable parts in the Sparx™
Sharpener. Refer to “Exclusions” in the Warranty
section for more information. Maintenance of the Sparx™
Sharpener is limited to the procedures outlined
in this section.
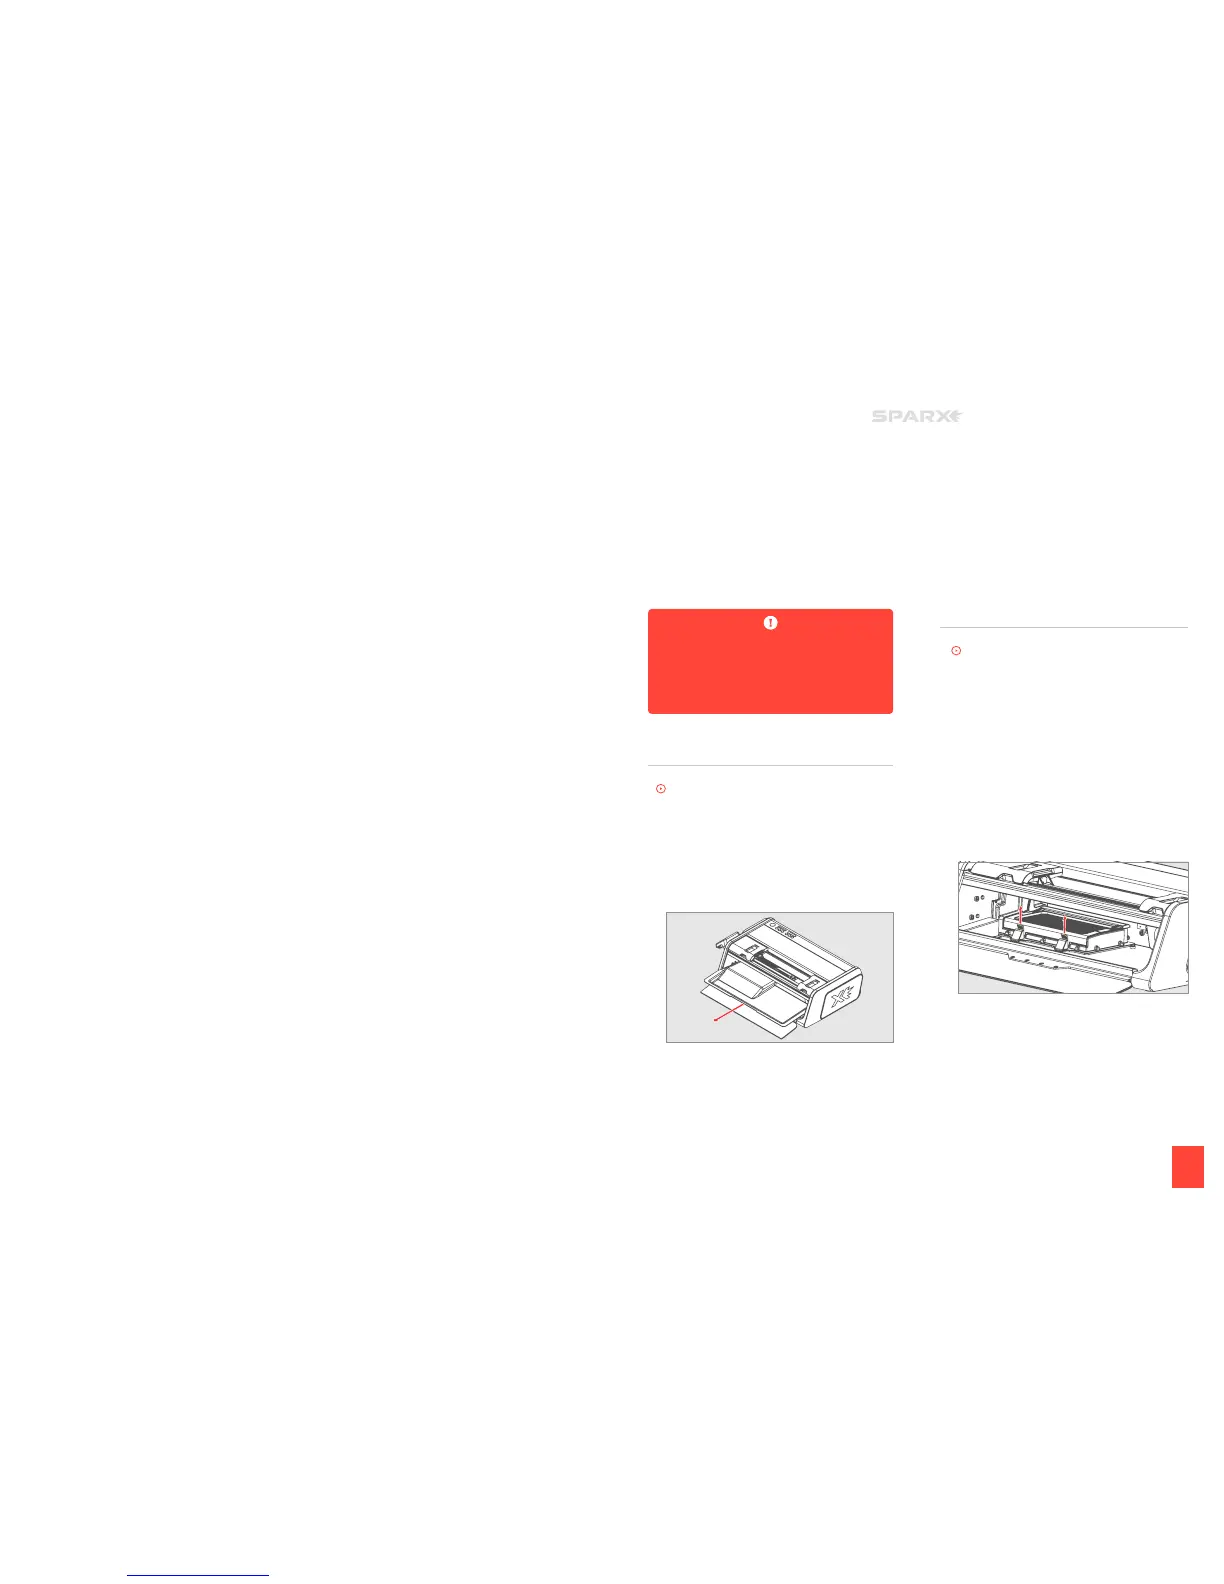
EMPTyING THE DUST TRAy
To watch the How-To video, visit sparxhockey.com/dusttray.
When the Dust Tray is full and/or before moving or traveling with
the Sparx™ Sharpener, empty the Dus t Tray.
1 REMOVE AND EMPTY THE DUST TRAY
Open the Glass Door. Remove the Dust Tray, and carefully
dispose of the steel shavings.
2 REPLACE THE DUST TRAY
Slide the Dus t Tray back into the machine. Close the
Glass Door.
CHANGING THE AIR fILTER
To watch the How-To video, visit sparxhockey.com/airfilter.
The Air Filter will last 200 sharpenings. After that, we can no longer
ensure that your filtering quality will remain at our high standards.
The
f
Air Filter Button will light up to remind you to install a
replacement filter.
1 REMOVE THE DUST TRAY
Open the Glass Door. Remove the Dust Tray.
2 REMOVE THE AIR FILTER
Push up on the two tab locks on the Air Filter housing. Open
the top lid of the housing until it clicks into the open position.
Remove the Air Filter.
3 INSTALL NEW AIR FILTER
Slide the new Air Filter into of the filter housing. The Air Filter
label will direct which side to install up.
4 RESET THE AIR FILTER BUTTON
Once your filter has been replaced, hold down the
f
Air Filter
Button for two seconds until an audible tone is heard to reset
the system to extinguish the
f
Air Filter Button.
6
MAINTENANCE