3
6
7
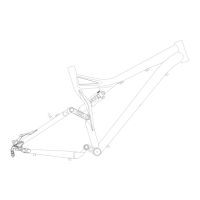
Fig.6: Insert the Command Post IR into the seat tube. It should slide into the seat tube in a straight and smooth manner, and there should not be any
play. If you experience any fit and/or torque issues, have an Authorized Specialized Dealer verify fit tolerances.
Fig.6: With the Command Post IR fully extended, determine saddle height as you would using a standard seatpost, then tighten the seat collar.
Once the tilt and fore-aft position have been adjusted, torque the bolt to between 110 - 120 in-lbf (12.4 - 13.6 Nm) (Fig.3).
To minimize dirt contamination from the rear wheel, position the seat collar so that the slot faces forward.
Fig.6: Mark the seatpost with a piece of tape, or take note of the graduation line on the seatpost.
Fig.7: Remove the seatpost and measure the length (X) from the tape mark or graduation line to the base of the cable hanger.
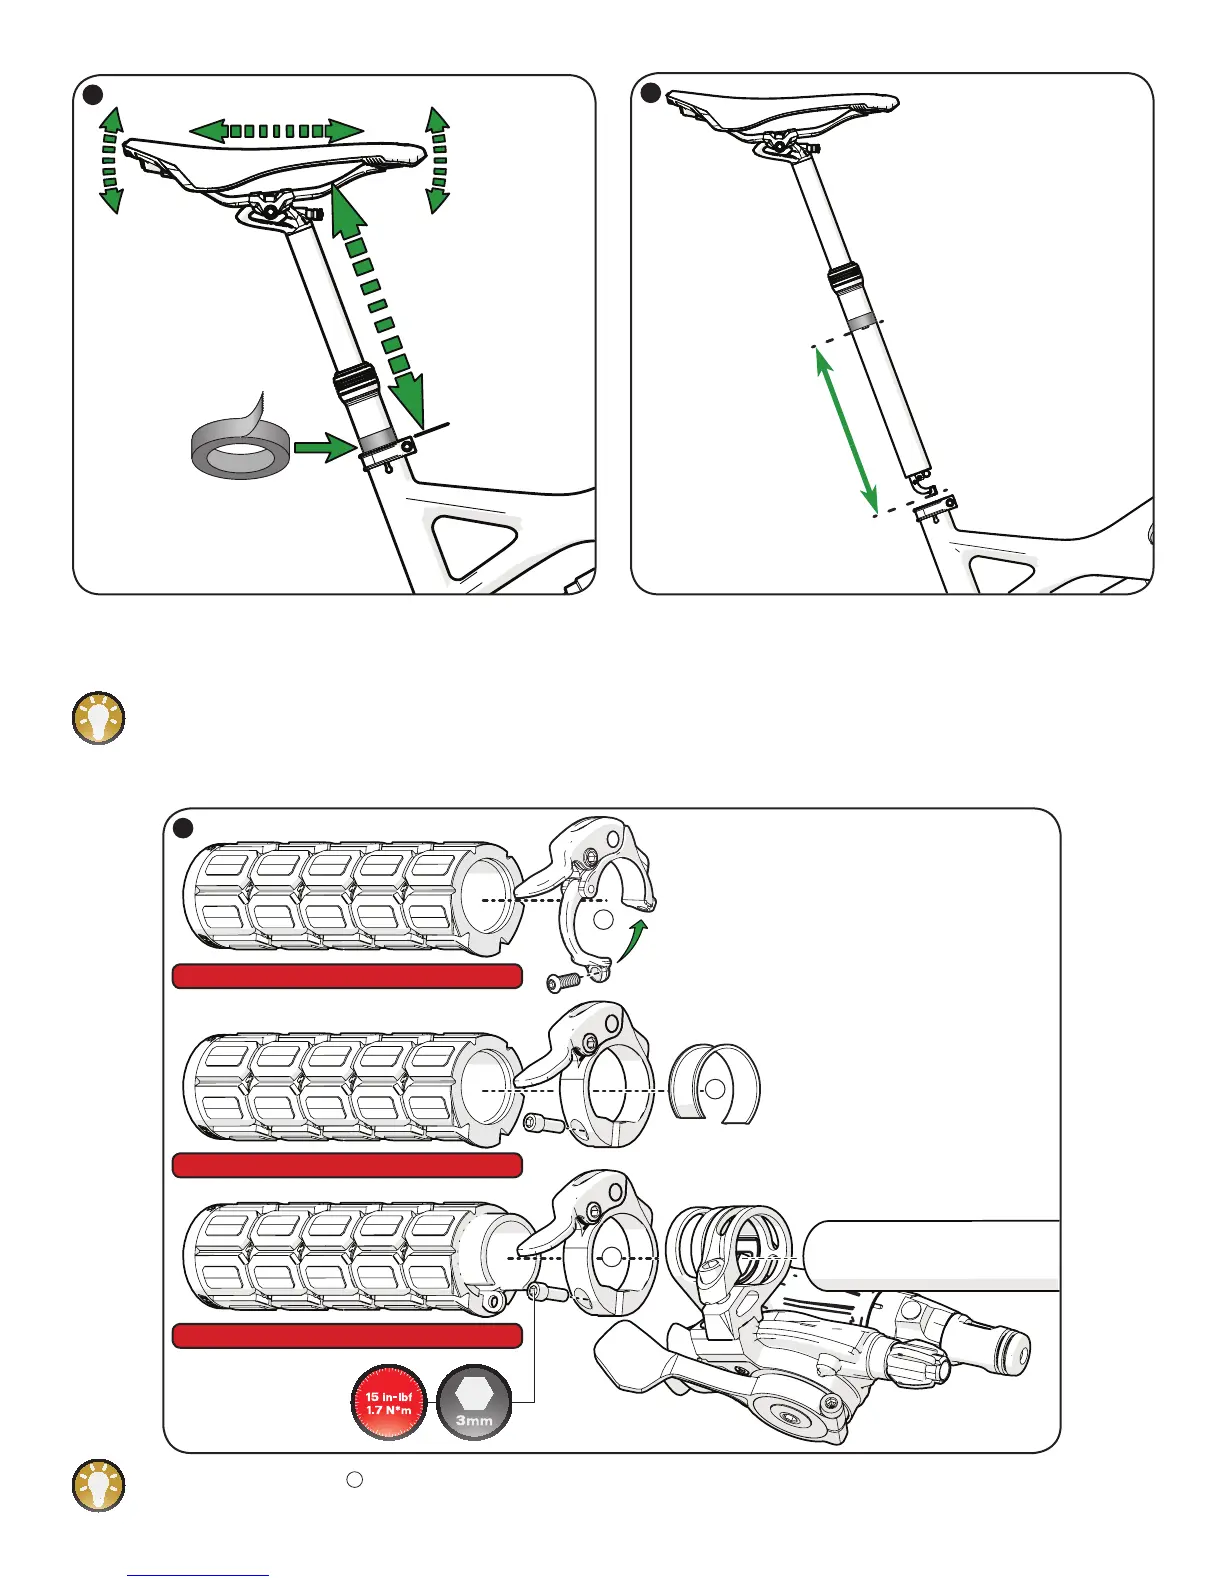
Aftermarket lever, non-Specialized grip
OE lever, non-Specialized grip
OE lever, Specialized locking grip
8
B
A
C
Fig.8: The OE remote lever
A
can be integrated with the Specialized locking grip by replacing the locking clamp on the grip, or mounted
separately with any grip by using the supplied shim. The aftermarket lever (available separately) can also be used with non-Specialized grips.
 Loading...