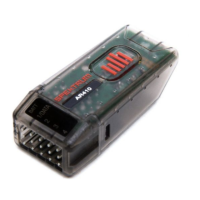
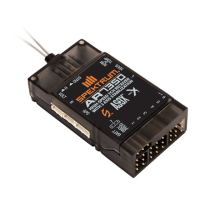
The AR500 receiver must be bound to the transmitter
before it will operate. Binding is the process of teaching the
receiver the specific code of the transmitter so it will only
connect to that specific transmitter.
: RTF and Radio Systems are pre-bound at the
factory. Rebinding is necessary if any settings are
changed to ensure proper failsafe settings are achieved.
1. To bind an AR500 to a DSM2 transmitter, insert the
BATT/BIND port in the charge plug receptacle.
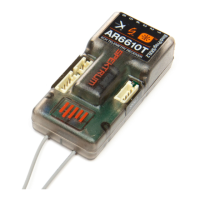
: To bind an aircraft with an electronic speed
controller that powers the receiver through the throttle
channel (ESC/BEC), insert the bind plug into the BATT/
BIND port in the receiver and the throttle lead into the
throttle port. Proceed to Step #2.
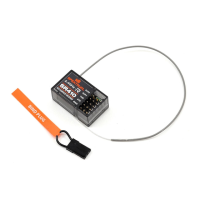
2. Power the receiver by plugging in a receiver battery
in any port on the receiver. Note that the LED on
the receiver should be flashing, indicating that the
receiver is in bind mode and ready to be bound to the
transmitter.
Shown above using a separate receiver pack
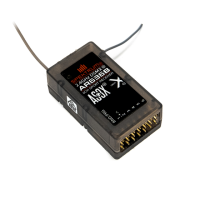
: When binding using a switch harness and
separate receiver pack, a three-wire switch harness
mustbeusedsuchasSPM9530.(Notshown)Youmay
needtopurchasetheMale/FemalebindplugSPM6803
in addition to the switch harness.
3. Movethesticksandswitchesonthetransmitterto
the desired AR500 failsafe positions (low throttle and
neutral control positions).
4. Pull and hold the trainer switch on the top of the
transmitter while turning on the power switch. Release
the trainer switch once the LEDs on the front of the
transmitter flash, and a series of tones are heard.
Within a few seconds the system should connect.
Once connected the LED on the receiver will go solid
indicating the system is connected.
Continuing to hold the trainer switch during the
binding process will prevent preset failsafe positions
from being learned by the receiver.
5. Remove the bind plug from the BATT/BIND port on the
receiver before you power off the receiver and store it in
a convenient place.
6. After you’ve set up your model, it’s important to rebind
the system so the true low throttle and neutral control
surface positions are programmed.
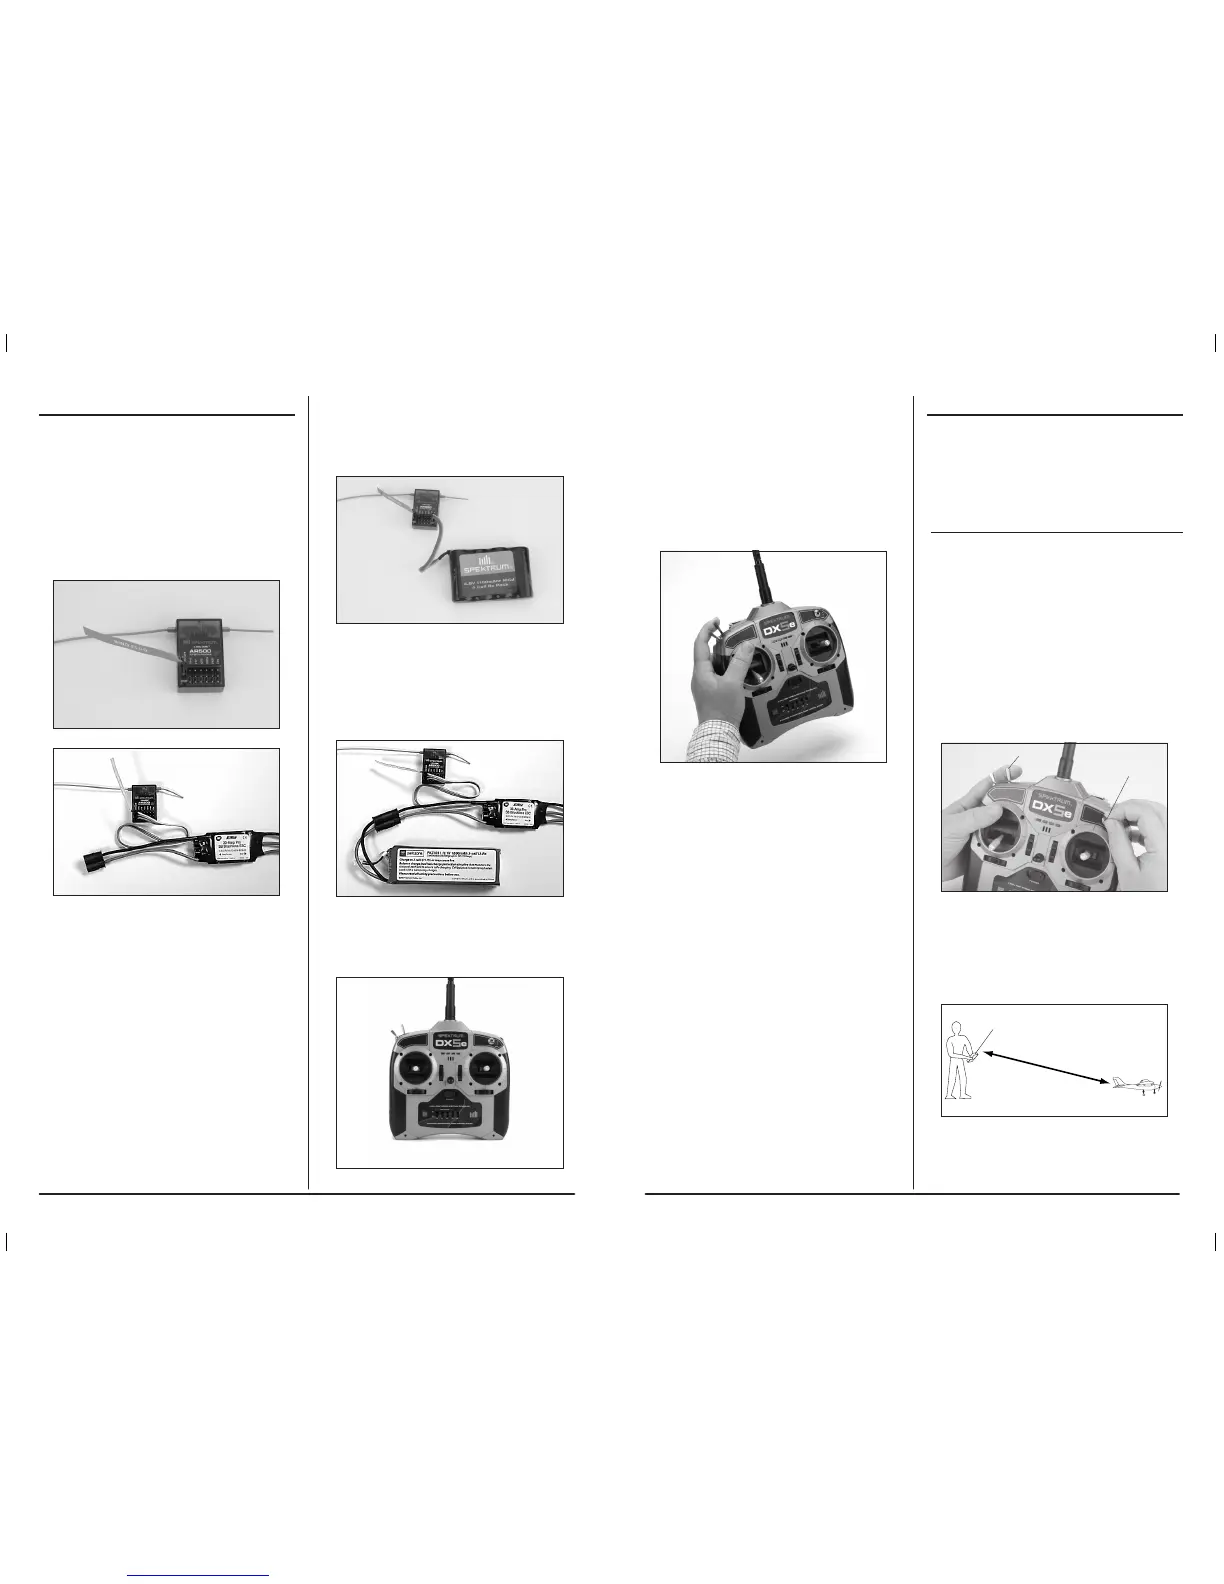
Before each flying session, and especially with a new
model, it is important to perform a range check. The DX5e
incorporates a range testing system which, when placed in
the RANGE CHECK mode with the trainer switch activated
and held, reduces the output power, allowing a range check.
1. Withthemodelrestrainedontheground,stand30
paces(approx.90feet/28meters)awayfromthemodel.
: Prior to performing the range check ensure the
correct failsafe stick positions are established.
2. Face the model with the transmitter in your normal
flying position. Pull and hold the trainer switch while
toggling the HI/LO Rate Switch four times. The LEDs
will flash and the alarm will sound indicating the system
is in range check mode.
: The trainer switch must be held the entire time
during the range check process; releasing the trainer
switch will exit the range check mode.