Spectrum DSP M2 User Manual V1.1
Using the Spectrum DSP
A brief overview:
NOTE: If you are unfamiliar with the Spectrum DSP, please refer to the section of the manual:
“Before you get on the air - Initial set-up of the Spectrum DSP”
To turn on the transceiver, press the POWER button briefly and the display should light up, go
through its attribution and boot-up screen and display the frequency and spectrum display.
Receive:
• Adjust volume clicking the DSP control and sliding up and down on the LCD left-side.
• Tune the frequency by clicking on the Spectrum scope, and dragging the points left
and right from the tune bar to adjust, or using the << >> buttons. Long-press on the
<<>> buttons will auto step by 100Hz in either direction.
• Change the band by clicking on the MHz value of the main frequency display and
selecting the required band.
• Change the mode (USB, LSB, CW, etc.) using the Mode button. Note: Pressing-and-
holding this button will force the selection of “disabled” modes.
• The Filter button selects the receiver bandwidth. Note: Pressing-and-holding this
button will force the selection of “disabled” bandwidths.
• Pressing the DSP button will display the available DSP noise reduction modes.
• Pressing and holding the DSP button will disable the DSP, saving the current
settings while pressing and holding again will restore the last-used mode. The
available DSP modes are:
• NR = Noise reduction only
• NOTCH = Automatic notch (tone) filter only
• NR+NOT = Both Noise reduction and Automatic notch filter.
P 21
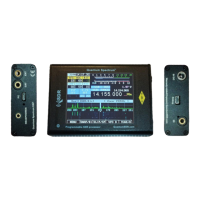
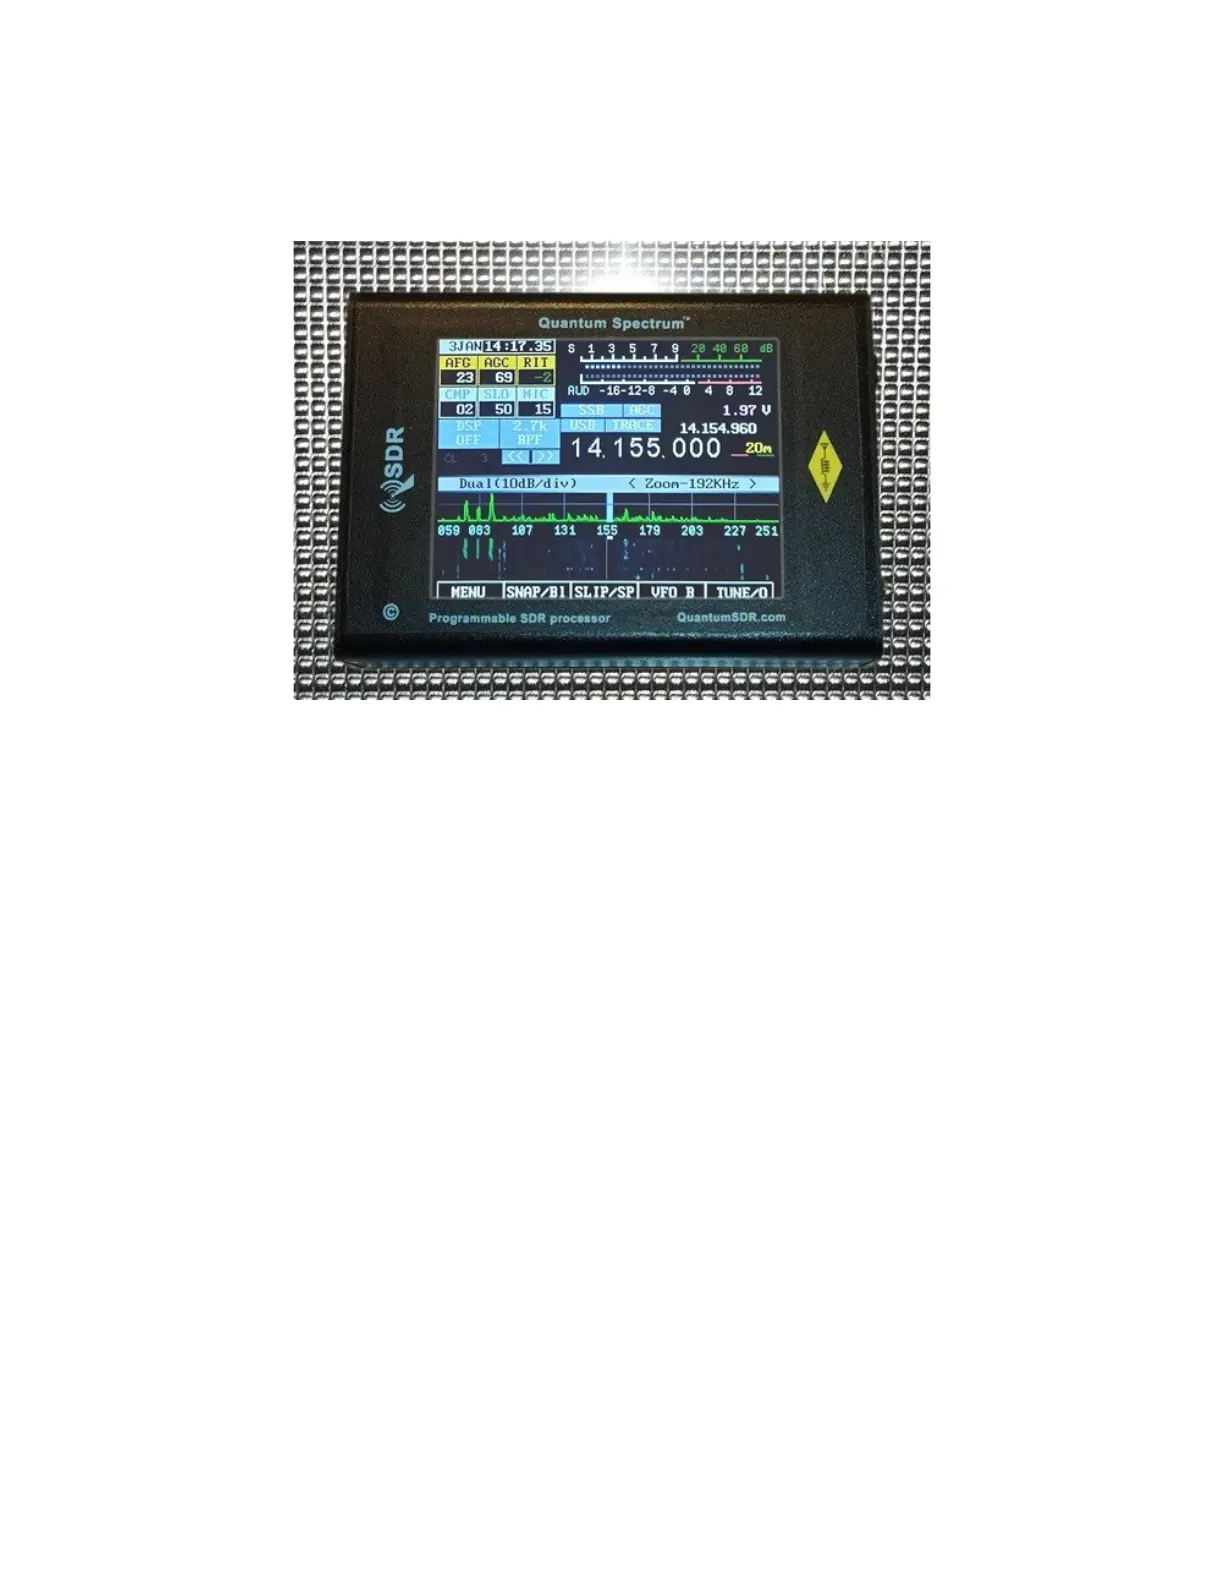
Figure 7: Front panel of the Spectrum DSP