English-02
2. User Guide
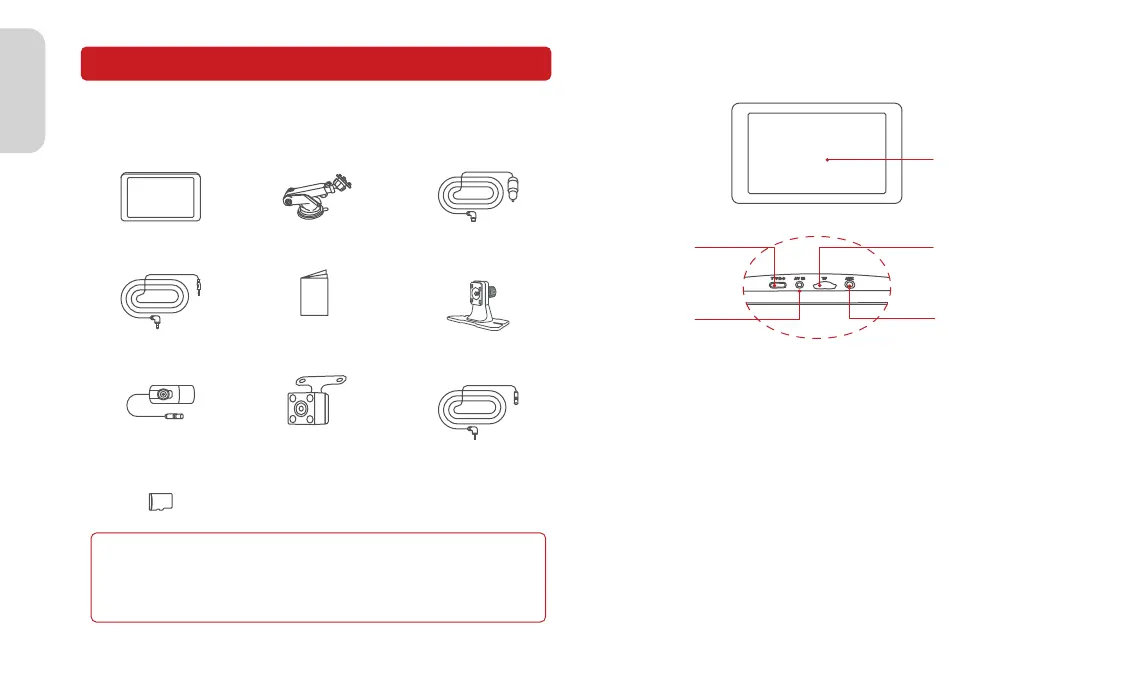
2.1 Package List
◆ Audio Cable ◆ Quick Guide
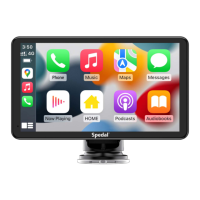
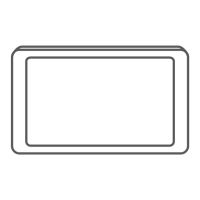
◆ Device ◆ Suction Bracket
◆ Dash Bracket
(Optional)
◆ Power Cable
◆ TF Card(Optional)
◆ Camera(Optional) ◆ Camera(Optional) ◆ Camera Cable
(Optional)
Note
Do not use cables and components that are not original. Gifts and
accessories are not covered under warranty. The package contents
of this product may change without prior notice, and the actual
contents of the package shall prevail.
2.2 Product Introduction
USB-C Port
TF Card Slot
AUX OUT PortAV IN Port
Screen
2.3 Suction Bracket Installation
1.Align the suction bracket clips with the holes on the back of the
device and push them up to secure the bracket.
2.Thoroughly clean and dry the car dashboard surface, remove
dust or debris, and make sure the surface is flat.
3.Remove the 3M adhesive release paper from the dashboard pad
mounting disk and adhere it to a clean instrument panel surface.
4.Allow to sit for 3 hours or more to ensure a strong bond. Then
remove the protective film from the dashboard pad.
5.Tear off the protective film from the suction bracket, place the
suction cups firmly in the center of the dashboard pad mounting
disk, and press the lock button.
6.Adjust the angle of the device screen.