ASSEMBLY INSTRUCTIONS
Page 7
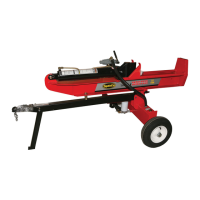
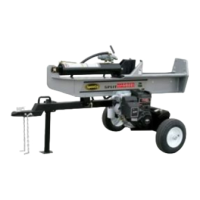
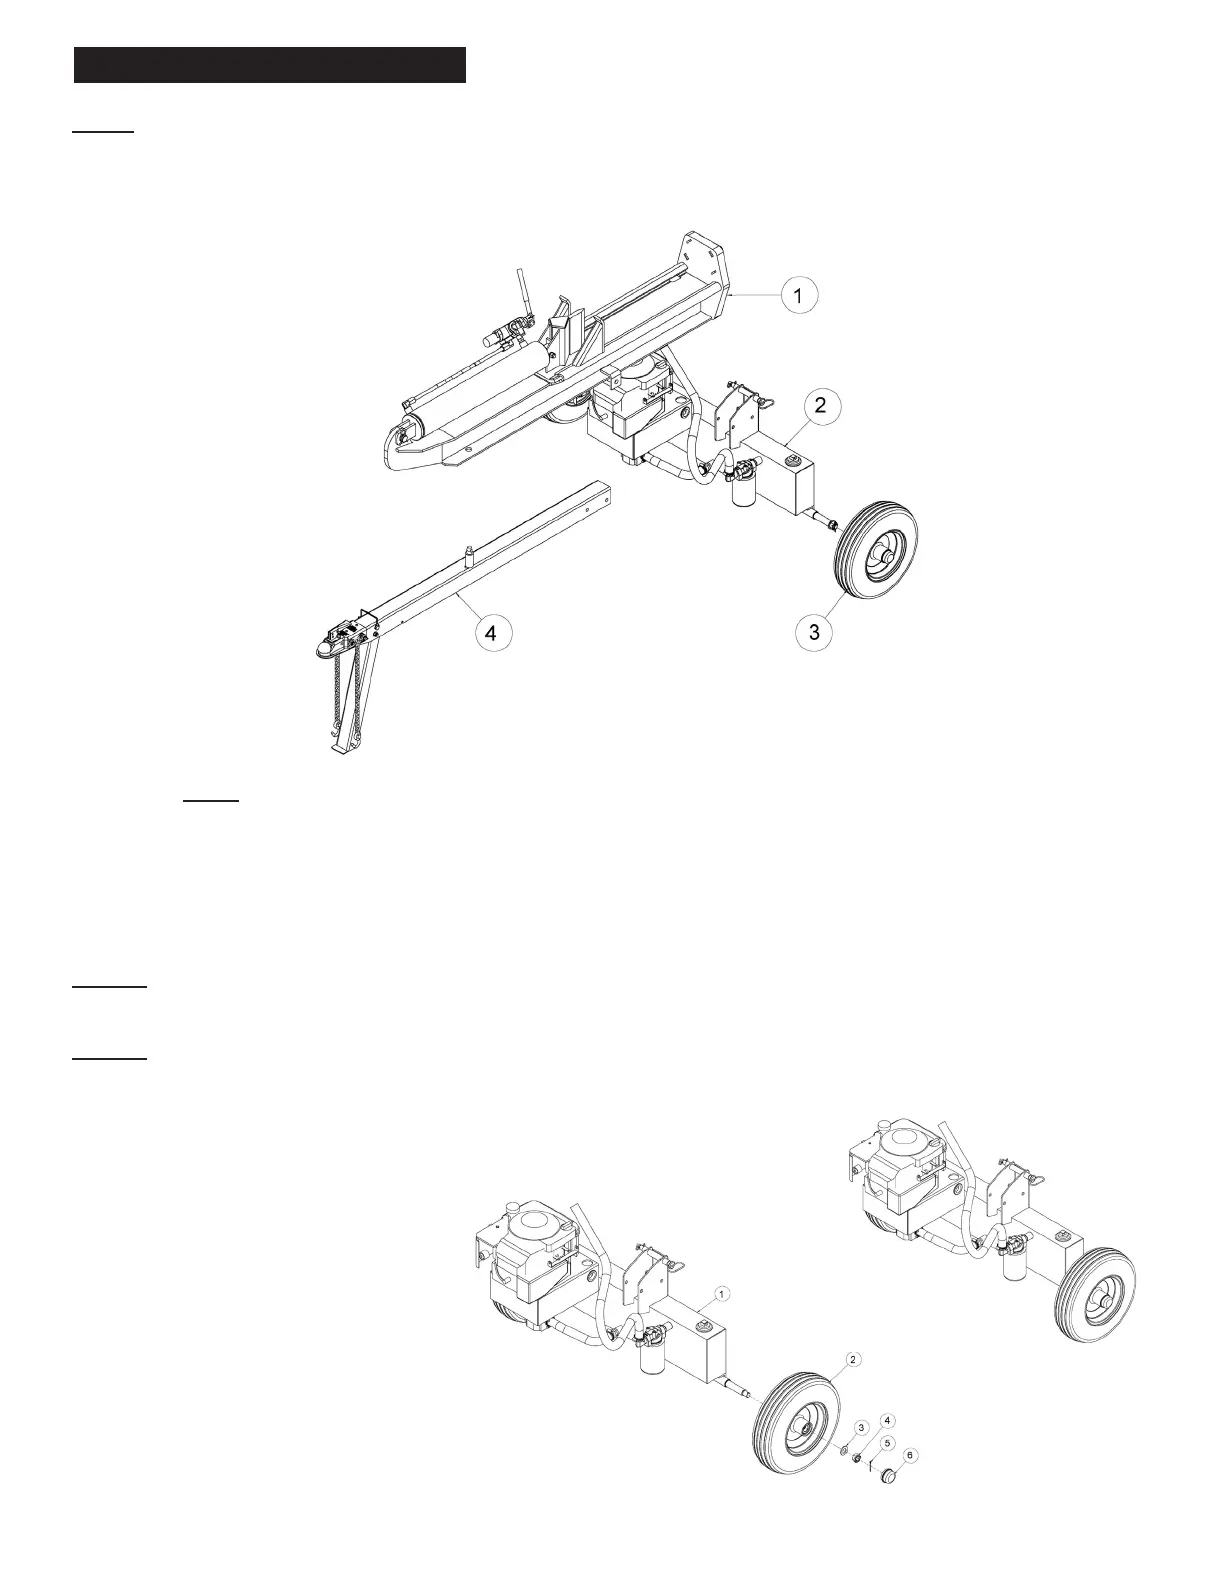
ITEM NO. DESCRIPTION QTY.
1 BeamAssembly 1
2 Tank/Engine Assembly 1
Tank/Engine Assembly (CA) 1
3 Tire and Wheel Assembly 2
4 Tongue Assembly 1
- HardwareKit(notshown) 1
STEP 1: Remove all the components from the shipping container. Inspect each piece for shipping damage. If any part
is damaged, contact your dealer or delivering carrier.
STEP 2: Attachthetwowheels(2)tothetankassembly(1)wheelspindlesusingthe3/4”lightatwashers(3),3/4”NF
slotted nuts (4), 1/8” x 1-1/2” cotter pins (5) and the hub caps (6). These items are in the hardware package.
Tighten the slotted nuts and make sure the wheels rotate freely.
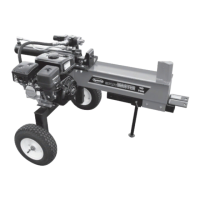
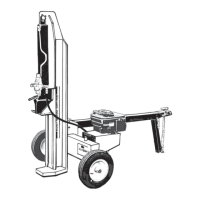
ITEM NO. DESCRIPTION QTY.
1 Tank Assembly 1
Tank/Assembly (CA) 1
2 Wheel Assembly 2
3 3/4” Light Flatwasher 2
4 3/4” Slotted Nut 2
5 1/8” x 1-1/2” Cotter Pin 2
6 Hub Cap 2
NOTE:
To order replacement
parts, see pages 9-10.
NOTE: This log splitter was partially assembled at the factory. To complete assembly, follow the step-by-step
instructions below through page 9.
Refer to the drawings and replacement parts list should it become necessary to disassemble the unit for
repair or replacement of parts.