Titmus V4 / Titmus V2
Testing using the Vision Screener
Preparation for Testing
1. Place the instrument on a table of conventional height with sufficient top area to permit test administrator to
manipulate controls and record results.
2. Unlock height adjustment lock. See section Unlock/Lock the instrument for height adjustment.
3. Titmus V4: Connect panel to instrument using panel cord.
No connection needed for the Titmus V2.
4. Connect power cord to instrument and turn switch ON.
5. Test all control switches to ensure proper operation.
6. Check lenses to ensure they are clean. Use cleaning towlettes or fog cloths (if lens are fogging).
7. Place record forms and other accessories near the instrument, ready for use.
8. Avoid positioning the instrument where strong glaring light will shine directly into the instrument or into the
subject’s face.
9. Clean the headrest foam and the front of the instrument.
CAUTION: Ensure that the headrest foam and instrument front is cleaned prior to testing another
patient. This is to prevent the spread of diseases or infections.
10. The patient should be seated comfortably. See section Patient Positioning.
11. Raise the instrument for comfortable viewing, based on patient height. Move instrument up/down. See section
Height Adjustment.
12. Ensure lever is in FAR position.
13. Follow the Slide Information Brochure and Record Form provided with specific models for test sequencing and
recording.
Patient Positioning
• Patient must be comfortably seated or standing.
• Ensure forehead is placed on headrest.
• Ensure that back is straight and neck is not tilted backwards.
• Do not let patient continue looking at slide after test is finished.
• Proceed to next test.
Peripheral Vision Testing
Refer to the sections Titmus V4 Control Panel and the Titmus V2 Membrane Switches, for location of peripheral vision
testing control switches.
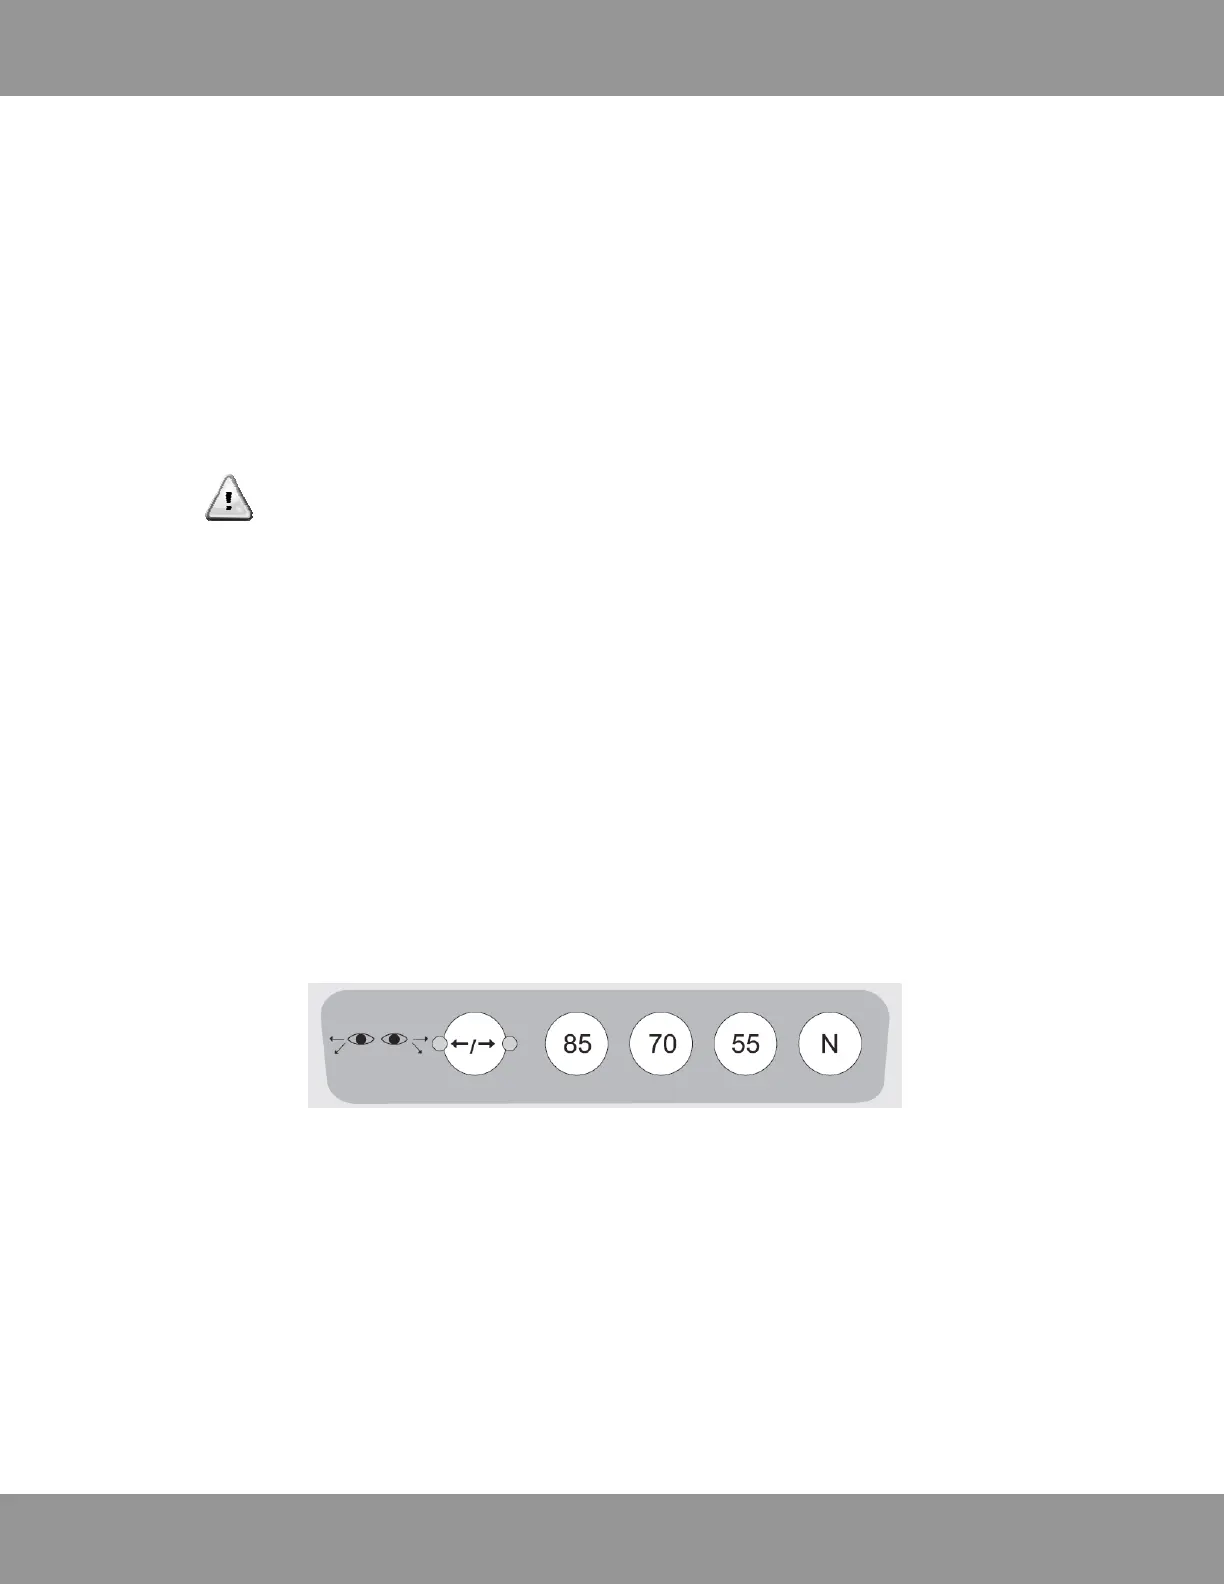
1. When the instrument is switched ON, the LEFT EYE light will come on first. On the button with arrows, light next
to LEFT arrow will be lit.
2. The LEFT EYE can now be tested for Horizontal Peripheral Vision.
3. Press 85, 70, 55 to operate the lights at 850, 700, 550 in the Temporal field.
4. Press N to operate the light at 450 in the Nasal field.
5. Press the button with arrows to test RIGHT EYE for Horizontal Peripheral Vision test. The light next to RIGHT arrow
will be lit, light next to LEFT arrow will go off.
6. Repeat the process with the 85, 70, 55 and N for the RIGHT EYE.
Page 15
 Loading...