IM-IBR17-49IN Issue 1 23
Unscrew element assembly
-
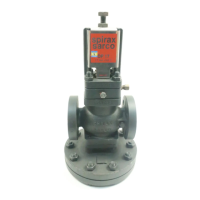
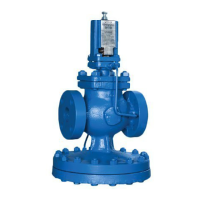
Remove the cover nuts (2) and cover.
-
Undo the 4 main valve assembly nuts (7).
-
Remove the main valve assembly (5) and gasket (6).
-
Ensure gasket faces are clean and dry.
-
Fit new gasket (6) and main valve assembly (5).
-
Tighten nuts (7) evenly (see Table 2 for the recommended tightening torques).
-
Re-use or replace the ball float (8) as required.
-
Replace cover gasket (3) ensuring the gasket face has been cleaned.
-
Replace the cover, ensuring the dowel is located correctly.
-
Retighten the cover nuts (2) evenly (see Table 2 for the recommended tightening torques).
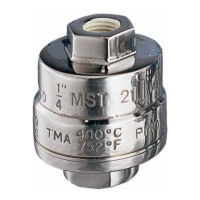
How to fit the capsule air vent assembly:
-
Remove the spring clip, capsule, spacer plate, unscrew the seat and remove the frame
(17) and gasket (18).
-
Ensure the gasket faces are clean and dry.
-
Fit the new gasket (18), frame and seat (17) and tighten evenly (see Table 2 for the
recommended tightening torques).
-
Assemble new spacer plate, capsule and clip.
How to fit the bimetallic air vent assembly for DN15 to DN100:
-
Unscrew and remove the element assembly (17) and gasket (18).
-
Ensure the gasket faces are clean and dry.
-
Fit the new gasket (18) and element assembly (17) and tighten evenly to the recommended
torque (see Table 2).
Table 2 Recommended tightening torques
Item No.
or
mm
N m (lbf ft)
2 24 A/F M16 x 45 80 - 88 (58 - 65)
7 13 A/F M8 x 20 20 - 24 (15 - 17)
17 17 A/F 50 - 55 (37 - 40)