IM-P068-25 ST Issue 210
6.2 How to service
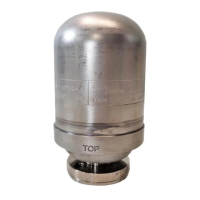
- Remove the insulating cover (7), if fitted, and unscrew the cap (2) using a suitable spanner
or socket. Do not use stillsons or a wrench of similar type which may cause distortion of the
cap.
- If the seating faces on the body are only slightly worn, they can be refaced by lapping on a
flat surface, such as a surface plate. A figure-of-eight motion and a little grinding compound,
such as 'Carborundum Co's Compound I.F.' gives the best results.
If the wear is too great to be rectified by simple lapping, the seating faces on the body must
be ground flat and then lapped.
Note: the disc (3) should always be replaced with a new one. The total amount of metal
removed in this way should not exceed 0.25 mm (0.010").
- When reassembling, the disc (3) is normally placed in position with the grooved side in
contact with the body seating face (1).
- Screw on the cap (2) to the recommended tightening torque (see Table 1); no gasket
is required but a suitable high temperature anti-seize grease should be applied to the
threads.
6.3 How to clean or replace the strainer:
- Unscrew the strainer cap (5) using a suitable spanner.
- Withdraw the screen (4) and clean or, if damaged, replace with a new one.
- To reassemble, insert the screen (4) into the strainer cap (5), then screw the strainer cap into
place. A fine smear of 'Molybdenum Disulphide' grease should be applied to the first
few threads. Care should be taken to ensure that the gasket (6) and gasket faces are clean.
- Tighten to the recommended torque (see Table 1).
- When maintenance is complete open isolation valves slowly and check for leaks.
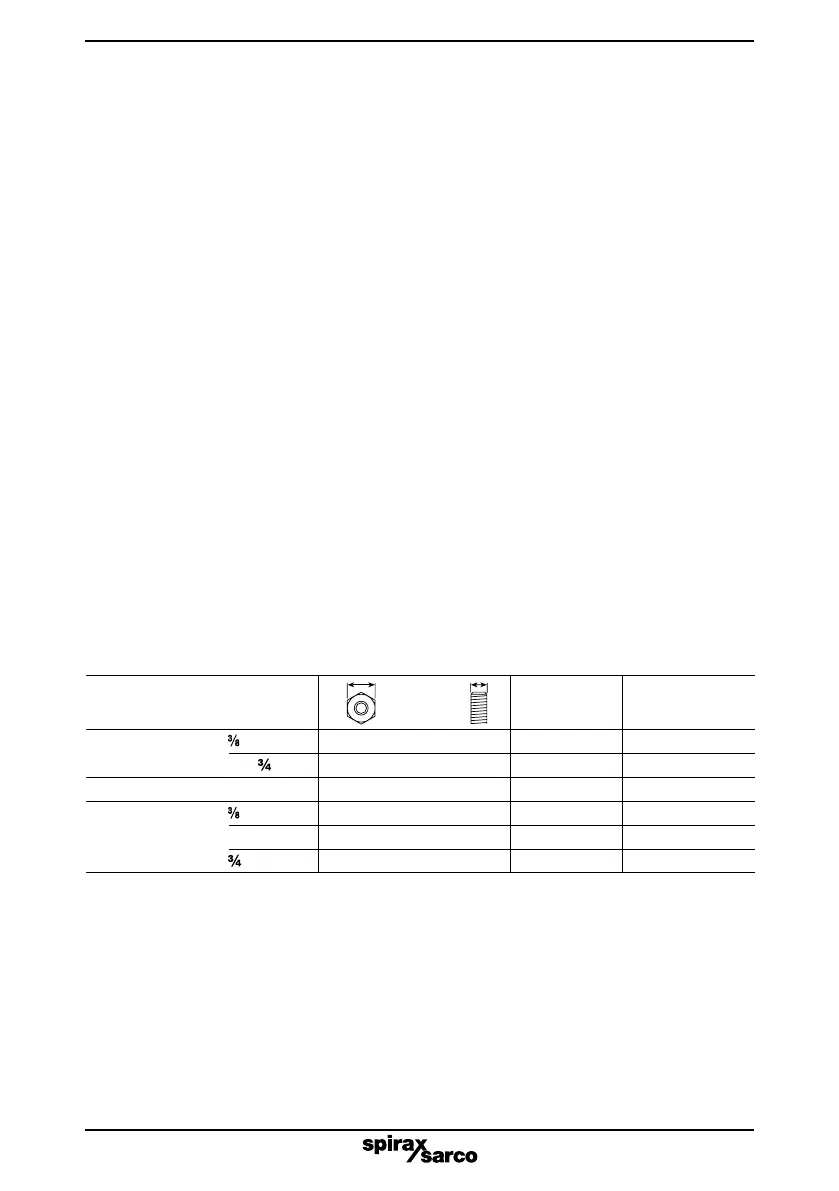
Table 1 Recommended tightening torques
or
Item Part Size N m lbf ft
mm
2
Cap
", ½" LC 36 A /F 135 - 150 99.6 - 110.6
½", " LC 41 A /F 180 - 200 132.8 - 147.5
5 Strainer cap (all sizes) 32 A /F M28 170 - 190 125.4 - 140.1
" 30 A /F 80 - 90 59.0 - 66.4
9 Union nut ½",½" LC 36 A /F 150 - 165 110.6 - 121.6
" 41 A /F 150 - 165 110.6 - 121.6