Getting Started
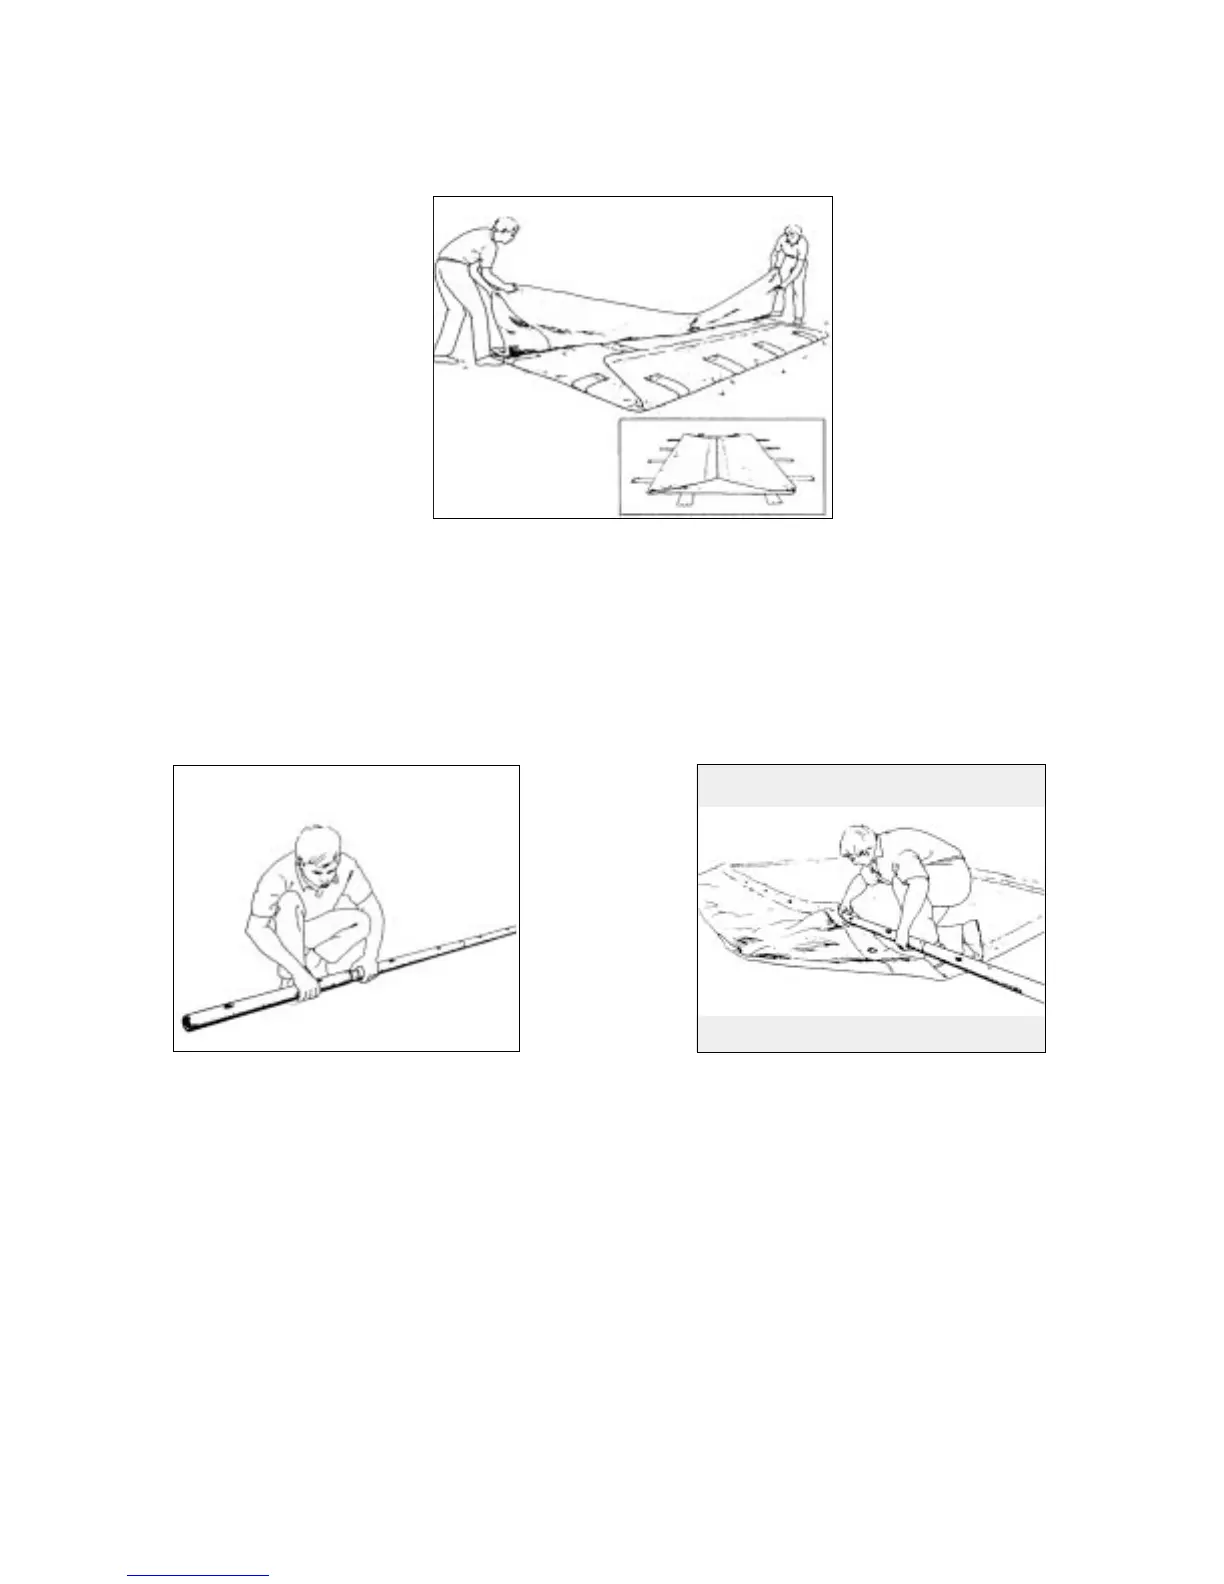
1. Unfold your pool on your selected and prepared site. Locate the pre-punched plumbing holes in one of the
short walls of the pool and position them where you want your pump and filter to be located. CAUTION:
Electrical outlet will require GFI (ground fault interruption) protection. Hint: Your SuperPool skimmer can be
even more effective if located at the prevailing “down wind” end of the pool. WARNING: Make sure you do not
install your pool under electrical lines.
2. Insert the galvanized steel Top Rails into the seamed pockets at the top edge of the pool. There is a slot located
in each corner that will accept the Top Rails. Insert one Female End Piece (C) into the sleeve; continue adding
Middle Top Rail Sections (B) as you slide the rail into place, until the necessary length is obtained. Finish each
wall with a Male End Piece (A). Once all top rails are inserted, align pre-punched holes in pool with holes in Top
Rail.
Hints: Set rails out around the perimeter of the pool before you begin assembly.
Insert rails into the long sides of the pool first. As you insert each piece of the rail and begin to slide, it helps to pull
and tighten the white sleeve to avoid hitting wrinkles. Be careful not to scrape the ends of the railing along the
pool material.
On hot days the rails may “grab” the sleeve as you are inserting them. This can be prevented by wetting the top
rails with a garden hose as you insert them.
6
©
2003-Splash Superpools Ltd.