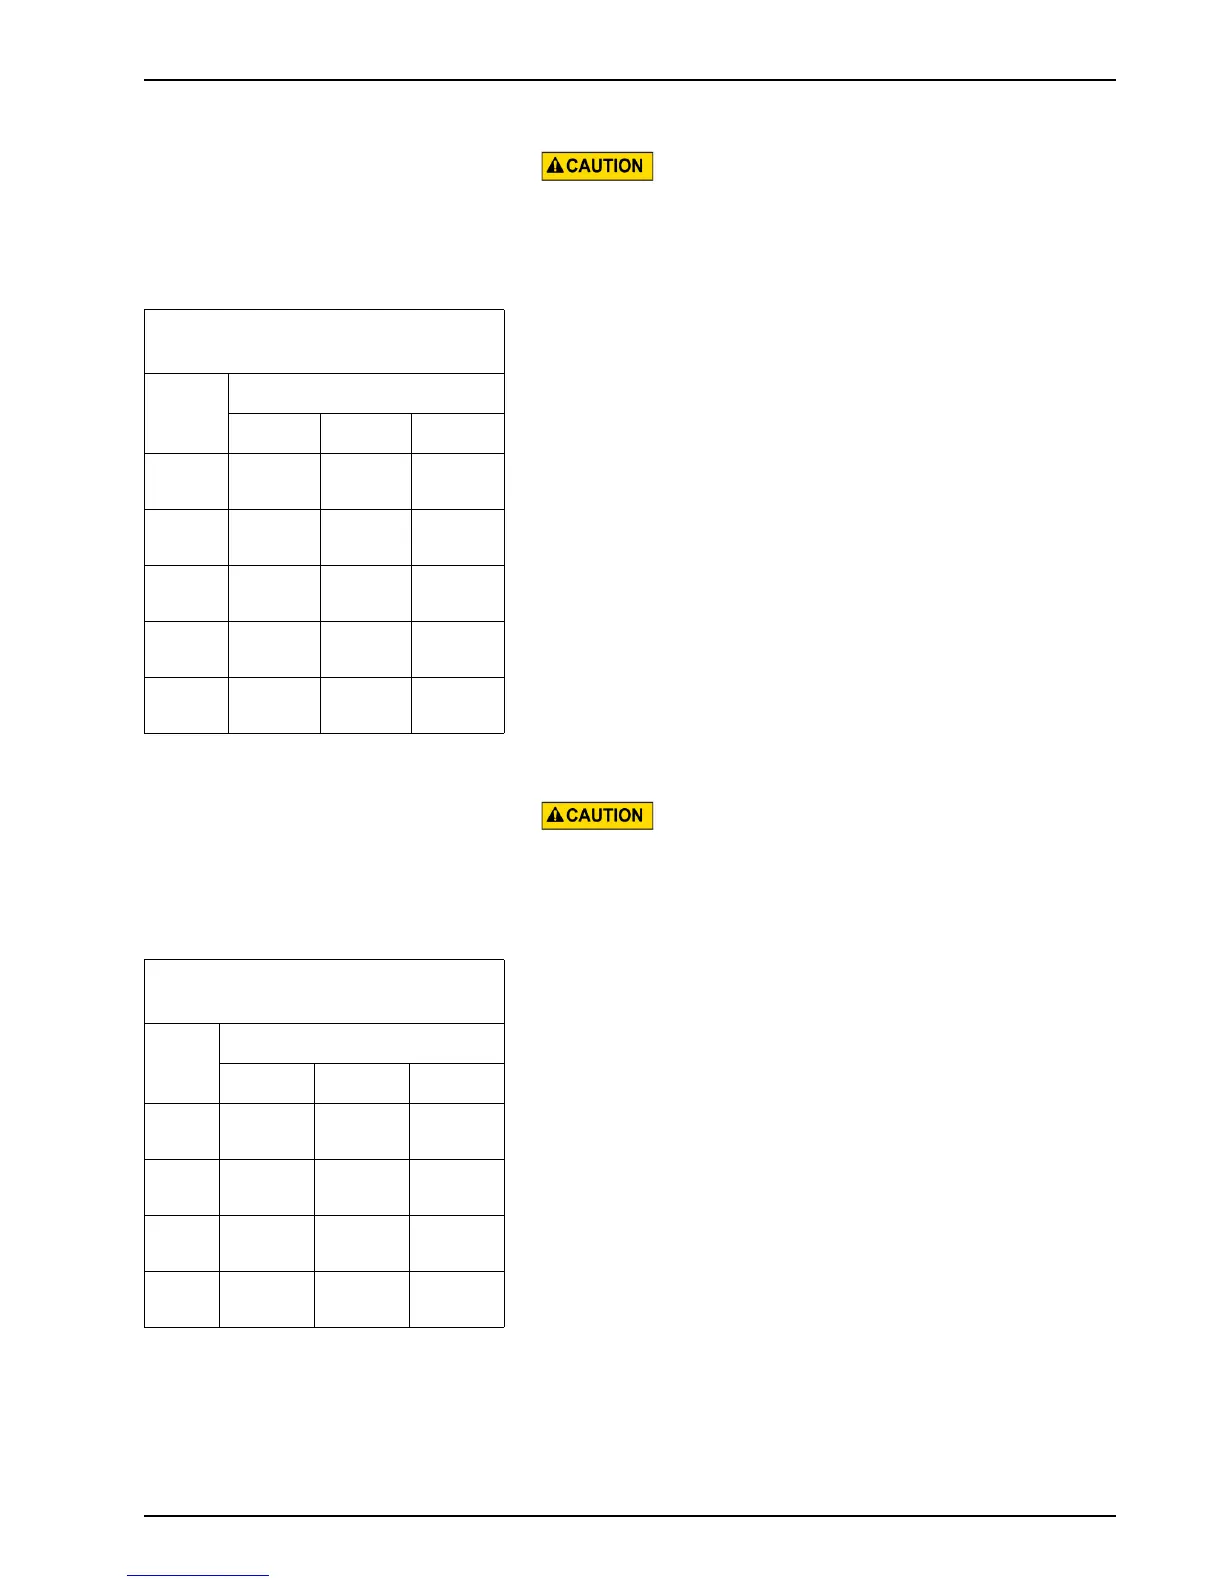
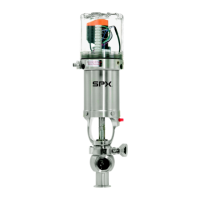
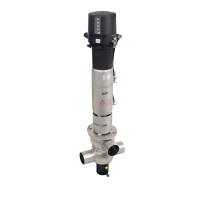
Waukesha Cherry-Burrell Brand W60/W80 Valves Operation
08/2018 95-03022 Page 17
Pressure Setting Air-To-Raise, Adjustable-Spring Actuator
Do not use vice-grips, channel locks, or pipe wrenches, as dam-
age to the adjustment screw can result.
Remove locknut cover (Figure 7). Using a 1” hex wrench or 1/4”
spanner, turn down the adjustment screw fully, until the stop con-
tacts the actuator can (approx. 8-9 turns).
This is the maximum holding pressure setting. Refer to publi-
cation DS-1201, W60 Series Shut-Off & Divert Valves, for pres-
sure holding charts for the actuator size and valve seat size:
W61, W62, W65 Air-to-Raise.
NOTE: In some cases, the valve seat size may be less than the
body size (reduced-seat options). Be sure to check holding pres-
sures using the correct seat size and actuator diameter size.
To reduce the pressure setting below the maximum, unscrew the
adjustment screw as per Table 2. Check and confirm specific set-
tings with a master gauge under pressure; adjust as required.
Once the setting is achieved, apply a scribe line to the indicator
stem to mark the position.
Actual pressure change per turn of the adjusting screw may be
different due to spring variations.
Air-to-Lower, Adjustable-Spring Actuator
Do not use vice-grips, channel locks, or pipe wrenches, as dam-
age to the adjustment screw can result.
Unscrew the locknut cover (Figure 8 on page 15). The cover will
stay in the yoke area. Using a 1" hex wrench or 1/4" spanner, turn
the adjustment screw in fully, until the stop contacts the actuator
can (approx. 8-9 turns).
This is the maximum holding pressure setting. Refer to publi-
cation DS-1201, W60 Series Shut-Off & Divert Valves, for pres-
sure holding charts for the actuator size and valve seat size:
W63, W62, W65 Air-to-Lower.
NOTE: In some cases, the valve seat size may be less than the
body size (reduced-seat options). Be sure to check holding pres-
sures using the correct seat size and actuator diameter size.
To reduce the pressure setting below the maximum, unscrew the
adjustment screw as per Table 3. Check and confirm specific set-
tings with a master gauge under pressure; adjust as required.
Once the setting is achieved, apply a scribe line to the indicator
stem to mark the position.
Actual pressure change per turn of the adjusting screw may be
different due to spring variations.
Table 2: Spring Setting for Air-to-
Raise, Adjustable-Spring Actuator
Pressure change per turn of
adjusting screw
Plug
Size
Actuator
4RHAR 5RHAR 6RHAR
1.5"
40 mm
24 40 82
2.0"
50 mm
13 23 46
2.5"
65 mm
9 15 29
3.0"
80 mm
6 10 20
4.0"
100 mm
3 6 12
Table 3: Spring Setting for Air-to-
Lower, Adjustable-Spring Actuator
Pressure change per turn of
adjusting screw
Plug
Size
Actuator
4RHAL 5RHAL 6RHAL
2.0"
50 mm
16 26 44
2.5"
65 mm
9 16 27
3.0"
80 mm
6 11 18
4.0"
100 mm
3 6 9