27
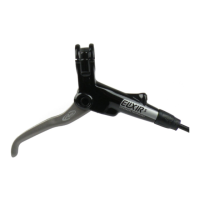
avid brake bleed procedure
6
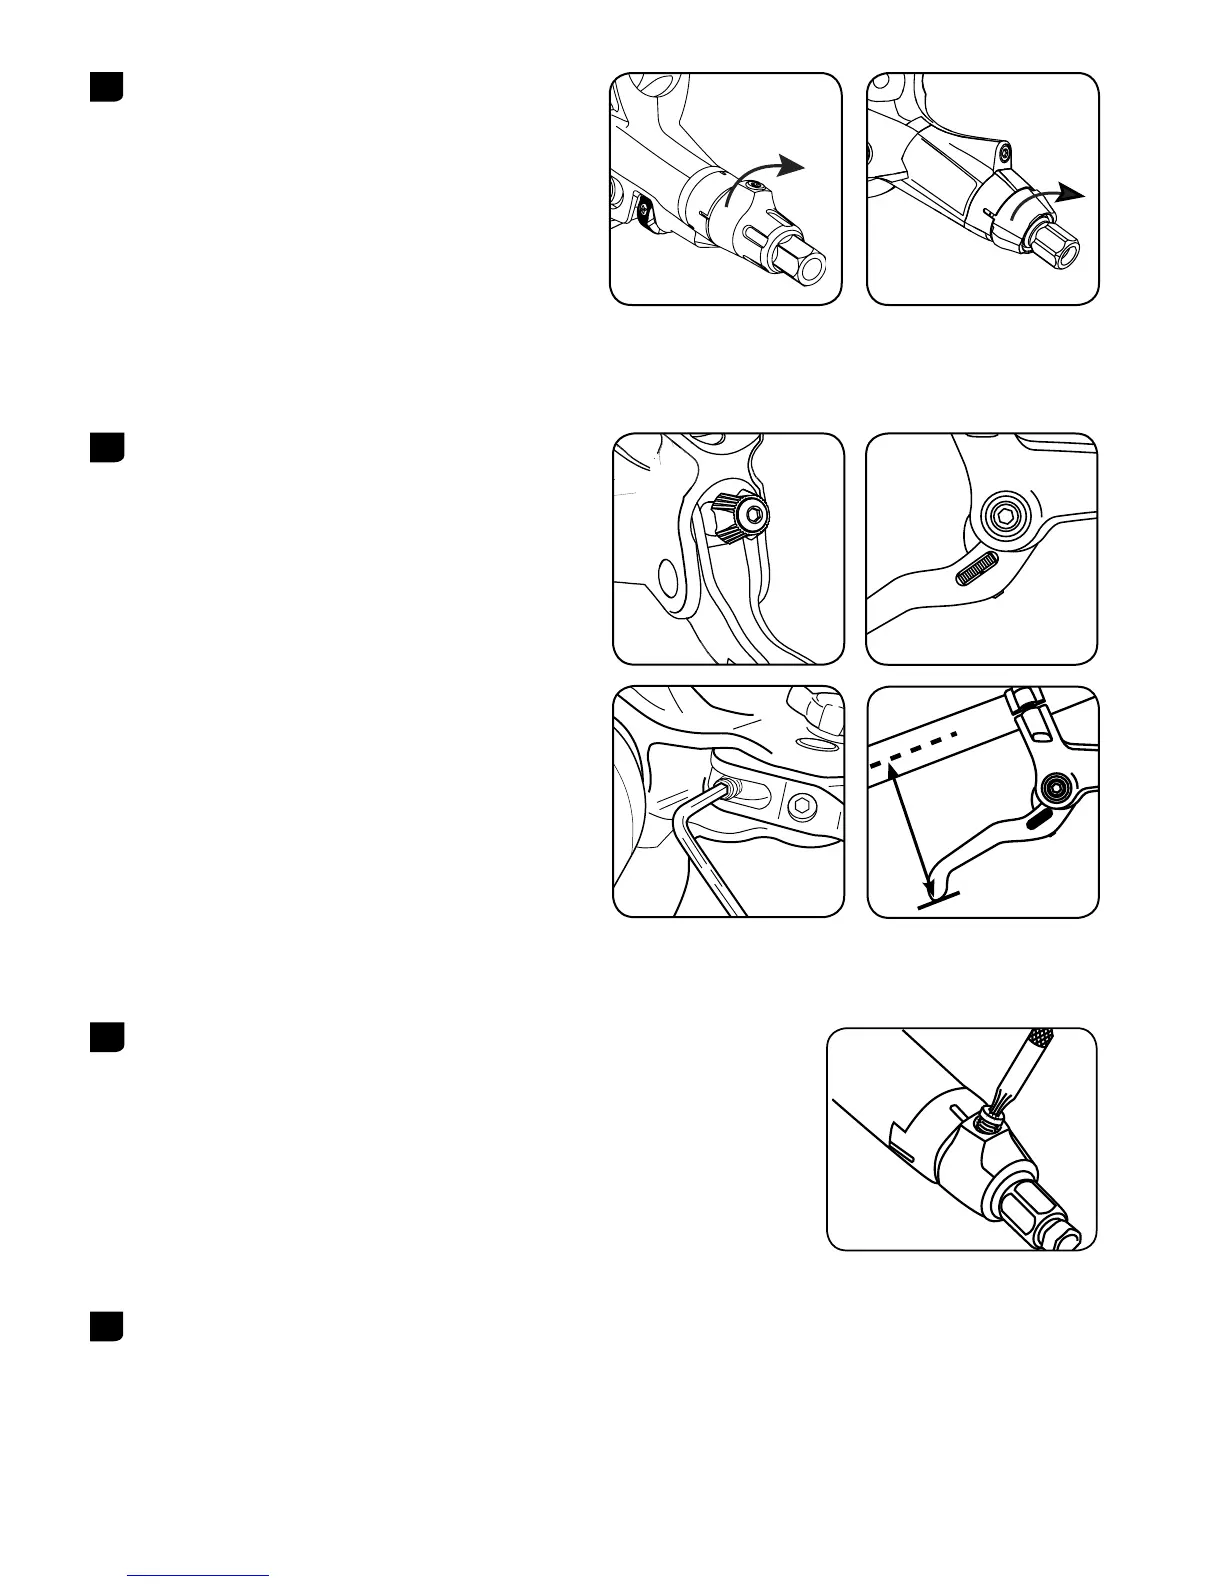
For models with Contact Point Adjustment and a rotating
bleed port screw located on the contact point adjuster:
rotate the adjuster in the direction opposite the arrow until
it stops, then rotate the adjuster back just enough to place
the bleed screw at its highest point.
For models with Contact Point Adjustment and a fixed
bleed port screw: rotate the adjuster in the direction
opposite the arrow on the adjuster knob until it stops.
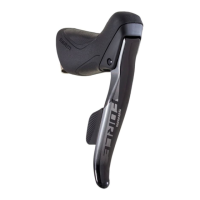
7
For models equipped with Reach Adjust, make sure the tip
of the lever blade is 75-80 mm from the centerline of the
handlebar. If the lever is too far out, it can make bleeding
the brake impossible.
8
Use the T10 TORX® to remove the lever bleed port screw.
9
Make sure the fluid in the 1/4 full syringe is pushed all the way
to the tip (no air gap!), then thread into the lever bleed port.
It is not necessary to reposition the angle of the brake lever on
the handlebar. You may have a small amount of DOT fluid drip
from the bleed port screw, this is normal. Just have a clean rag
handy to wipe off any excess after the syringe is installed.
75-80 mm