27
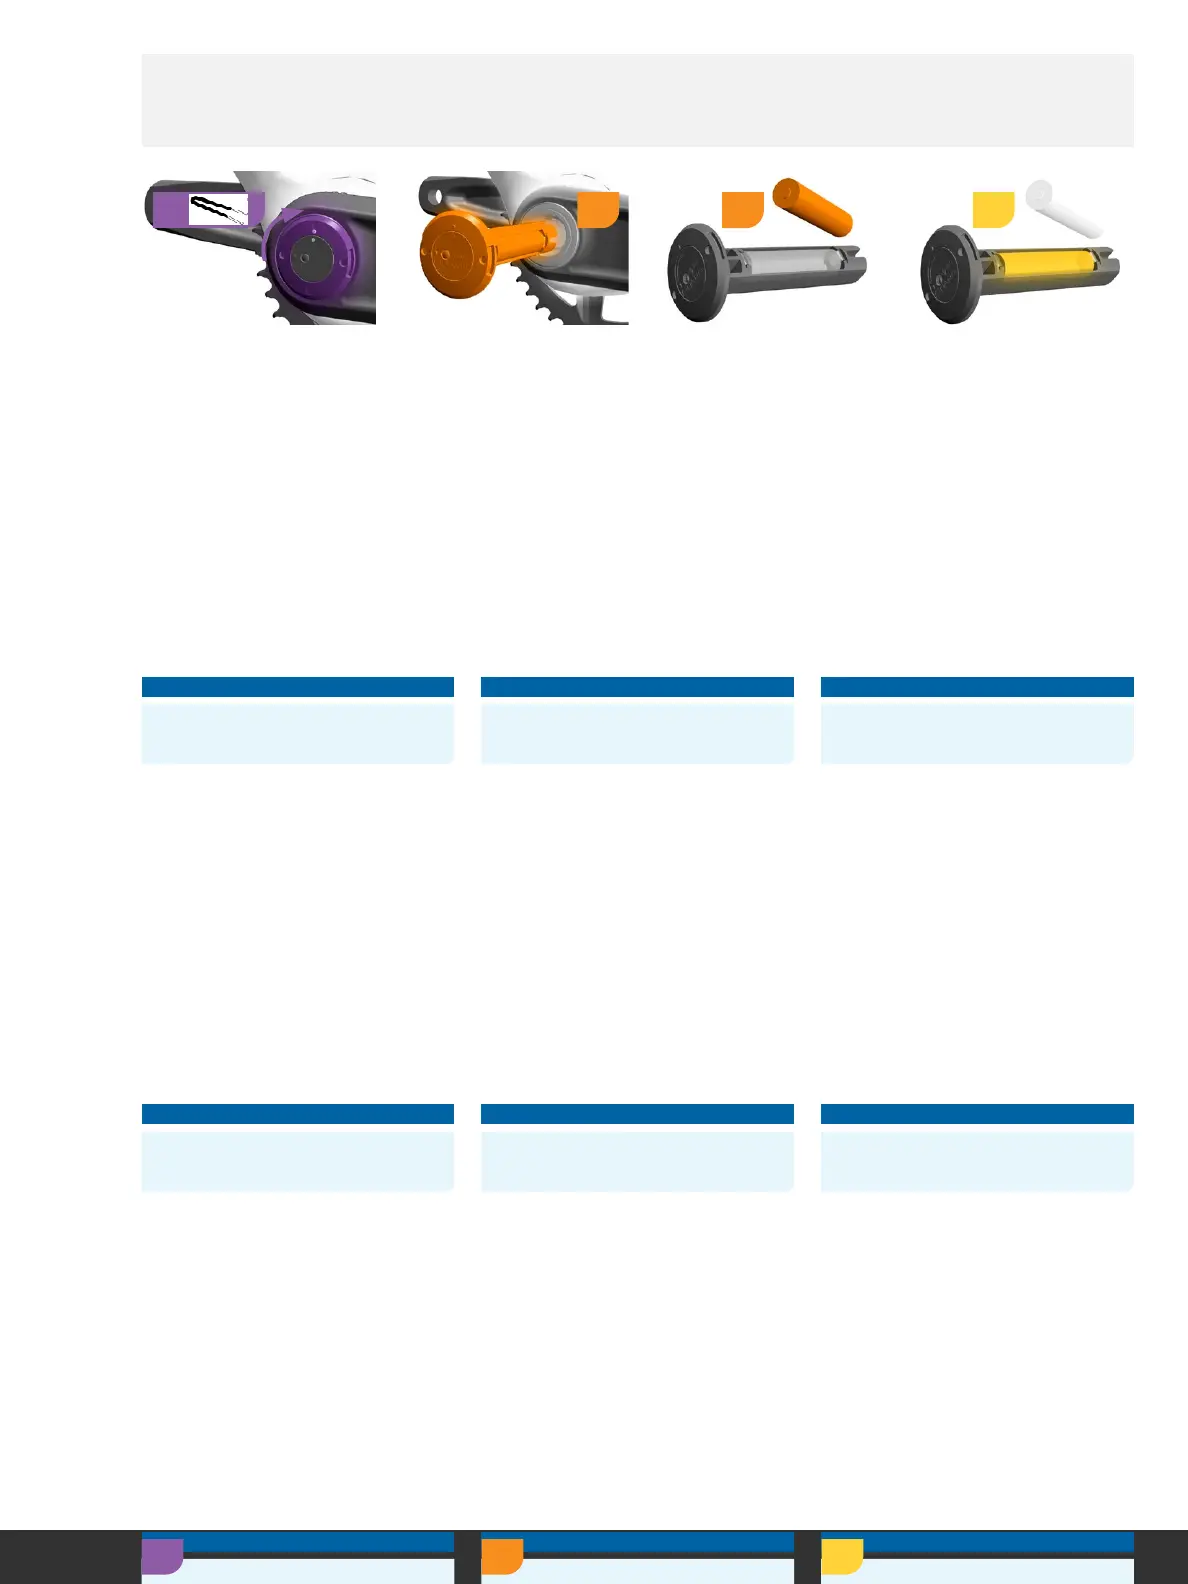
1. Use fingers, or a spanner wrench if
necessary, to turn the outer ring of the
SLED clockwise 90 degrees, in the
opposite direction of the arrow, until the
dot on the outer ring is aligned with the
raised dot on the SLED.
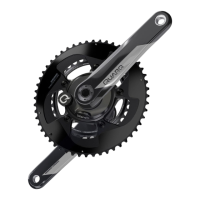
2. Pull the battery SLED out of the non-drive
side crank spindle by hand.
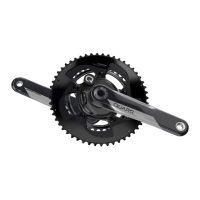
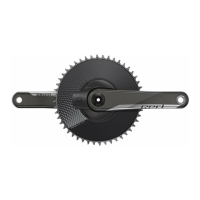
3. Remove the AAA Lithium battery and
install a new battery in the correct
orientation.
1. Use fingers, or a spanner wrench if
necessary, to turn the outer ring of the
SLED clockwise 90 degrees, in the
opposite direction of the arrow, until the
dot on the outer ring is aligned with the
raised dot on the SLED.
2. Pull the battery SLED out of the non-drive
side crank spindle by hand.
3. Remove the AAA Lithium battery and
install a new battery in the correct
orientation.
NOTICE
Do not allow water to enter the spindle
while the SLED is loose or removed.
NOTICE
Do not allow water to enter the spindle
while the SLED is loose or removed.
NOTICE
Do not allow water to enter the spindle
while the SLED is loose or removed.
1. Use fingers, or a spanner wrench if
necessary, to turn the outer ring of the
SLED clockwise 90 degrees, in the
opposite direction of the arrow, until the
dot on the outer ring is aligned with the
raised dot on the SLED.
2. Pull the battery SLED out of the non-drive
side crank spindle by hand.
3. Remove the AAA Lithium battery and
install a new battery in the correct
orientation.
NOTICE
Do not allow water to enter the spindle
while the SLED is loose or removed.
NOTICE
Do not allow water to enter the spindle
while the SLED is loose or removed.
NOTICE
Do not allow water to enter the spindle
while the SLED is loose or removed.
1. Use fingers, or a spanner wrench if
necessary, to turn the outer ring of the
SLED clockwise 90 degrees, in the
opposite direction of the arrow, until the
dot on the outer ring is aligned with the
raised dot on the SLED.
2. Pull the battery SLED out of the non-drive
side crank spindle by hand.
3. Remove the AAA Lithium battery and
install a new battery in the correct
orientation.
NOTICE
Do not allow water to enter the spindle
while the SLED is loose or removed.
NOTICE
Do not allow water to enter the spindle
while the SLED is loose or removed.
NOTICE
Do not allow water to enter the spindle
while the SLED is loose or removed.
DUB-PWR Battery Replacement DUB-PWR Battery Replacement DUB-PWR Battery Replacement
DUB-PWR Battery Replacement DUB-PWR Battery Replacement
DUB-PWR Battery Replacement
DUB-PWR Battery Replacement DUB-PWR Battery Replacement
2 3 4
1
Adjust Régler Ajustar
Einstellen Regolare
調節
Ajustar Afstellen
Remove/Loosen Retirer/Desserrer Retirar/Desapertar
Entfernen/Lösen Rimuovere/Allentare
取り外し/ 緩める
Quitar/Aflojar Verwijderen/Losmaken
Install Installer Instalar
Einbauen Installare
取り付け
Instalar Monteren